Import GNS3 appliance
This document assumes that you already have both the GNS3 Graphical User Interface installed (GNS3-all-in-one) and the GNS3 VM integrated with GNS3. Please refer to other guides for more details on how to install the GNS3 all-in-one package and how to download and configure the GNS3 VM.
Import the Appliance
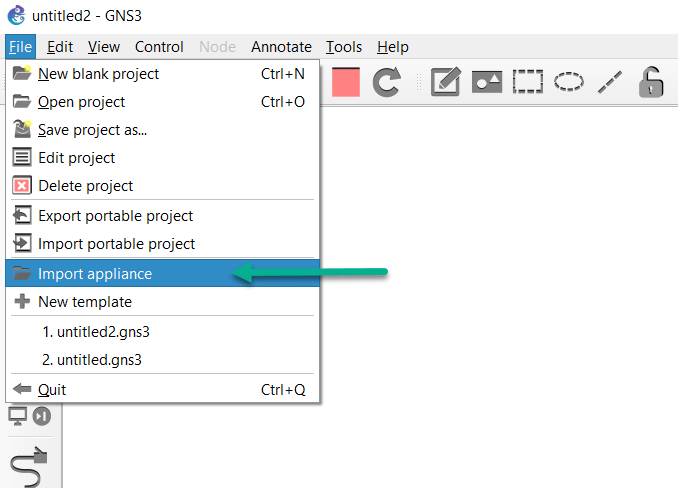
In the GNS3 user interface, click File and then Import appliance:
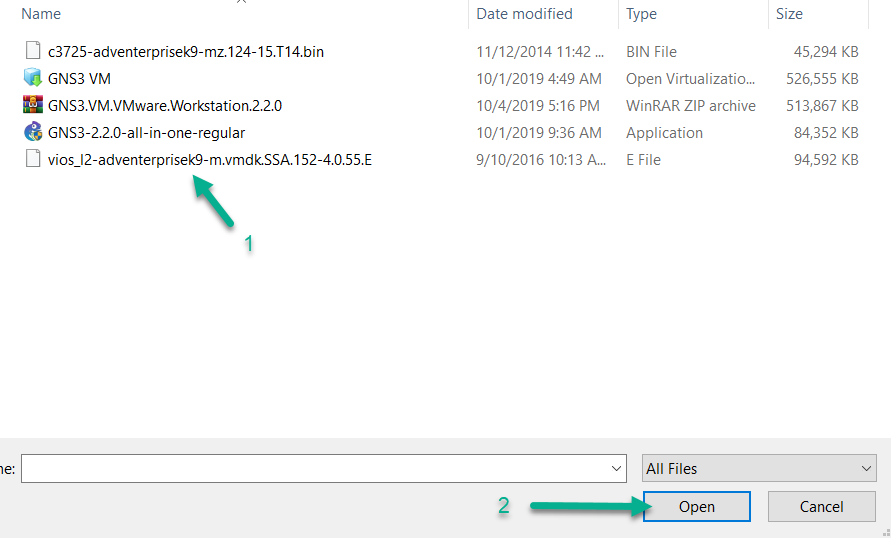
Navigate to your Downloads folder, select the appliance and then click Open:

The Server window displays. This article is using the GNS3 VM to run the IOSvL2, so the other two options are greyed out. Click Next >:

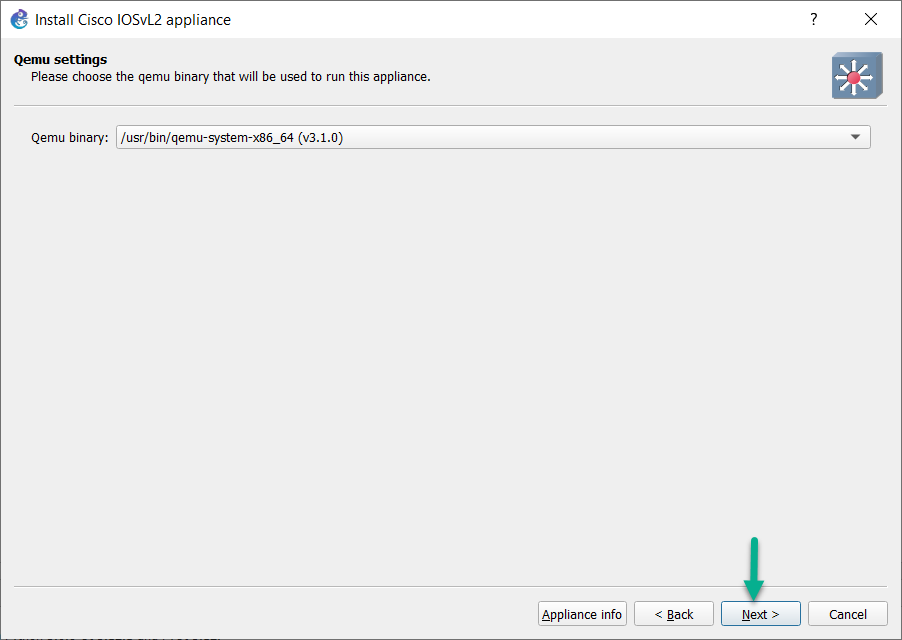
The QEMU settings window displays. The 2.2.0 version of the GNS3 VM includes the 64 and 32 bit QEMU 3.1.0 binaries. Since IOSvL2 requires use of a 64 bit QEMU binary, Click Next >:
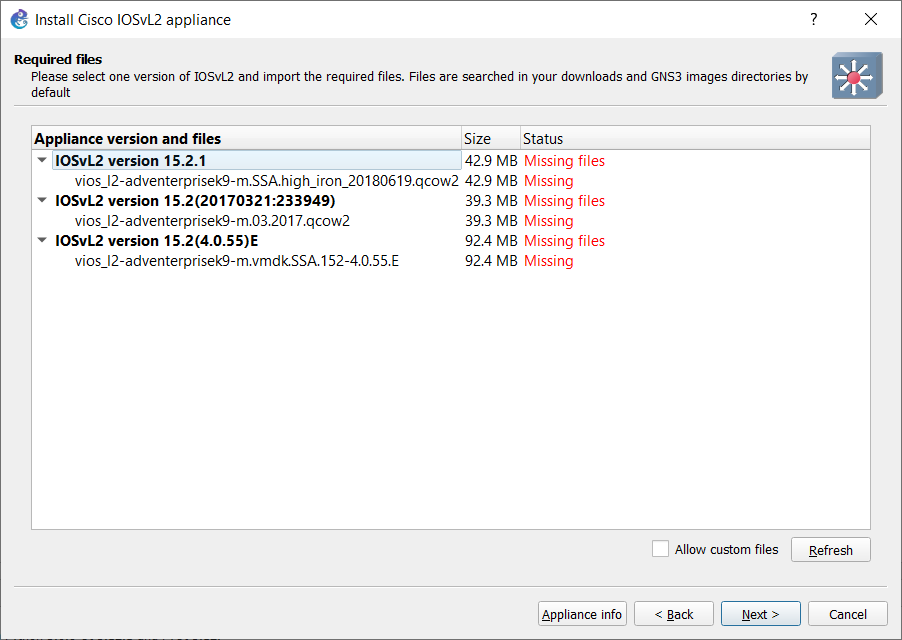
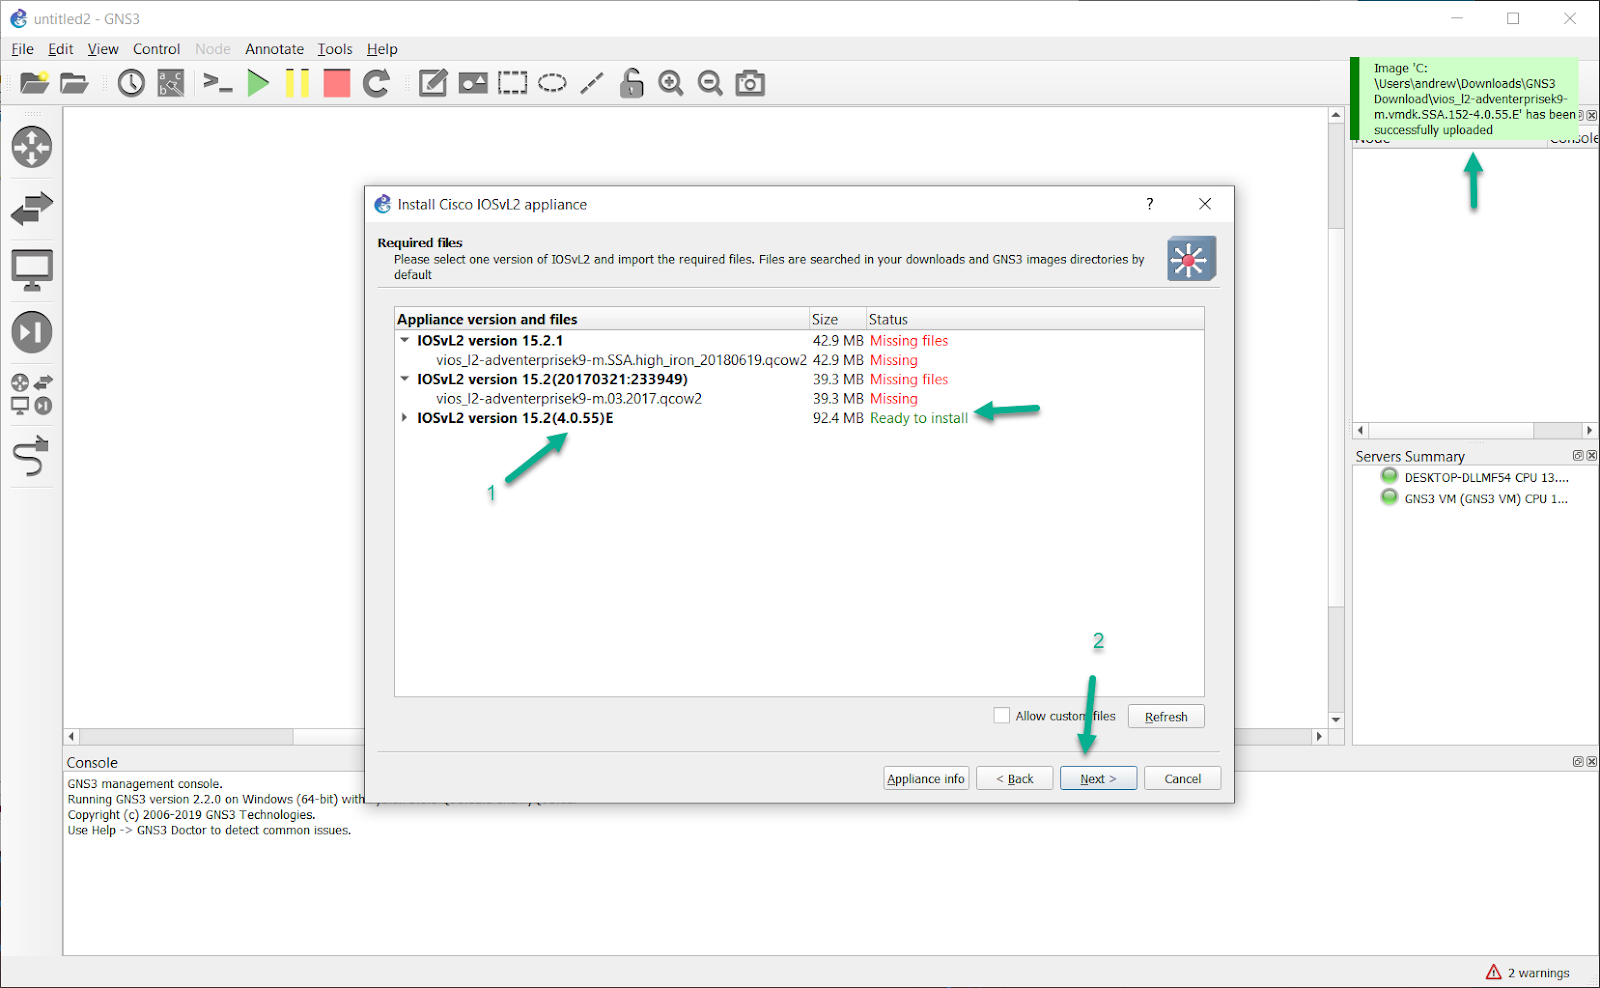
The Required files window displays:
Select the version of the VM you wish to install, highlight its file name, and click “Import”.
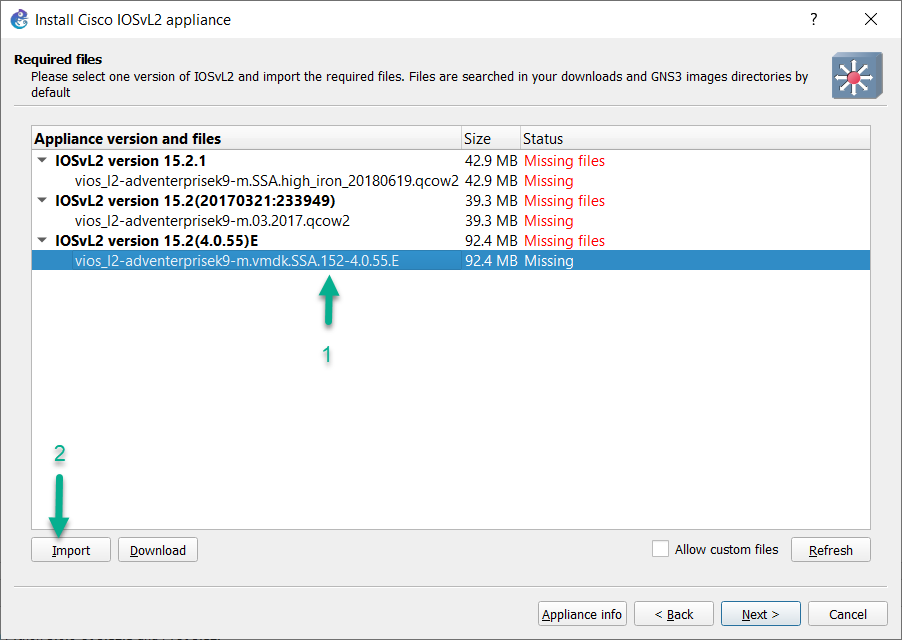
(this presumes you already have that file contained in your filesystem. If you do not, you can click Download, which will open a new browser tab with the relevant website open. Not all images/VMs are free. As such, clicking Download for ones like IOSvL2 will redirect you to the Cisco’s VIRL website)
A window opens, in order to browse your filesystem and select the relevant image file/virtual disk image for the device you’re trying to import. Click Open:
GNS3 will search the GNS3 images directory by default. If the file is not found, you will need to navigate your filesystem to find that file.
As the GNS3 VM is used in the article, GNS3 will check the md5sum and size of the file against the values listed in the .gns3a template. If those are matches, GNS3 will upload a copy of that file to the GNS3 VM.
If the file was successfully uploaded to the GNS3 VM, you’ll see a green box in the upper-right corner of the GNS3 GUI indicated that.
Note that in the Required file window, that status of that VM has now changed from “Missing”/”Missing files” to “Ready to install”. Click on the version name of that VM, and click Next>:
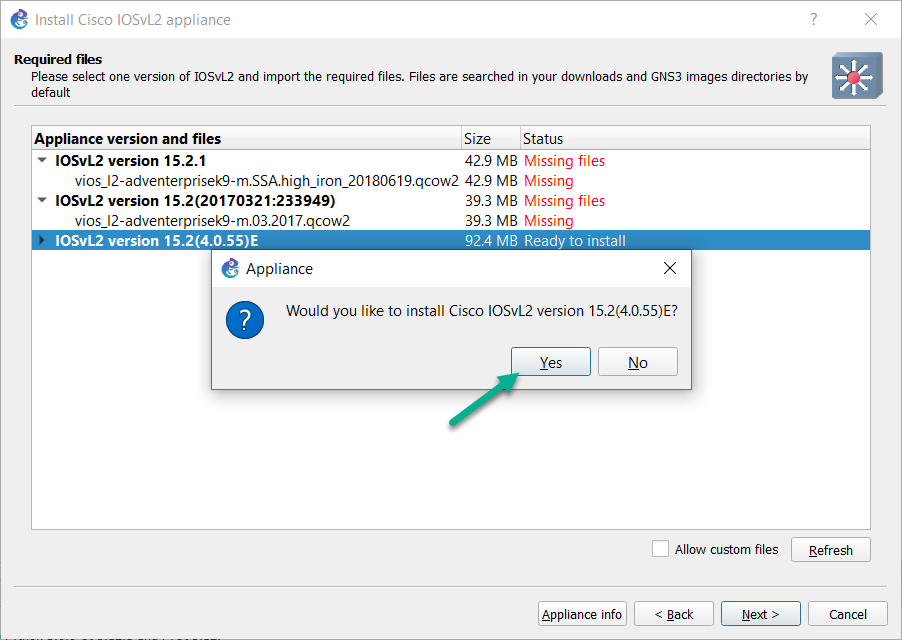
A confirmation prompt is displayed. Click Yes to install the appliance:
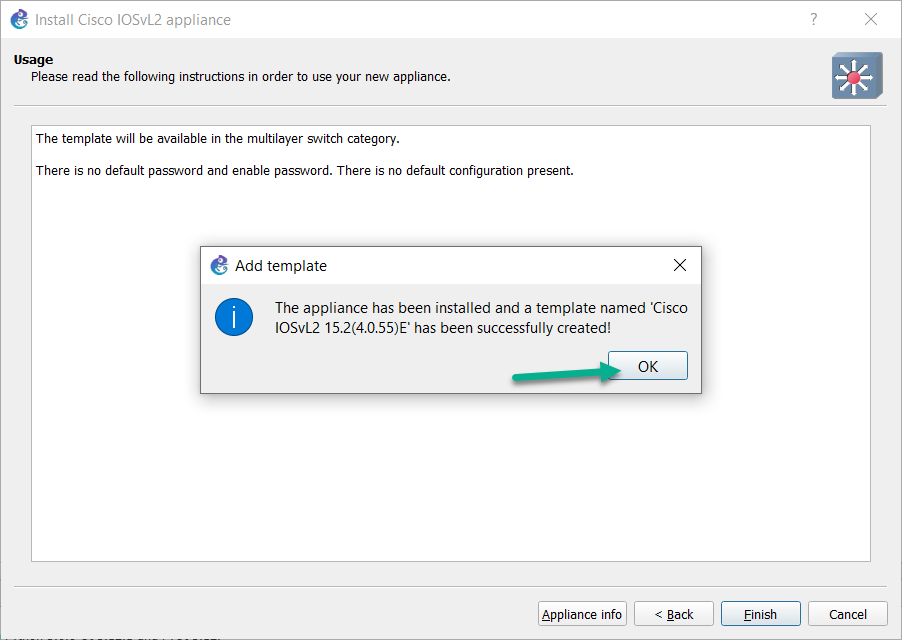
A Usage screen is displayed. Click Finish to complete the appliance addition
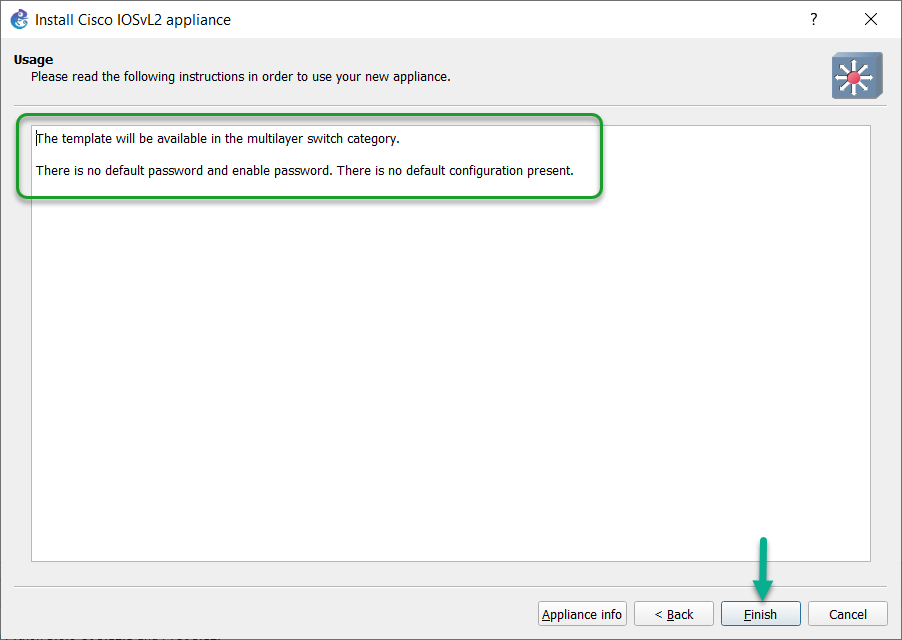
(What is listed in the Usage window will vary, based on the imported device. As IOSvL2 is a Multilayer switch vm, it will be added to the Switch category in the Device Toolbar. Note that this window indicates that are no configured default password or enable passwords, nor is there a default configuration present for this device. This will vary, based on the device. )
The appliance is added to GNS3 and a success message displayed. Click OK:
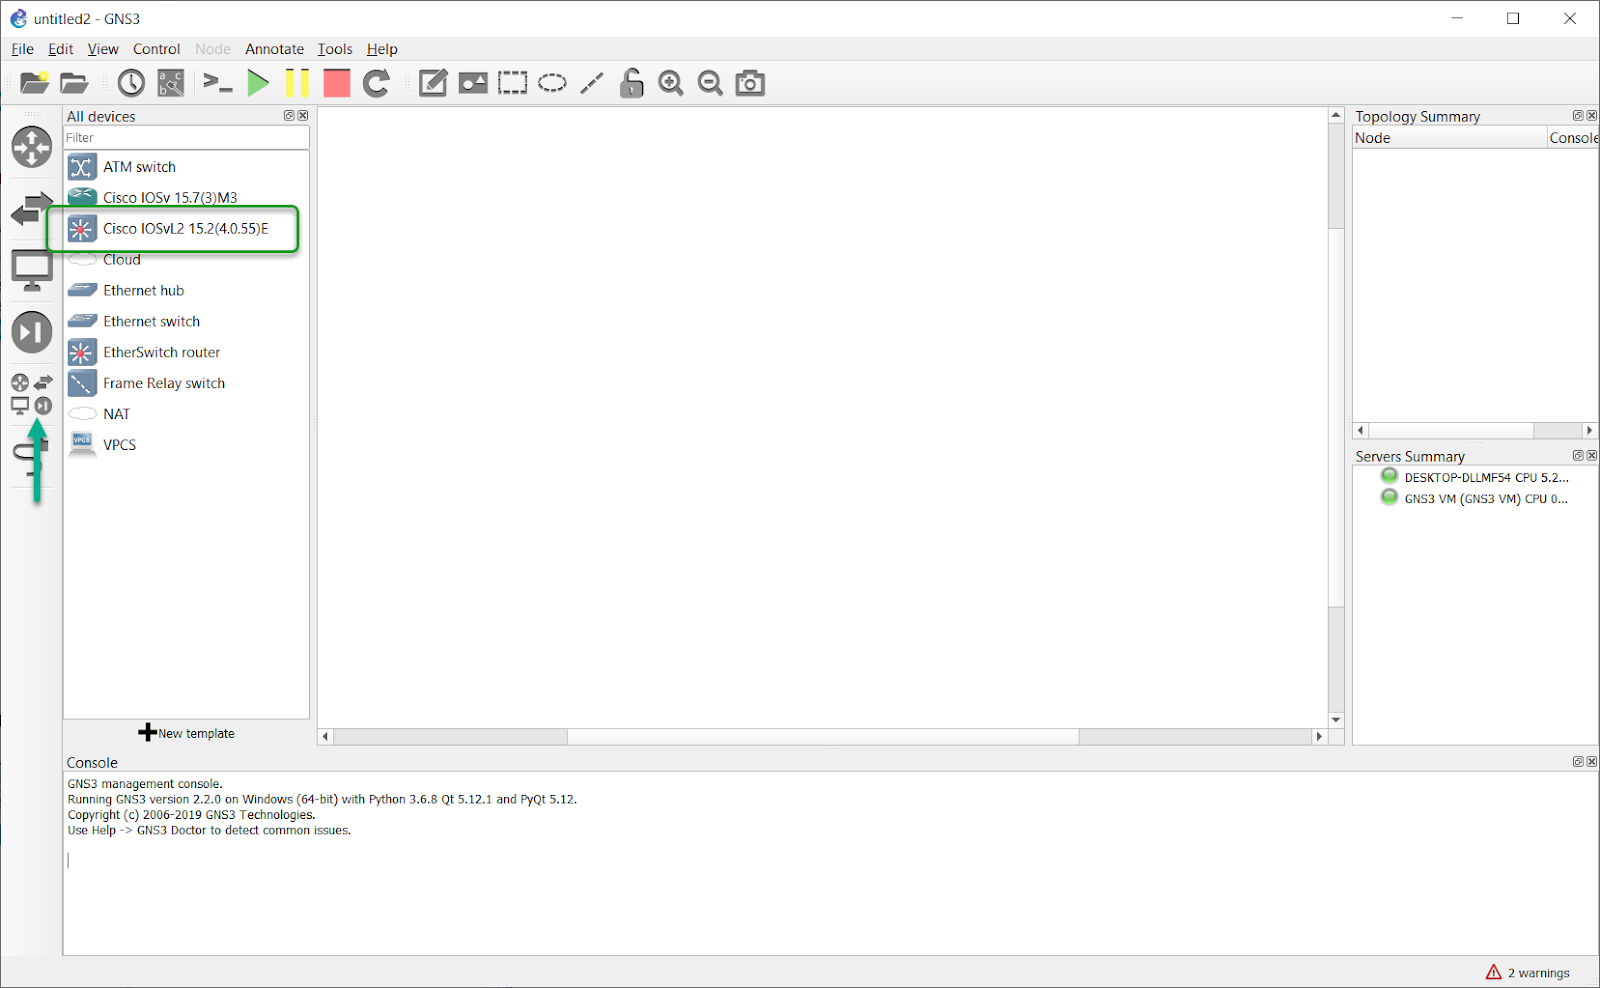
Click the Browse all Devices menu option to view the newly imported GNS3 appliance:
View Appliance Settings
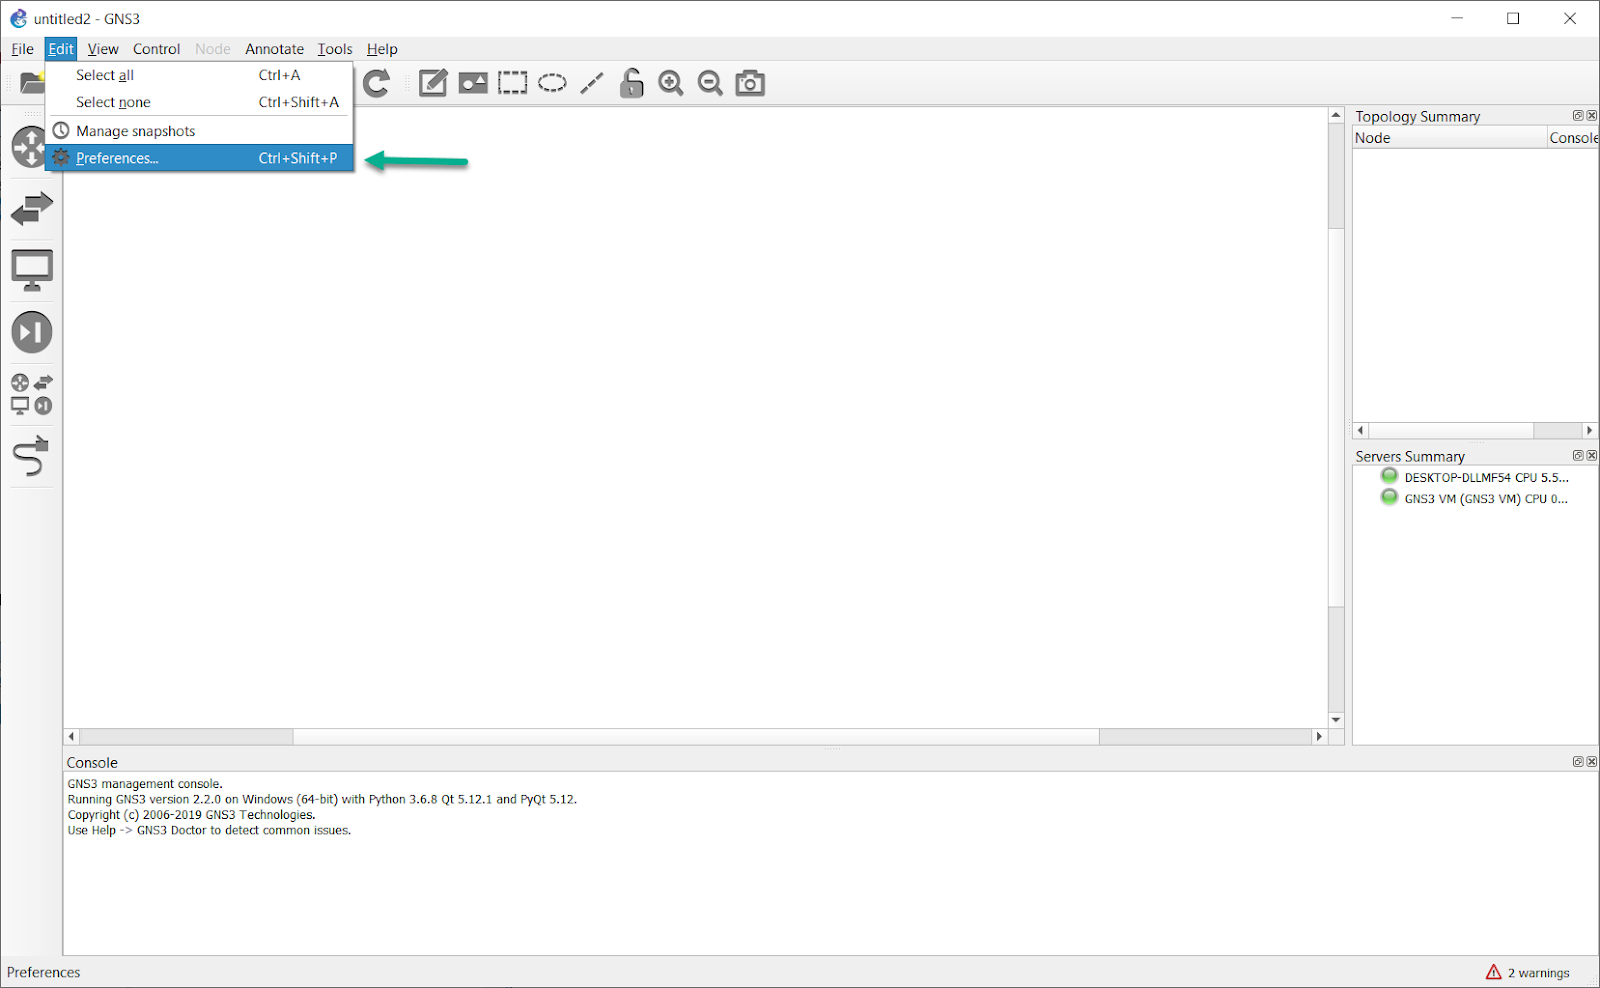
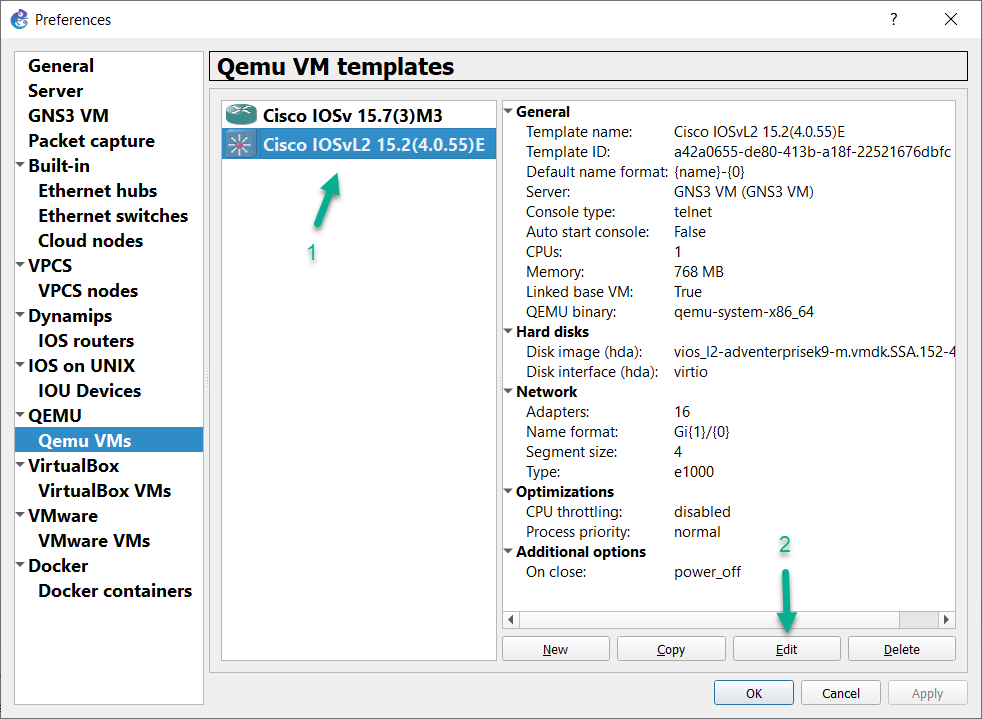
Optional: You can view and change the appliance settings by clicking Edit and then Preferences in the GNS3 GUI:
Click on the appliance type to view the appliance details:
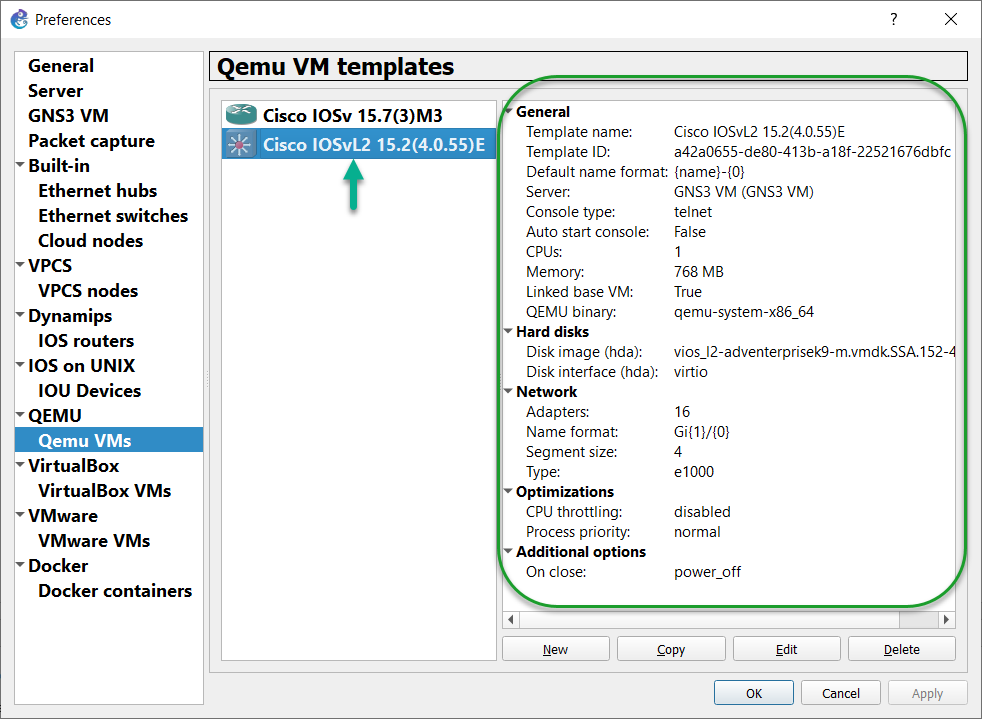
(the setting listed to the right will vary, based on the type of device)
If you do want to alter this appliances setting, ensure it is selected, and click Edit:
Use the Appliance
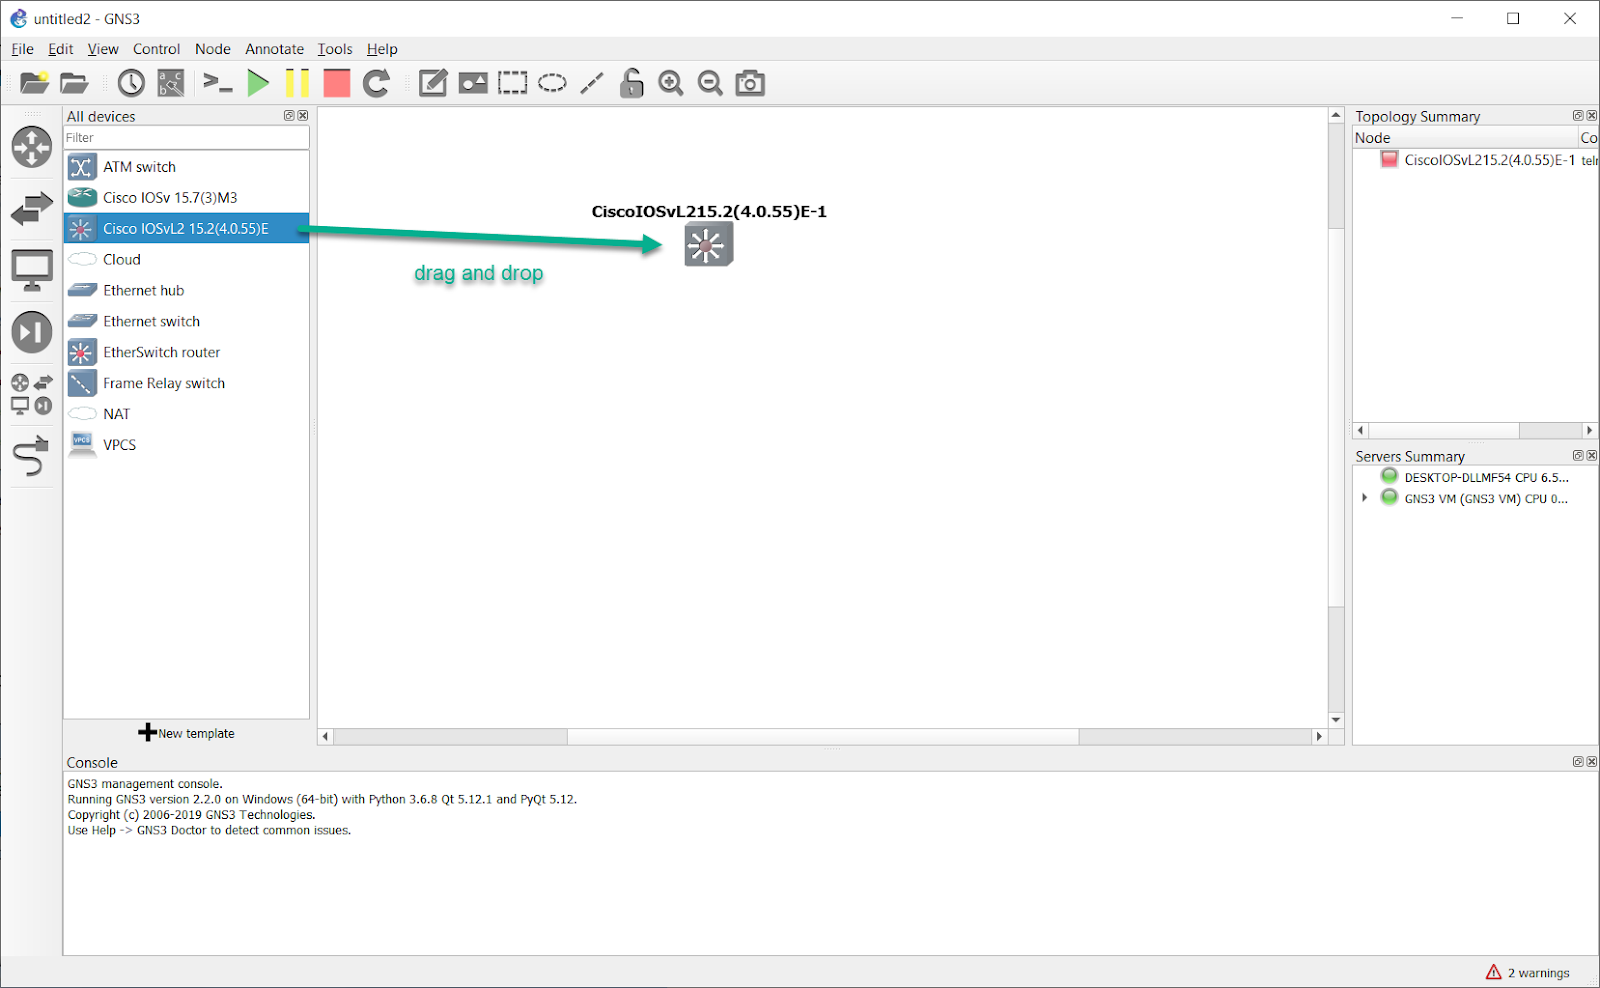
Once you have imported the new appliance into GNS3, you can create topologies which include the new appliance. Drag and drop the appliance from the GNS3 Toolbar to the GNS3 Workspace.
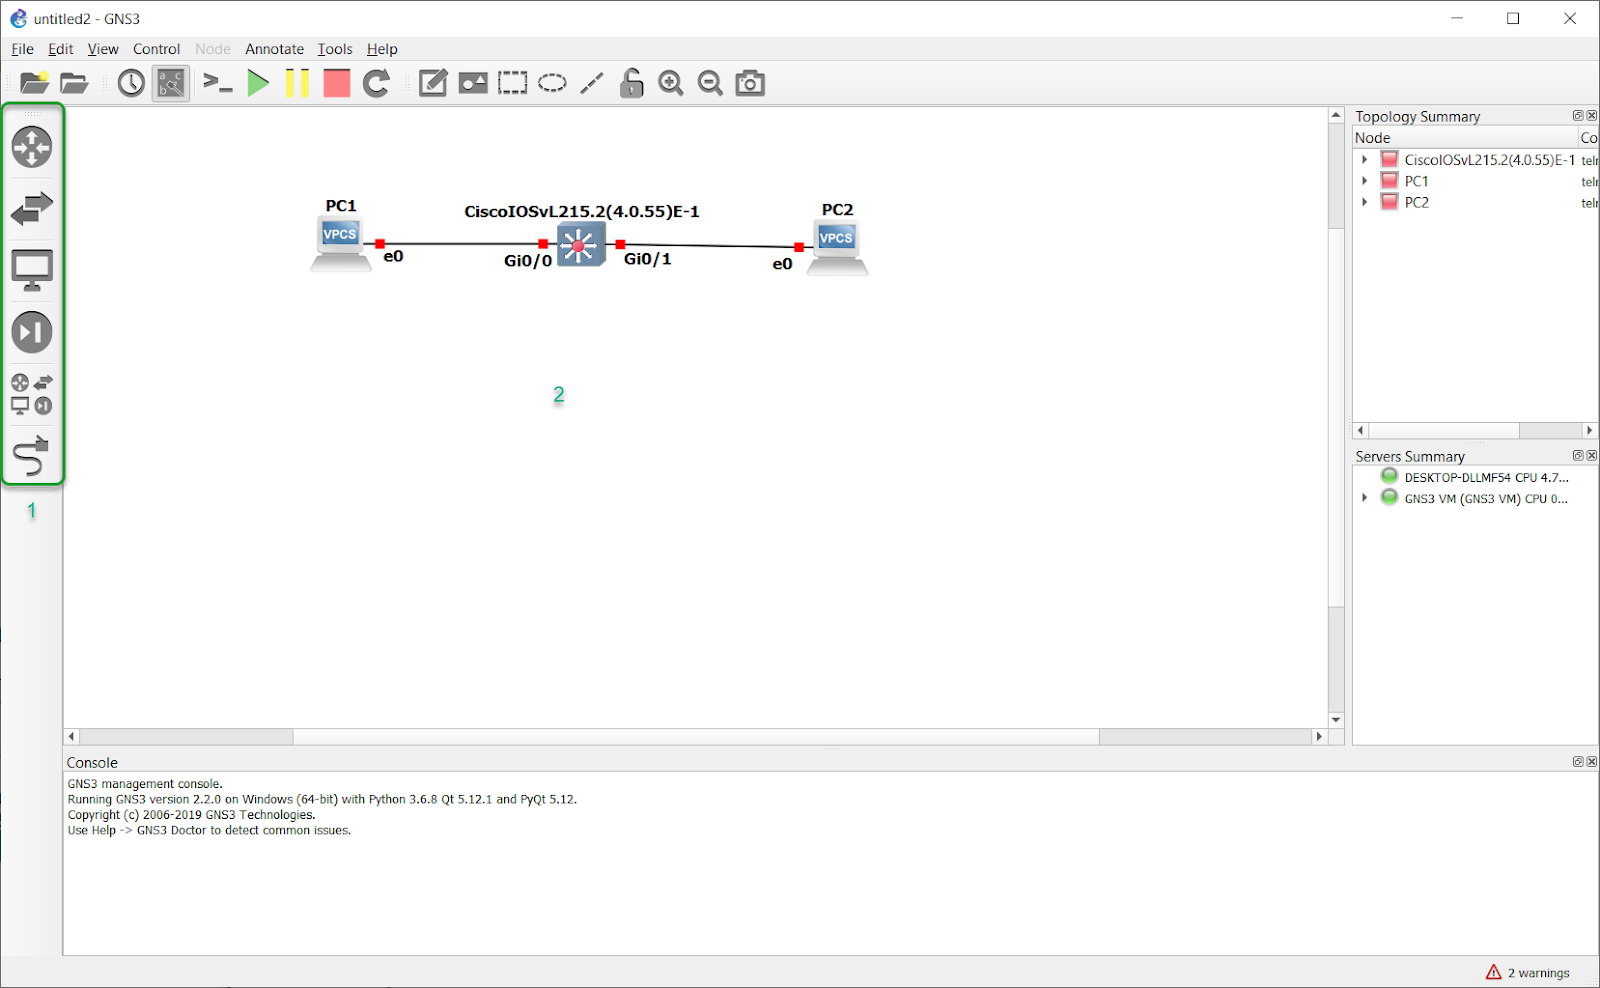
Build your GNS3 topology by dragging devices from the GNS3 Device Toolbar (1) to the GNS3 Workspace (2) and connecting them as desired:
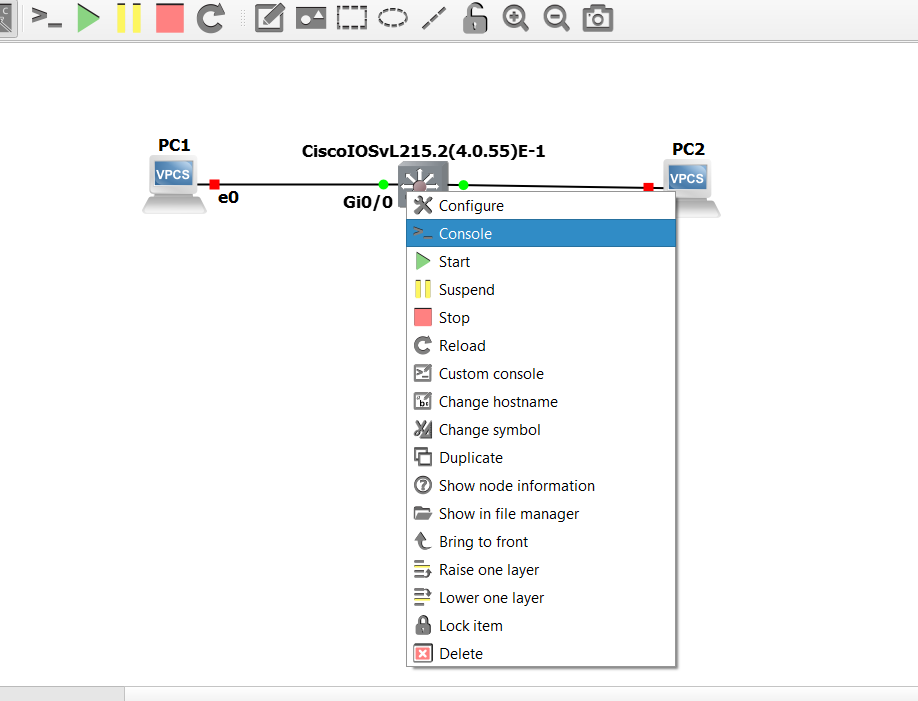
Once you have created your topology, start the appliance: right click on the appliance and click Start):

(optionally, you can press the Play/Resume bottom in the Toolbar to start all topology devices simultaneously)
To open a console to this device: right click on the appliance and click Console:
(optionally, you can also click the Console All button in the toolbar. A console window will not open for any devices that are currently shutdown or paused)
The appliance console displays:
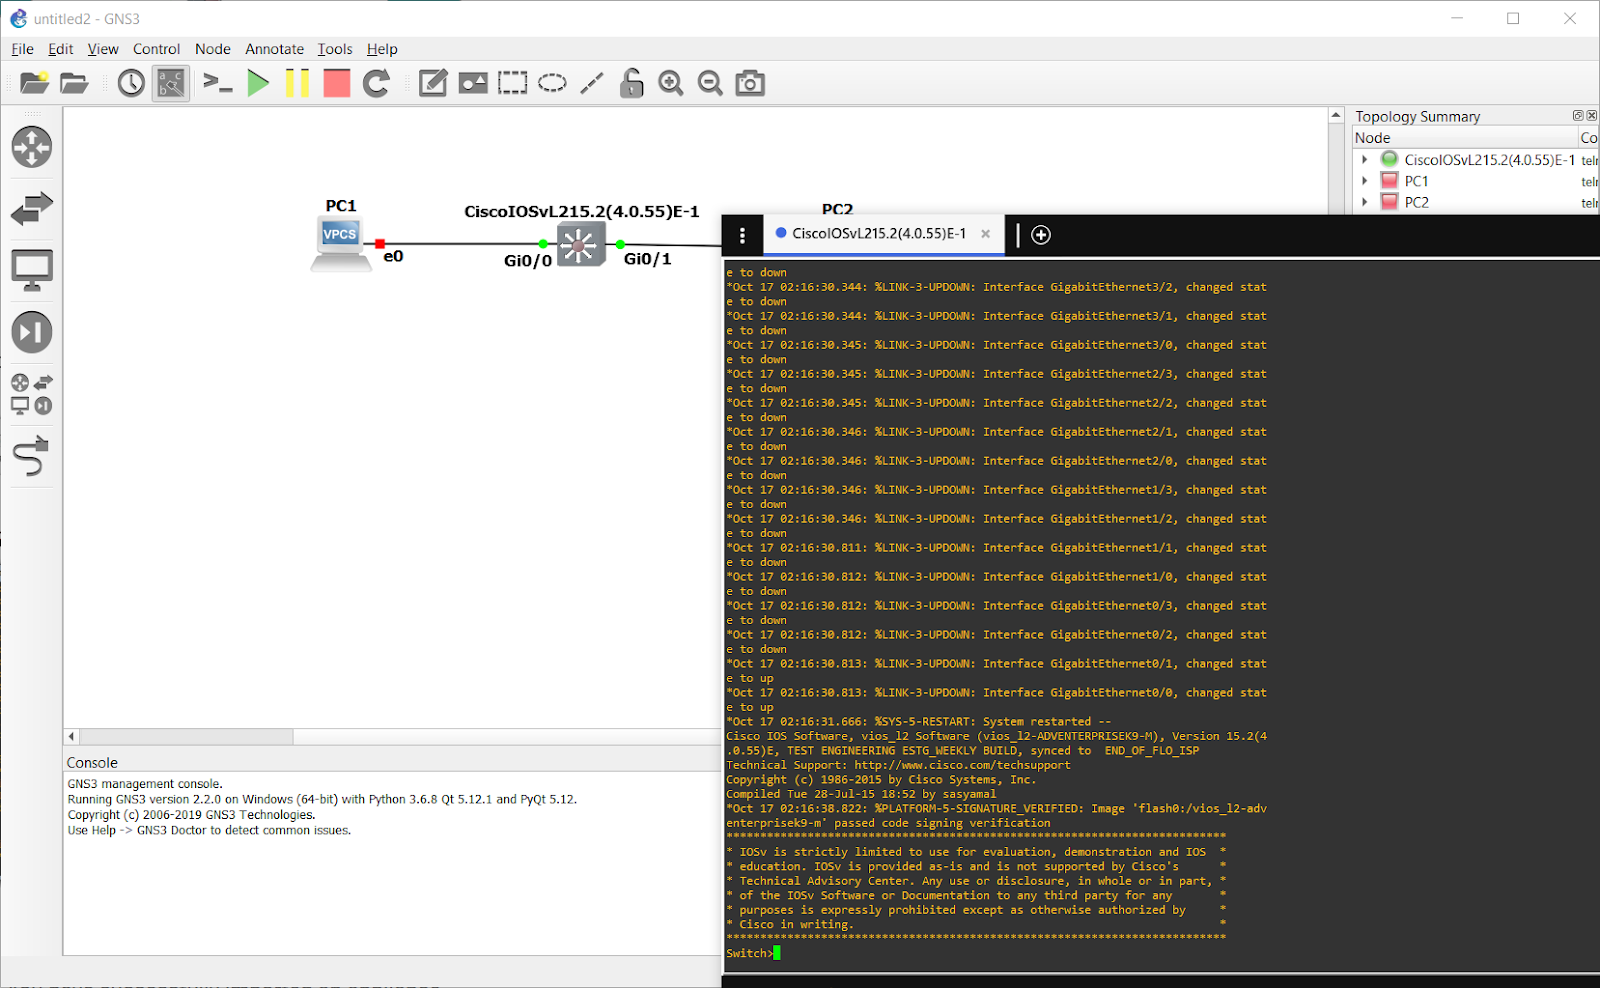
Start other devices in your topology as required and configure your GNS3 network.
Congratulations! You have successfully imported an appliance.