Create a docker container for GNS3
This tutorial is for users who never used Docker, and would like to create a Docker container for GNS3.
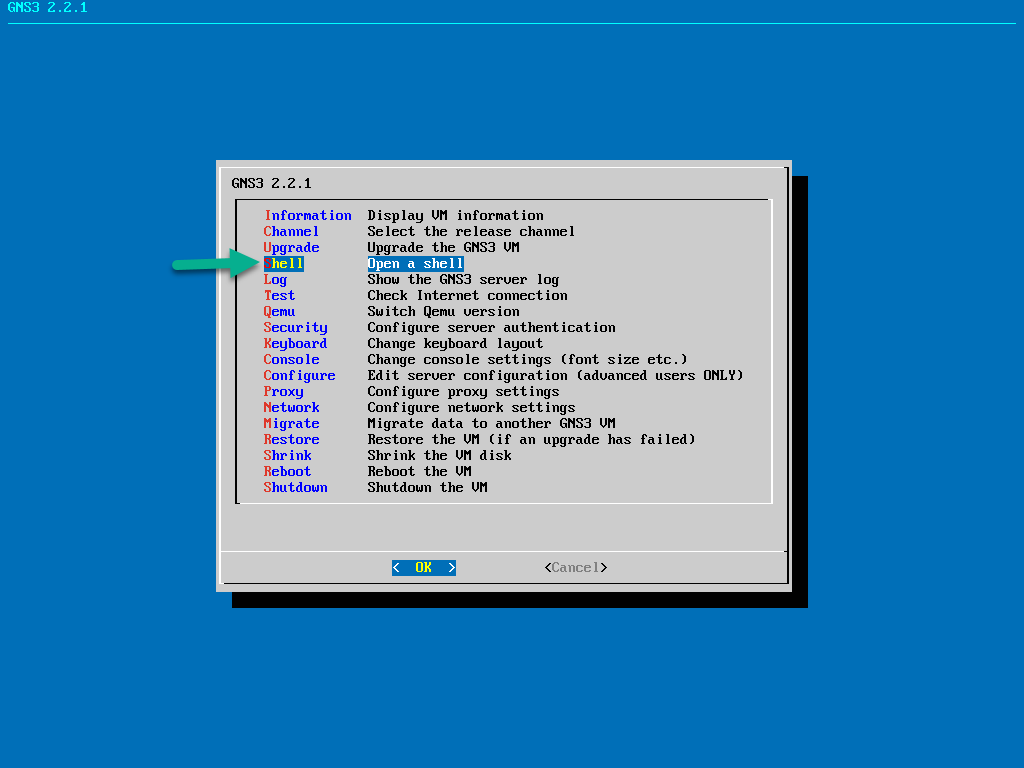
First, you need to connect to the GNS3 VM and open a shell. Press the Enter key while < OK > is highlighted:

On the next screen, press the Down arrow key until Shell is highlighted, and press the Enter key again. This will take you into Bash, which is the default shell used in Ubuntu:
The Docker containers are created using a file called Dockerfile.
https://docs.docker.com/engine/reference/builder/
Type this command to create the Dockerfile, using the nano text editor:
nano Dockerfile
While in nano, add the following two lines:
FROM ubuntu:16.04
RUN apt-get update && apt-get install -y nmap

To save the file, press Ctrl+O, and then Ctrl+X to exit nano. After, that run:
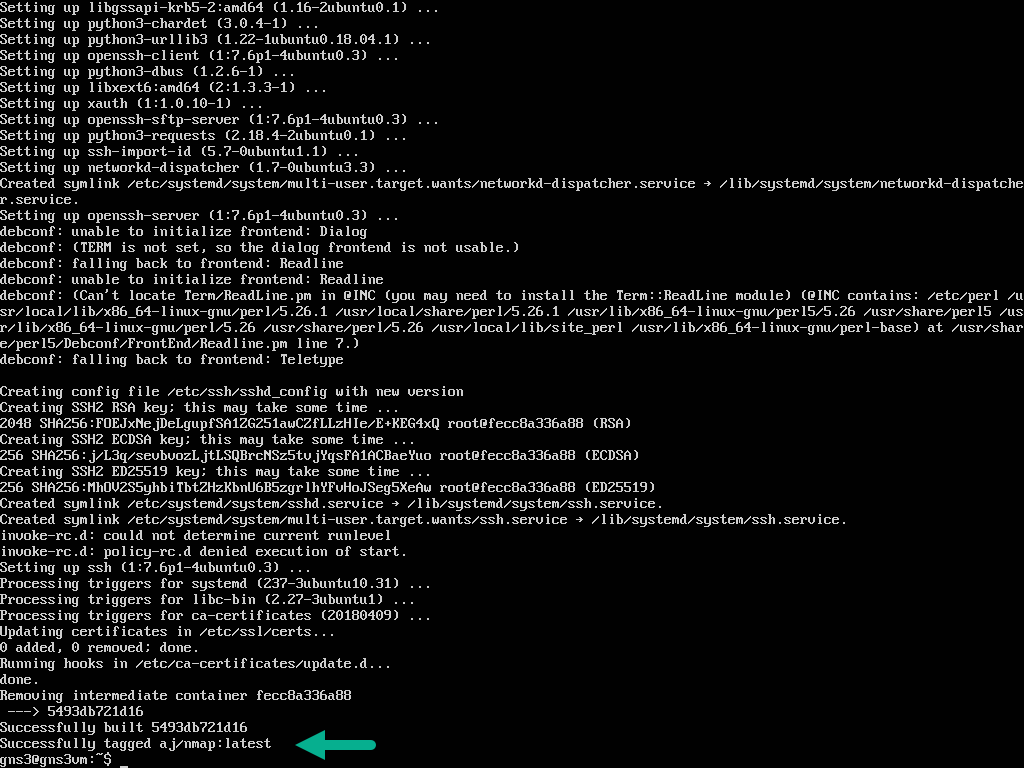
docker build -t joe/nmap .
This will build a container named joe/nmap (where “joe” is your username) based on ubuntu 16.04, and with nmap installed. You can find all the base containers here: https://hub.docker.com/r/gns3/
Docker will cache each step of the build process.
If the build was successful, you should see a message indicating that at the end of the output.
(the build time will vary, based on what you’re adding to the container, plus your PC)
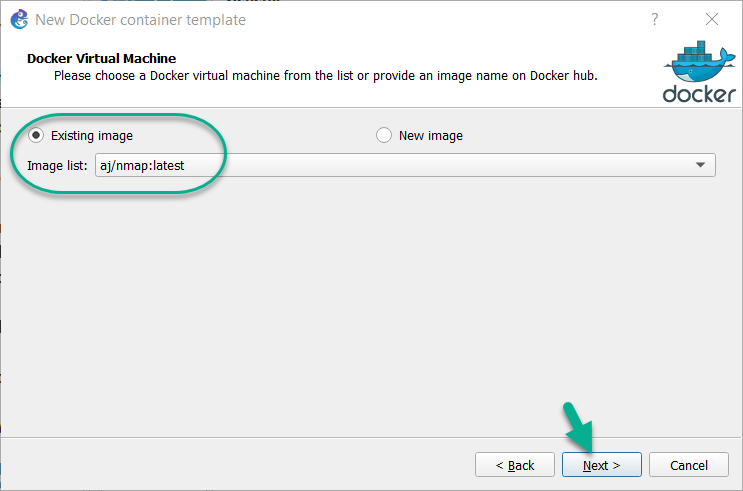
Now we can use our container in GNS3. Click Edit->Preferences->Docker Containers->New, like before, but instead of specifying a “New Image”, you’ll select “Existing image”, and then pick the one you just created from the dropdown list, and click Next> to continue:
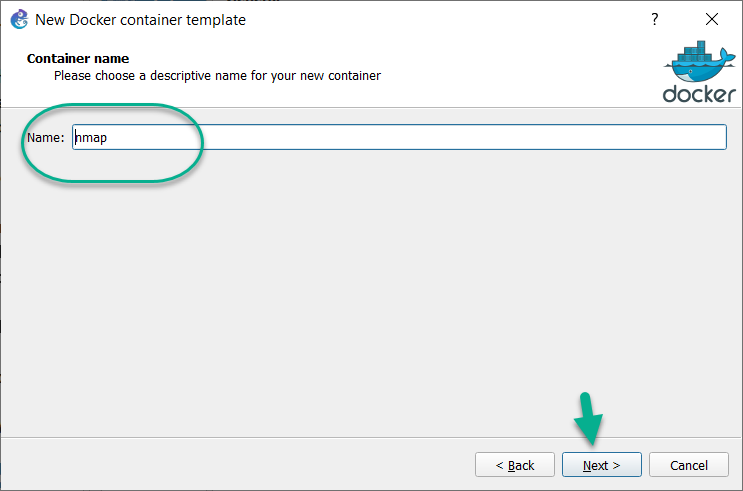
Give the container a name, and click Next>:
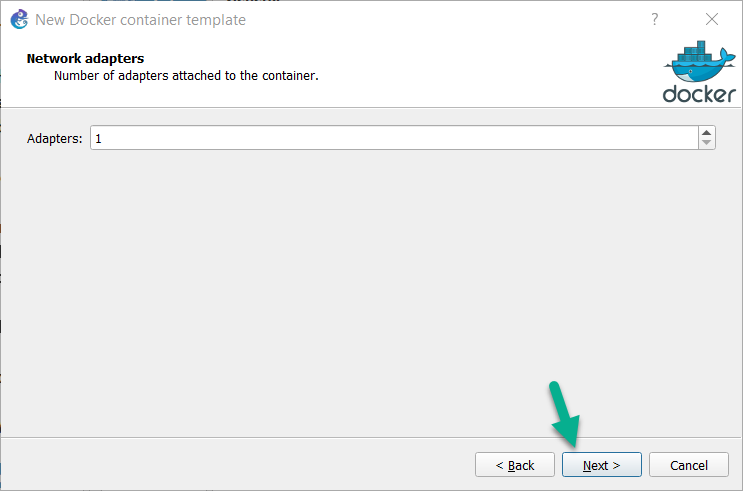
Specify the number of adapters you want this container to use. As this example is just acting like a simple linux host, we can stick with default of 1 interface, so click Next> to continue:
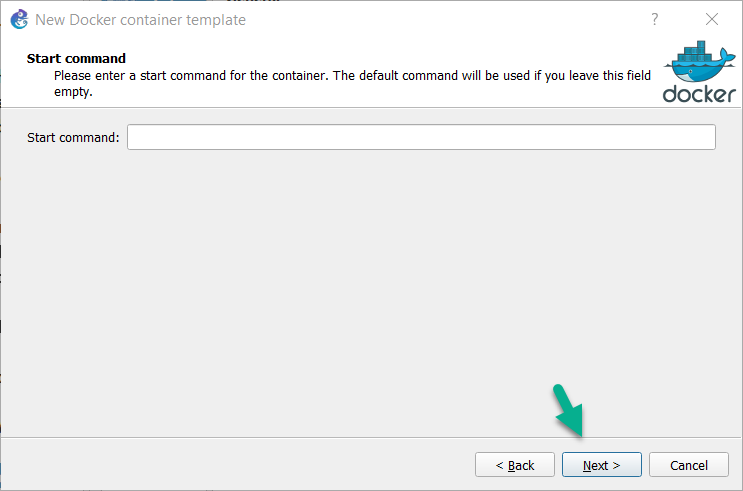
We aren’t going to specify a start command this time, so click Next> to continue:
We’ll leave the console type set to telnet (we don’t need to use VNC/HTTP/HTTPS for this example), so click Next> to continue:

We won’t be specifying any environmental variables this time, as the defaults are fine for this example, so click Finish to complete this configuration process. Back at the main Preferences screen, click OK to exit it.
This “nmap” container will be listed in the End Devices toolbar. Since it already exists in the GNS3 VM, there’s no need for the “docker pull” step that would occur, if we were going to use a container from Docker Hub.
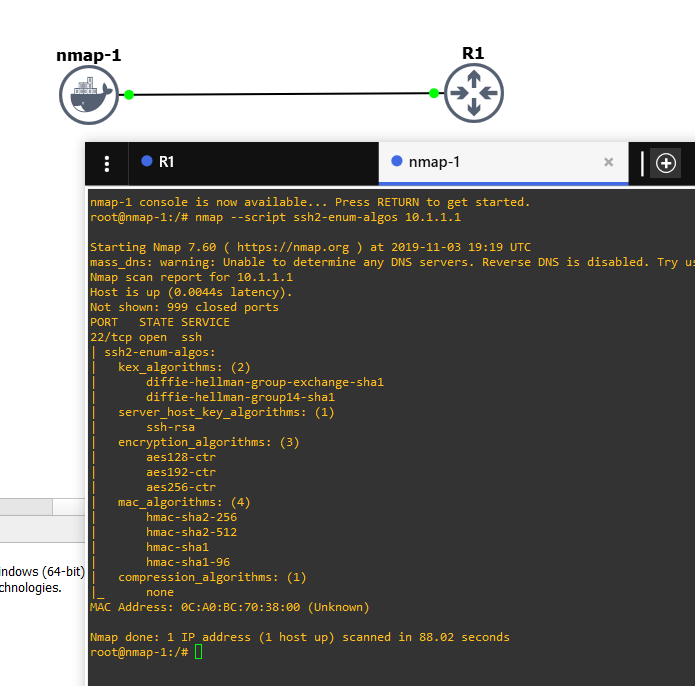
Prior to the following screenshot, the nmap container was assigned a static IP address, and connected to a router that had been preconfigured to allow SSH access to it.
A quick test was run using the nmap --script ssh2-enum-algos target_ip command. NMAP checks the target device, to see which SSH key exchange algorithms it supports. There are plenty of other uses for NMAP, but this was just a simple test, to prove that it was functional:
You can replace the shell with a command of your choice using the CMD directive, which causes the container to start with that command/utility running immediately on boot.
Back in the GNS3 VM CLI, open Dockerfile again to edit it (it’s “nano Dockerfile”, just like before):
Change the Dockerfile to this:
FROM ubuntu:16.04
RUN apt-get update && apt-get install -y nmap
RUN apt-get install -y htop
CMD htop
(the two additional lines have been set to bold). Next, rebuild the container again:
docker build -t joe/nmap .
You will need to remove the container from your topology and add it again, in order to see the change:
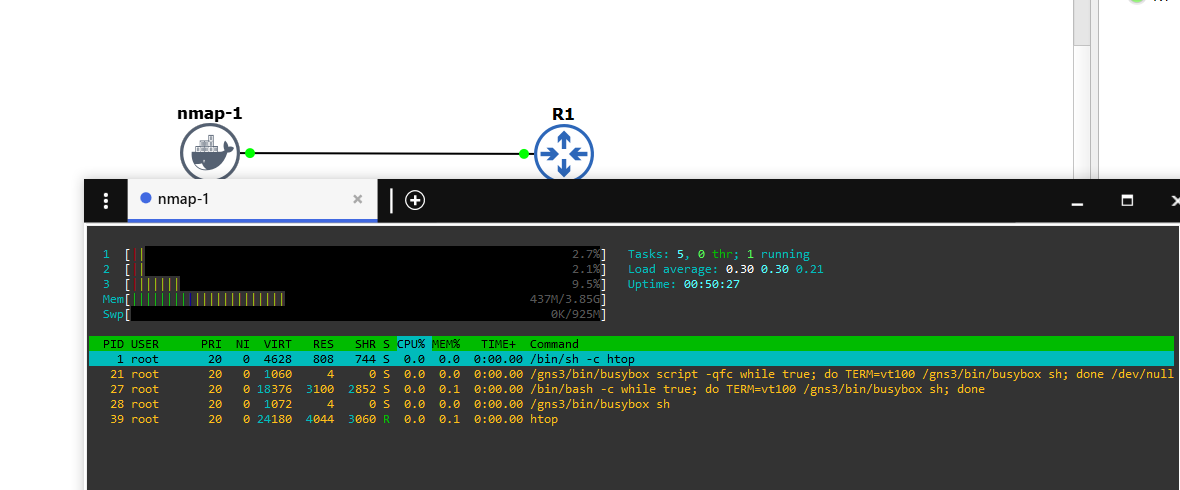
Instead of seeing a bash prompt, the container automatically launches the HTOP utility.
At each reboot, the data changed in your container is lost (it’s not persistent). If you want persistence, you need to use the VOLUME directive in Dockerfile:
FROM ubuntu:16.04
RUN mkdir /test
RUN echo "hello" > /test/world
VOLUME /test
WORKDIR /test
After that, you can publish your container to the world, allowing anyone to able to use it, just by typing the container name in the docker image field. It’s free to create an account on Docker Hub for this purpose.
To publish your container to Docker Hub via a “docker push”, run the following commands in the GNS3 VM CLI:
docker login
docker push joe/hello
You will need to replace joe with your Docker hub username.
More Samples: https://github.com/GNS3/gns3-registry/tree/master/docker