Docker support in GNS3
Docker container support was added as a feature starting with GNS3 1.5. Work on this feature was started by Goran Cetusic during the Google Summer Of Code and finished by the GNS3 core team.
Bernhard Ehlers and AJ Nouri contributed a lot of their time to the testing/validation of this feature, and Andras Dosztal has added many containers as appliances available in the Marketplace (like the Network Automation container, for example).
Advantages of Containers versus QEMU VMS
Containers use services provided by the kernel in the host OS (meaning the GNS3 VM or the local machine, if running GNS3 natively in Linux), and not relying on the kernel provided by the OS installed within a Qemu VM. This means containers consume far less RAM and CPU resources overall, per instance, and have a smaller storage footprint. Docker containers are available from a registry, so you can fork them in order to add your own tools.
Warning
The idea isn’t to simulate the deployment of container infrastructure in production, but to use containers as light virtual machines, replacing heavy qemu VMs instances or VPCS, for times when you want to use tools like telnet, nmap, etc…
Only the top-most layer in a docker container is actually read/write. All of the layers beneath it are read-only.
It’s also not designed to control a docker cluster for production or development. If you want to simulate real life container infrastructure, you need to deploy an OS in a Qemu VM, and start the containers in it.
Adding a container template
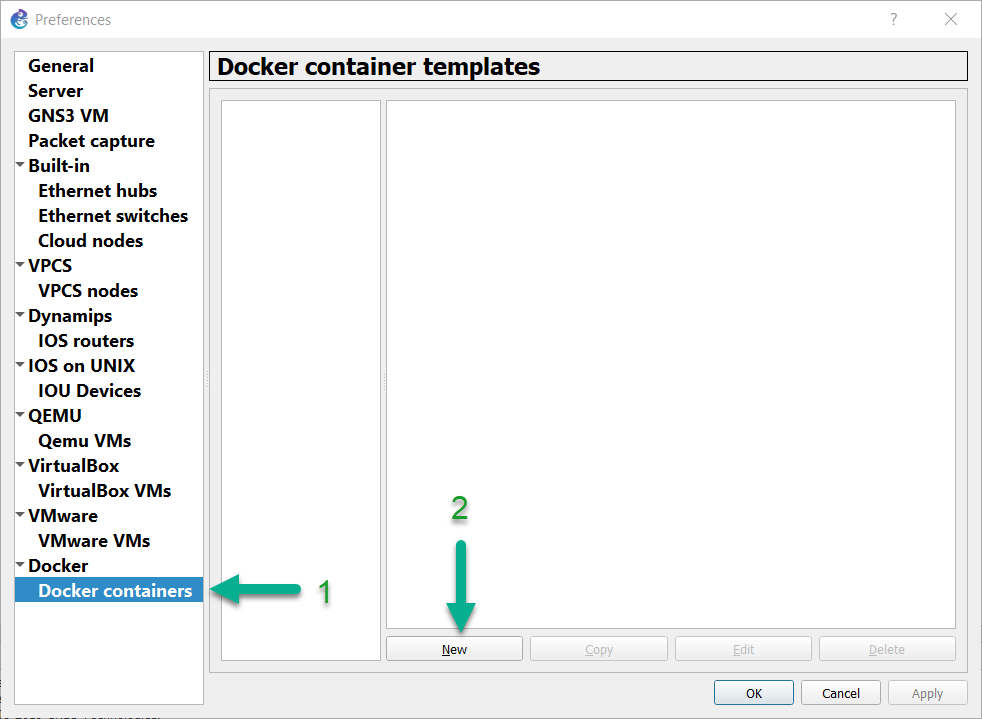
Go to Edit->Preferences->Docker containers and click on New:
Next, select the server you wish to run the container with. Since this article is being written on a Win 10 Pro desktop that has the GNS3 VM running in WS Pro 15.5, that’s the only available option:
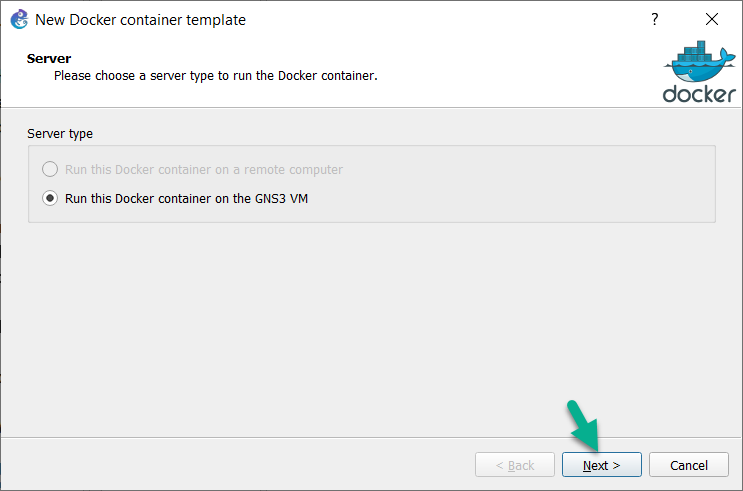
(Running GNS3 natively in Linux would allow this container to run via the local server, or if GNS3 had been configured to use a remote server, that option would be available, too)
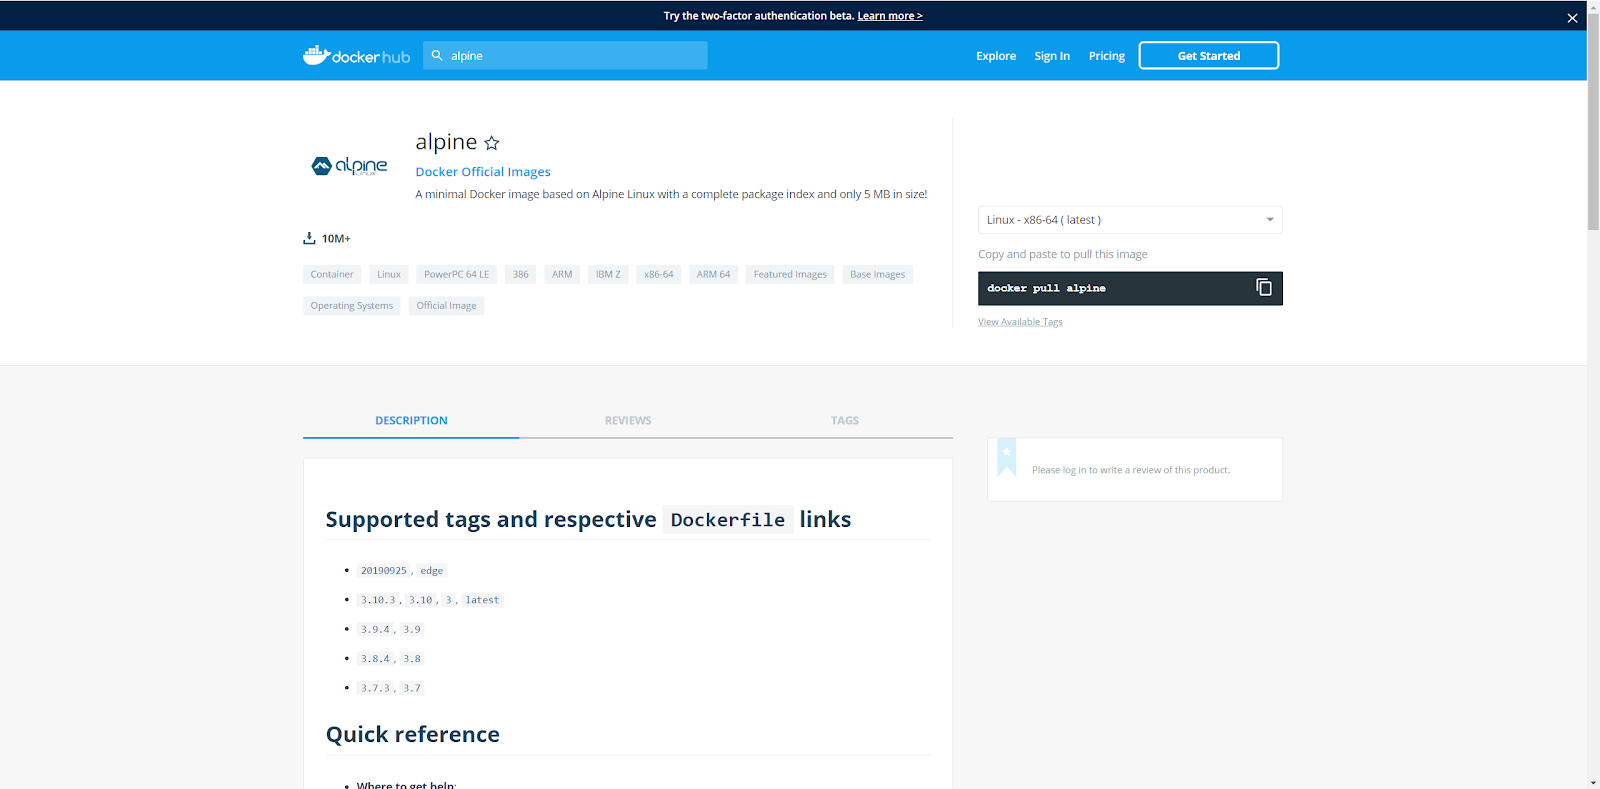
You will need to select the container you wish to use. There are many freely available containers over on Docker Hub (https://hub.docker.com), as well as in the GNS3 Marketplace (you’d simply use download the relevant .gns3a appliance file, use the “import appliance” wizard, and follow the direction).
Please note that most containers start a daemon and expose ports. This will not work on GNS3 because we need to configure the IP address inside the container (in standard usage, docker take care of the networking and you can not access containers directly from the network)
We will use for this example an image of Alpine Linux 3.2, which is a very lightweight Linux distribution.
You can see all the alpine linux versions available for Docker here: https://hub.docker.com/_/alpine/*
On the next screen, we’ll elect to use the alpine docker container from Docker Hub. Select “New Image”, and in the dialog box, type alpine:latest, as shown below, and then click Next >:

The reason to use “latest”, as opposed to using a specific version number, is so you can easily upgrade this container to the latest version on Docker Hub. You’d enter the GNS3 VM’s shell (or just use a terminal in Linux), and run “docker pull alpine:latest”, and any changes will be pulled down from Docker Hub, and applied the existing container.
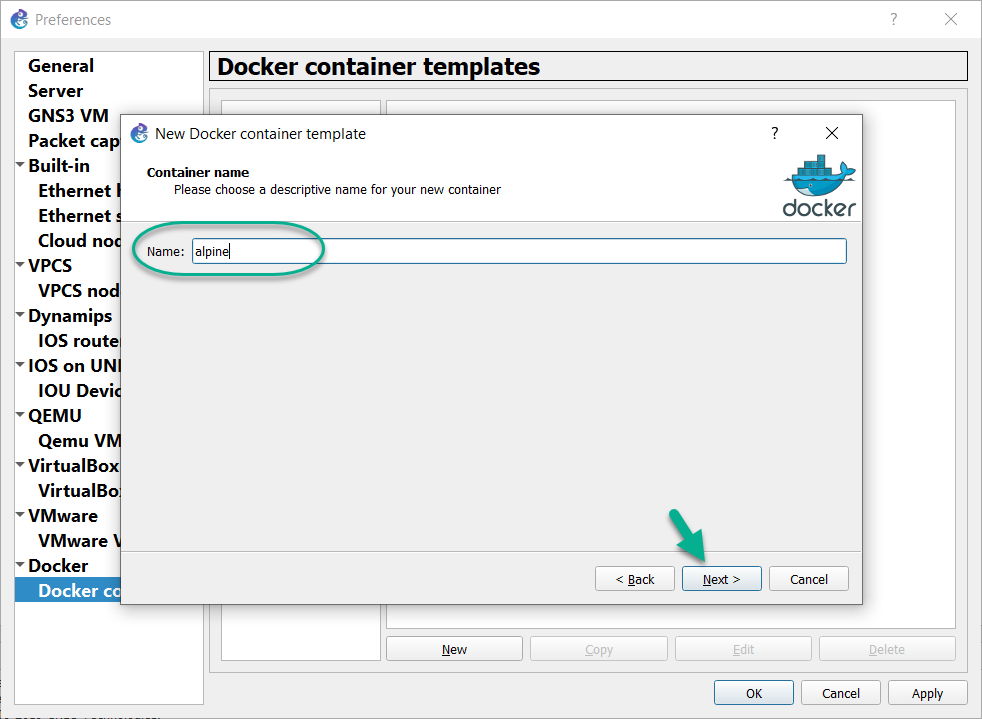
On the next screen, give the container a name. In this instance, it’ll just be called “alpine”, and that’s what it will be listed as in the End Devices toolbar:
Next, you’ll assign how many adapters this container should have. Since This example will just be using the Alpine container as a host, it’ll be left at the default of 1:
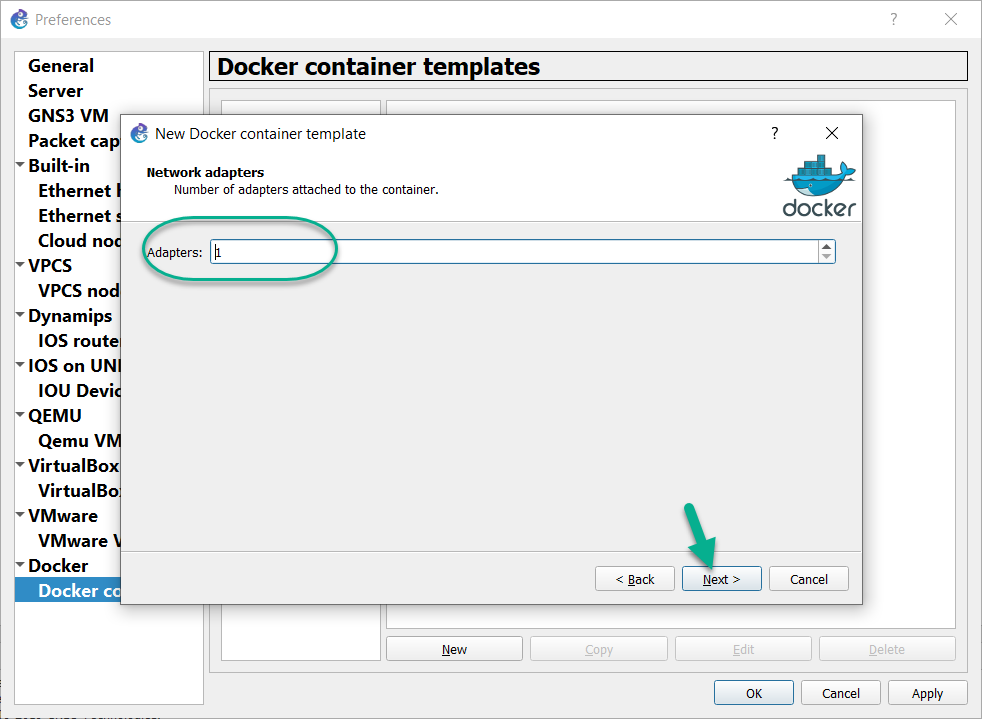
(it’s entirely possible to create a docker container based off of Debian with FRRouting installed, and have it run OSPF, BGP, or IS-IS, and act as a temporary light router. You could also have a container running an open-source firewall. Those are just two simple examples of why you’d use more than a single interface for a container )
Next, specify the start command. It’s like the init process on a standard Linux. Often in GNS3, we just want a shell:

On the next screen you’ll choose a Console type from a dropdown menu. It’s set to “Telnet” by default, which is fine for this example, so just click Next>:
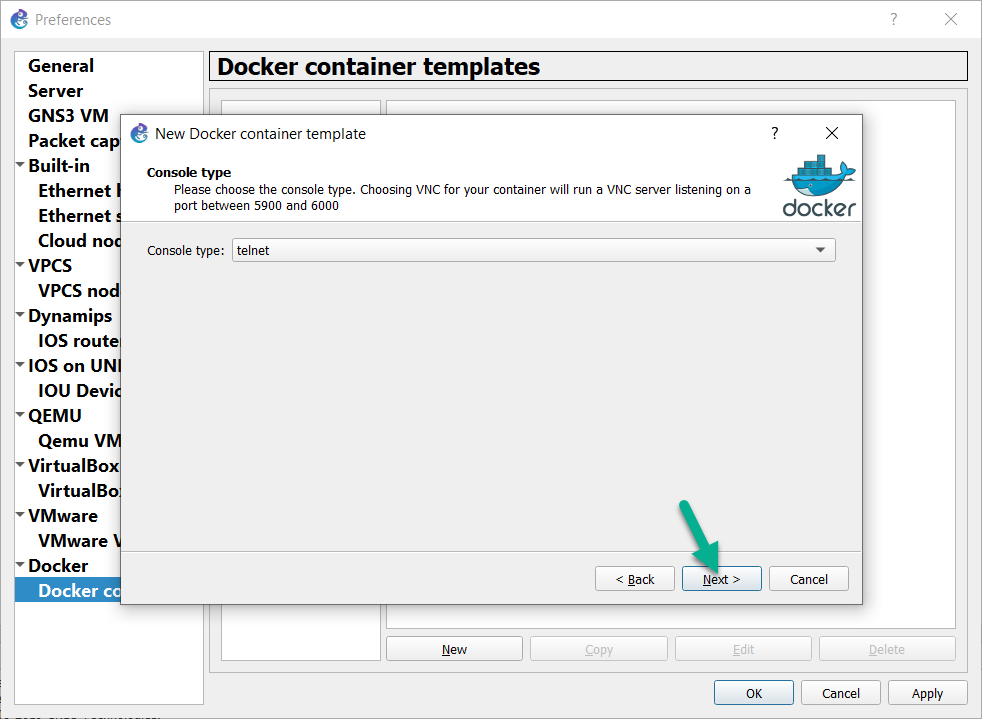
(the full list of console types are currently telnet, vnc, http, https, and none)
Next, you can configure environment variables that will be accessible inside the container. A lot of Docker containers will use that for their configuration. We’ll just use a simple “HELLO=WORLD” variable for this example:
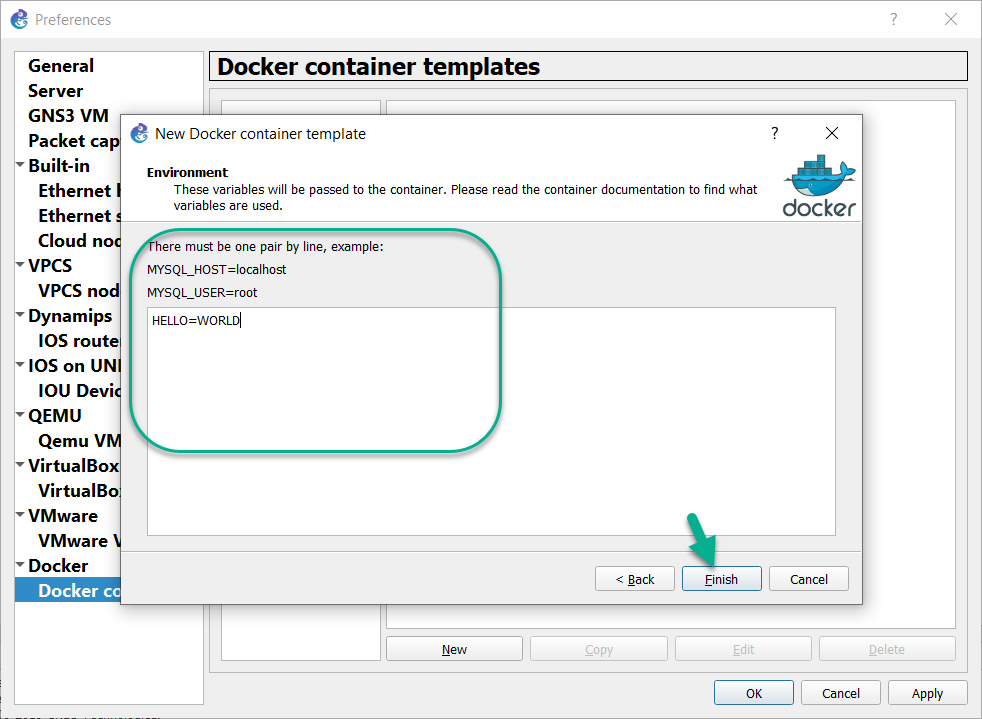
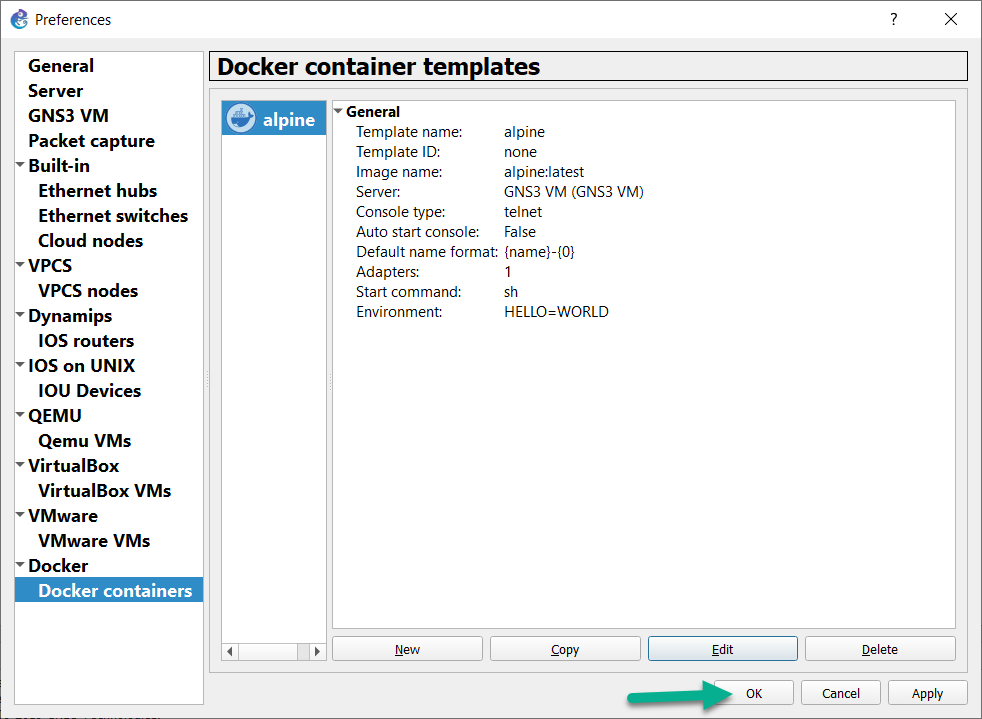
Click Finish to complete this wizard, and then click OK to exit out of the Preferences menu:
At the end of the wizard, if the base container is not available already on your system, you will need to initiate a docker-pull. There are two methods of doing this. We’ll look at the simplest method first.
(note: this docker pull only needs to occur once per-container, unless you deleted the container, deleted and reimported the GNS3 VM, or if you’re attempting to upgrade the container, etc...)
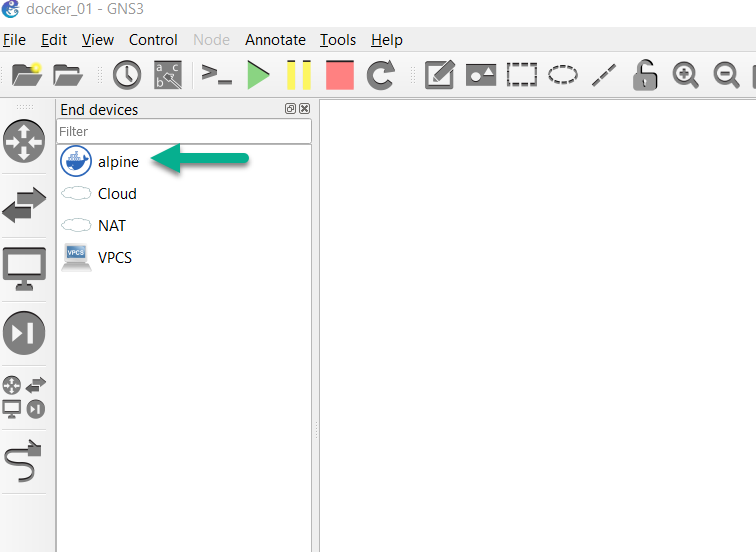
As stated previously, this container is found in the End Devices toolbar:
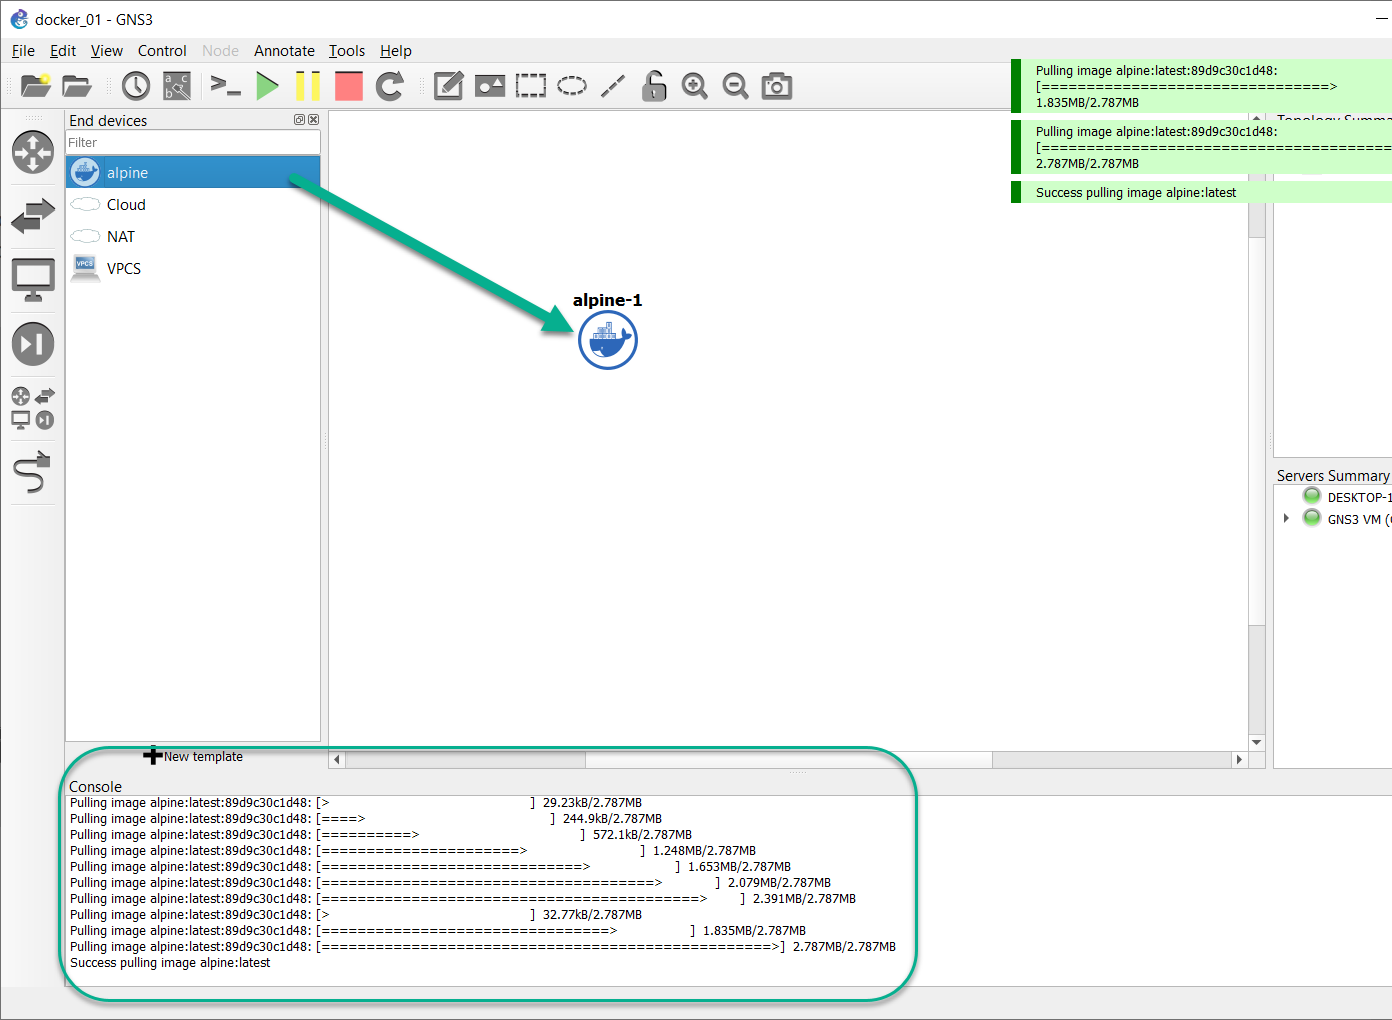
Drag and drop an instance of the container into the topology (internet access is required at this point), and GNS3 will initiate the docker pull. You’ll see the progress in the GNS3 Console pane:
The second option is almost as easy, but it does require that you enter the GNS3 VM’s shell (or use a terminal, if running GNS3 in Linux). You manually initiate the docker pull by using the command docker pull <name>:<version>. In this instance, it’s docker pull alpine:latest, as shown below:

(This screenshot was taken after having initiating the docker pull via the GNS3 GUI, so the docker engine is just letting us know that we have the latest version. Had there been an updated version published (or if the pull hadn’t been run in the GUI already), you’d see the same progress as shown in the GNS3 console)
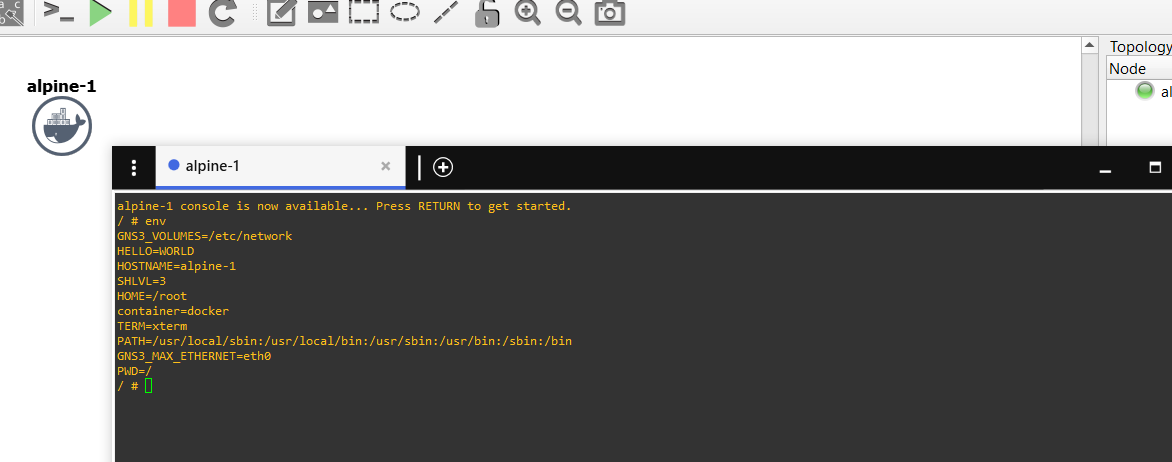
Next, you can start the container in the topology, and open a console window. The “env” command was to show the environmental variables:
Please note that network interfaces will be available only when a cable is connected!
Persistence
By default, changes made to the read/write layer of the container are not written to disk, thus not persistent across reboots. The container needs to be designed in advance for this behavior to be changed.
If, in the Dockerfile, the container mounts volumes, GNS3 will create in a folder (within the overall Project Folder for this project) for each of the Docker volumes, and will write files inside those.
This means if you use a container outside GNS3, that data will not be available. But, this also means that all the data of the current GNS3 project is stored in the same location.
Networking
When you use a normal Docker installation, the networking part is managed for you. Because GNS3 uses docker to simulate a computer, you need to configure it by hand.
The file “/etc/network/interfaces�” is read at container start and you can edit it from within the container, or you can also graphically edit that file in the GNS3 GUI, by right-clicking on a stopped instance of the container in a topology, selecting “Edit Config”, edit the /etc/network/interfaces file in the resulting pop up window, selecting “Save”, and then starting the container.
This file contains a sample config that you can tune to adapt the config to suit your simulated network within the topology (like assigning it a static IP, or setting it to use DHCP). The directory /etc/network is persisted on disk on a per-project basis.
VNC
You can launch graphical programs if you choose VNC as the console type. Behind the scenes, GNS3 will start a fake Xserver (using Xvfb) and inject it in the container. After that this X server is exposed to the network via X11VNC. You don’t need to modify your container to get VNC support. A limitation of this, is that any container can access the X socket of other containers.
HTTP
You can replace the telnet console with a web page, if your container is running a web server. This support will not work for some applications, because we just forward the data without interpreting the data being passed by HTTP.
Auxiliary Console
By default, we start a /bin/sh as an auxiliary console. This allows you to get a shell for a container, where the start command is not a shel,l or if the console type is VNC. Under the hood, it’s a docker exec starting a custom busybox shell. For technical reasons, this is slower than the standard telnet console.