How to use GNS3 VM with VirtualBox
Video Tutorial
📺 Watch the Video Tutorial - Follow along step-by-step to import GNS3 VM to VirtualBox
Run GNS3 VM in VirtualBox. This is good for personal use and learning.
Before You Start
- You have VirtualBox installed
- You downloaded the GNS3 VM (.ova file) from the GNS3 website or from the gns3-gui Release page
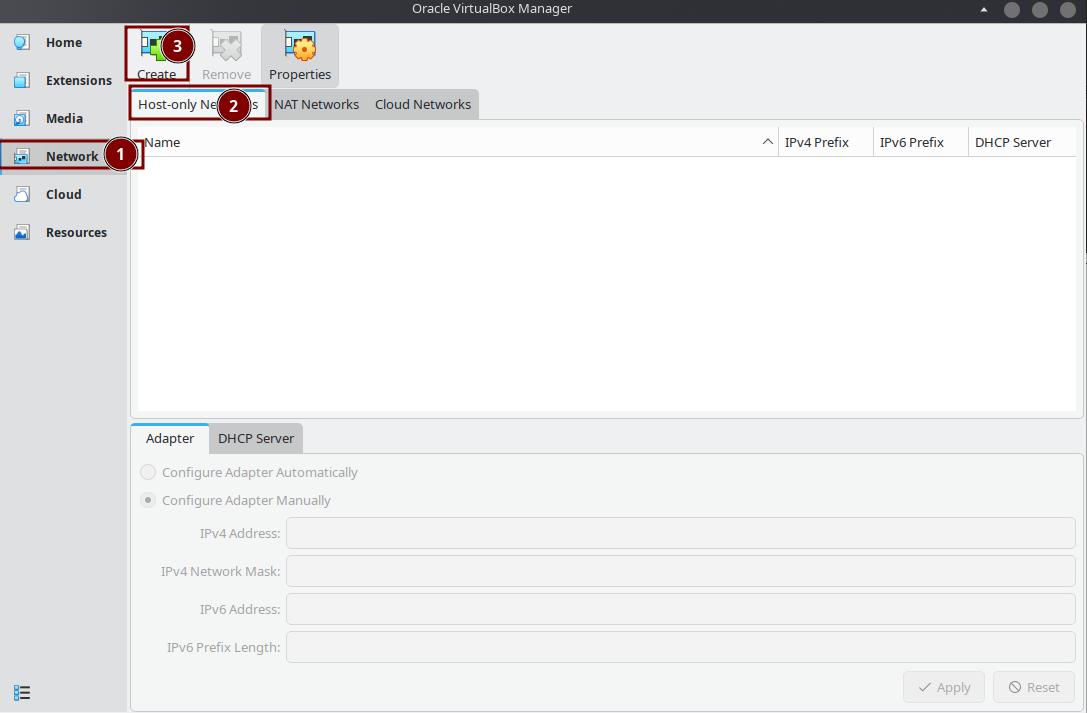
Step 1: Set Up the Network
Set up a "Host-Only Network" for GNS3 VM in VirtualBox.
- Click "Network", choose "Host-Only Network", then click "Create".
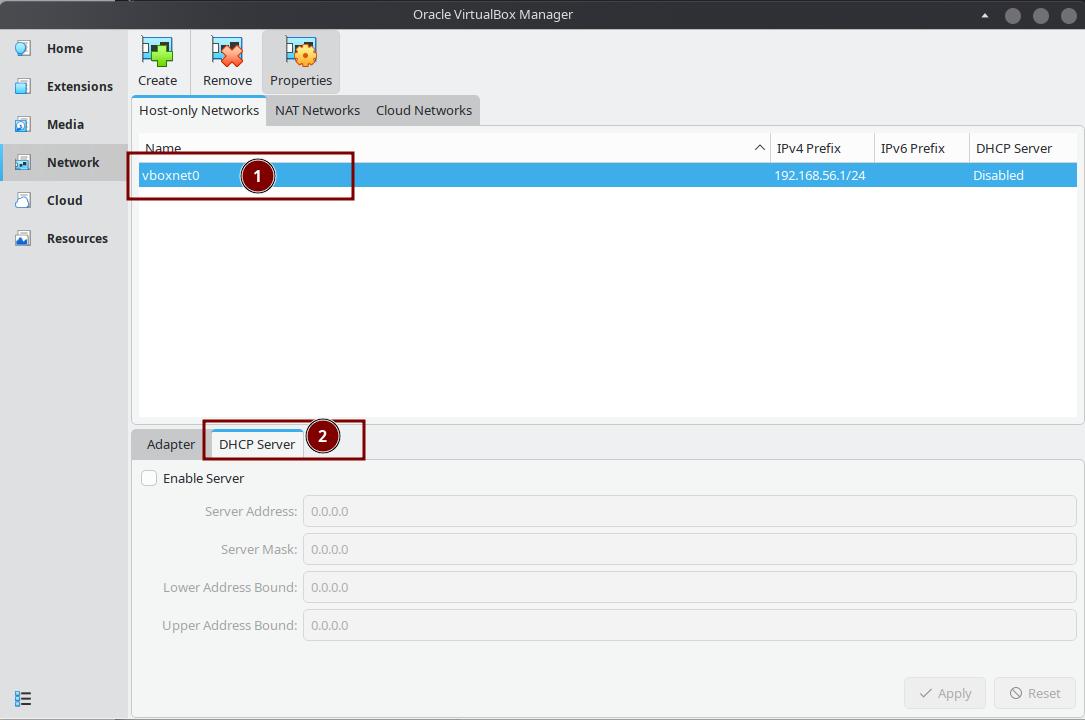
- Select the new network, then choose "DHCP Server".
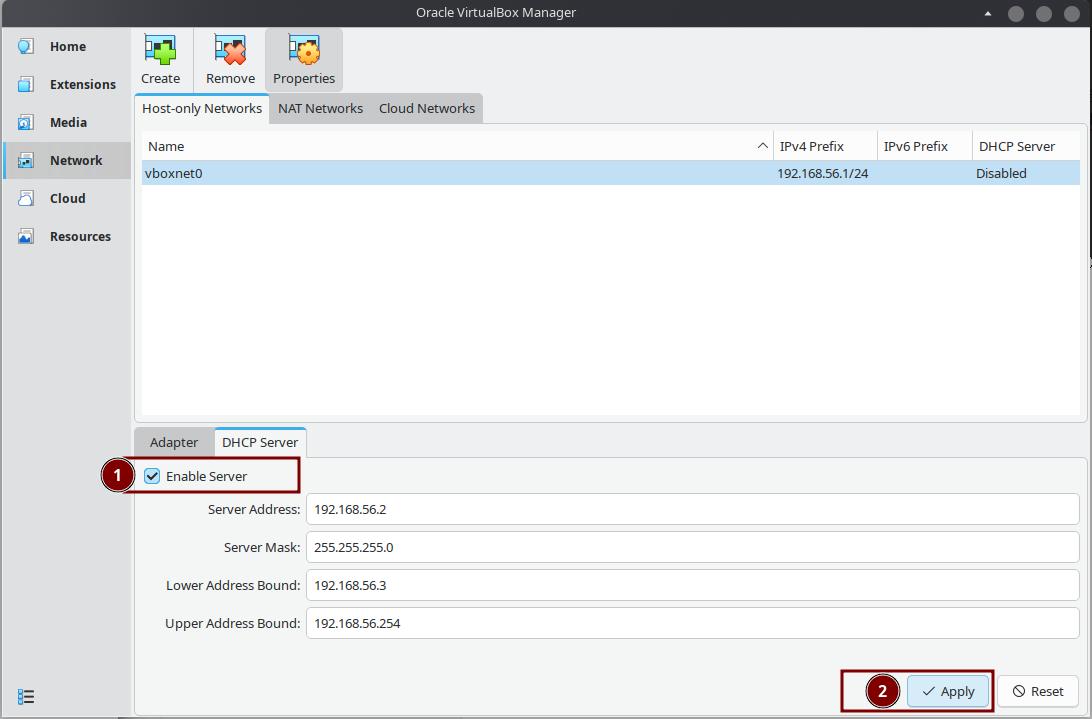
- Check "Enable Server", then click "OK".
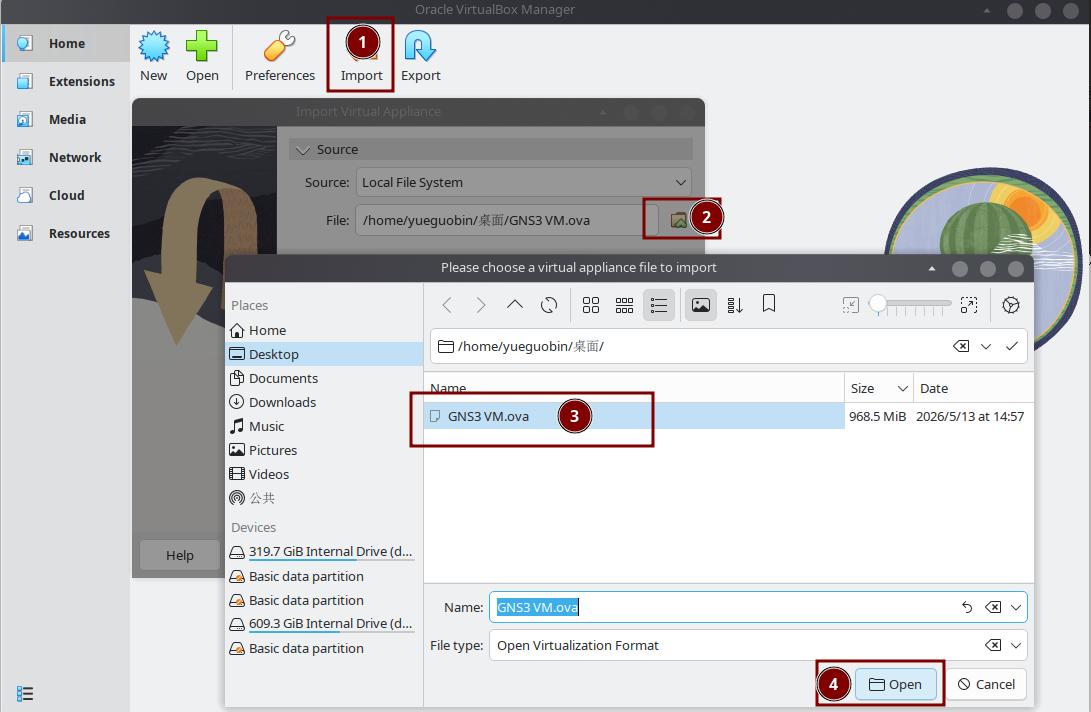
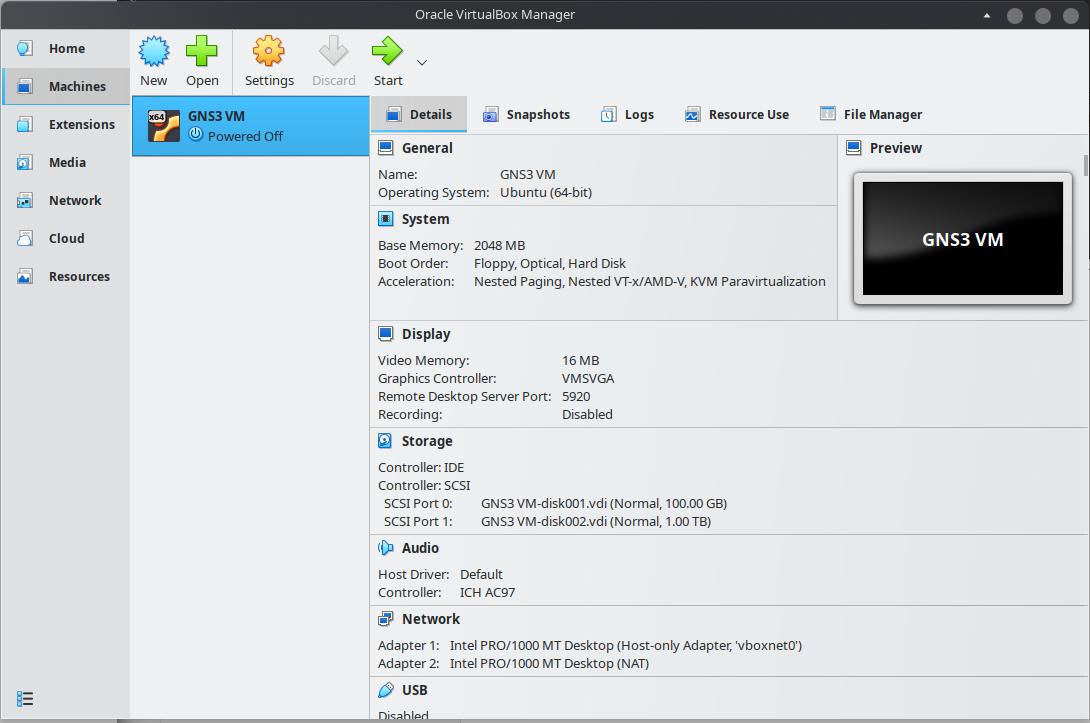
Step 2: Import the Virtual Machine
Download the GNS3 VM image from the GNS3 website, then import it into VirtualBox.
Main menu→Import→ ChooseGNS3 VM.ova→Import
- Import is done.
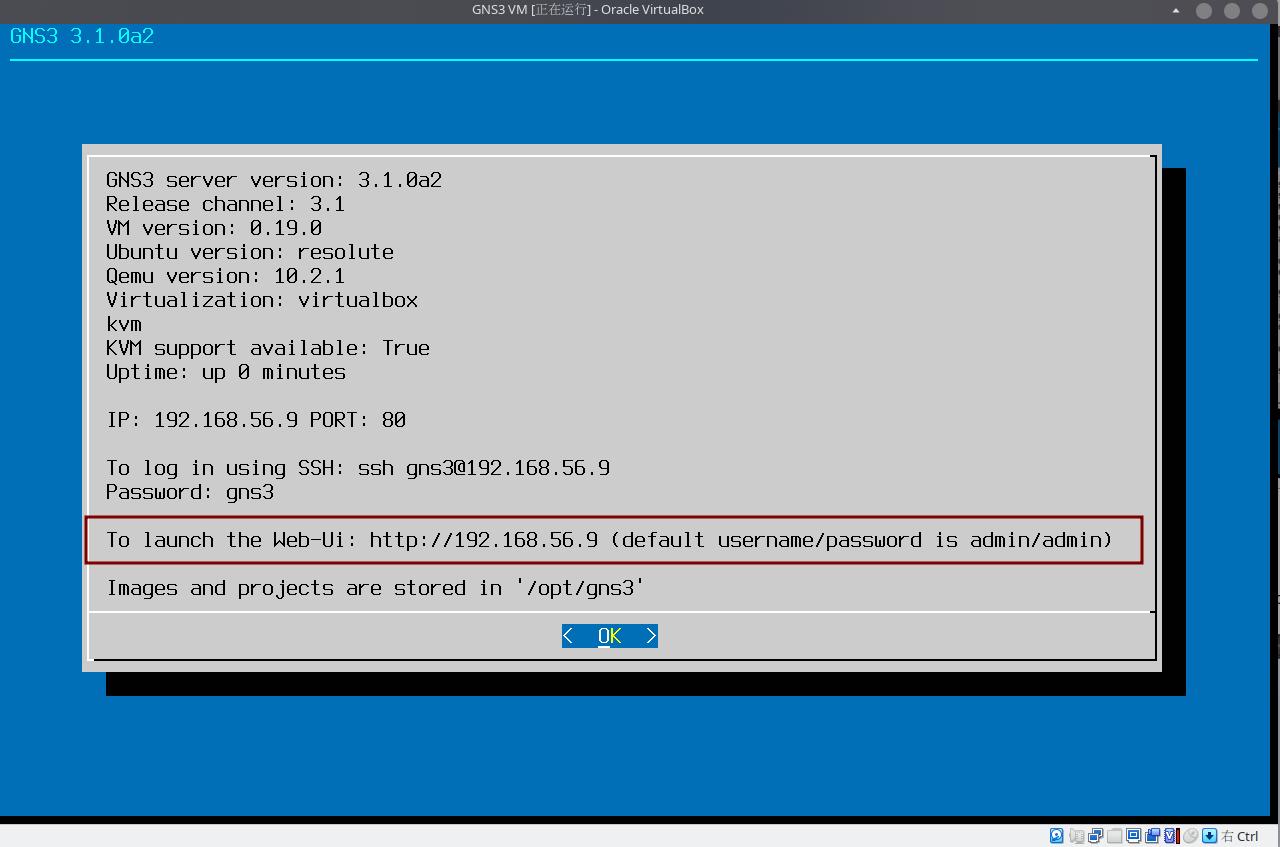
Step 3: Start the Virtual Machine
Start the GNS3 VM. Wait for it to fully boot (about 2-3 minutes). Then write down the IP address shown on the screen.
After it starts, you will see the GNS3 VM console screen. It shows login information and the IP address.
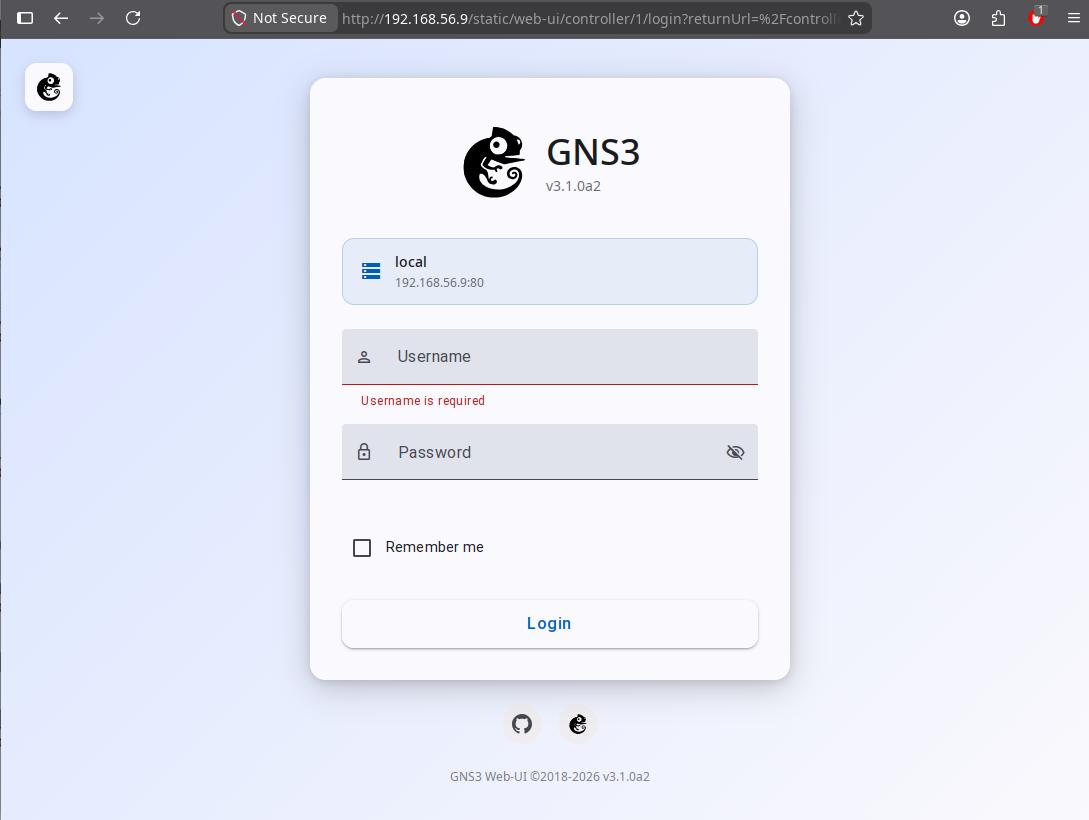
Step 4: Log In to the Web UI
Open your browser and go to the GNS3 Web UI. Log in with username admin and password admin.
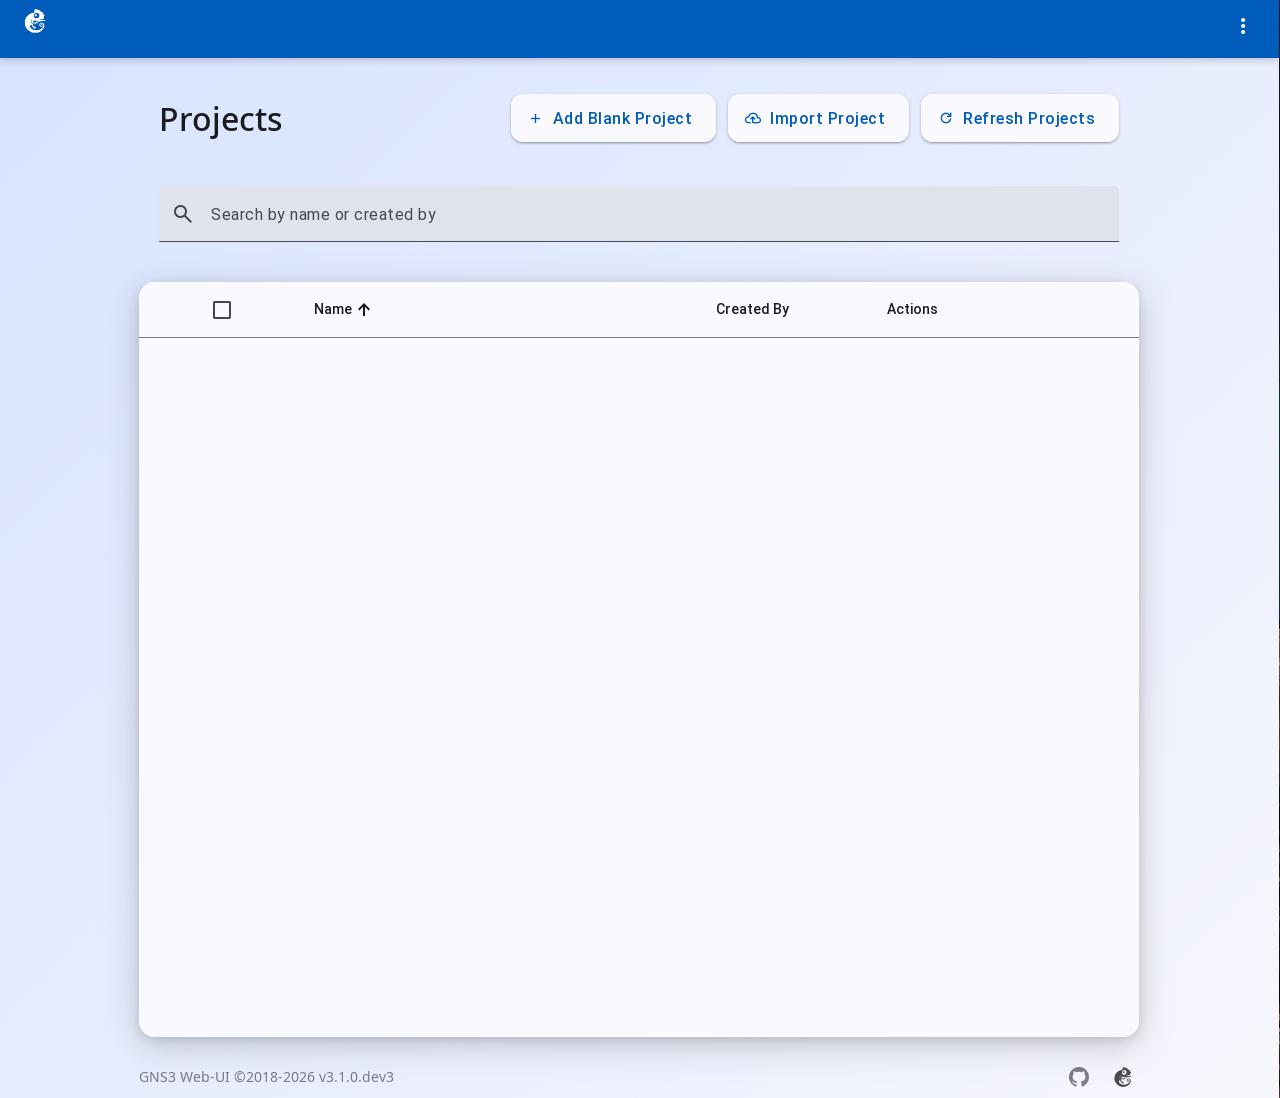
- The page after you log in.
Document Version: 3.1.0 Last Updated: 2026-05-15