How to manage users and permissions
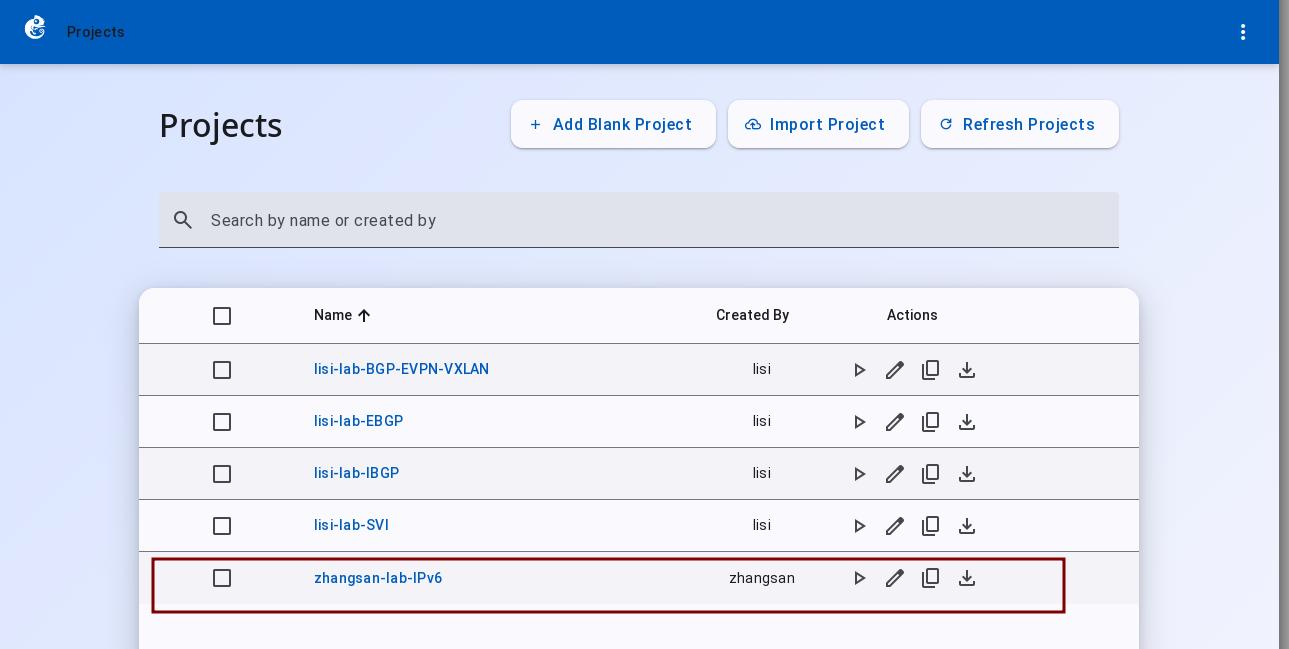
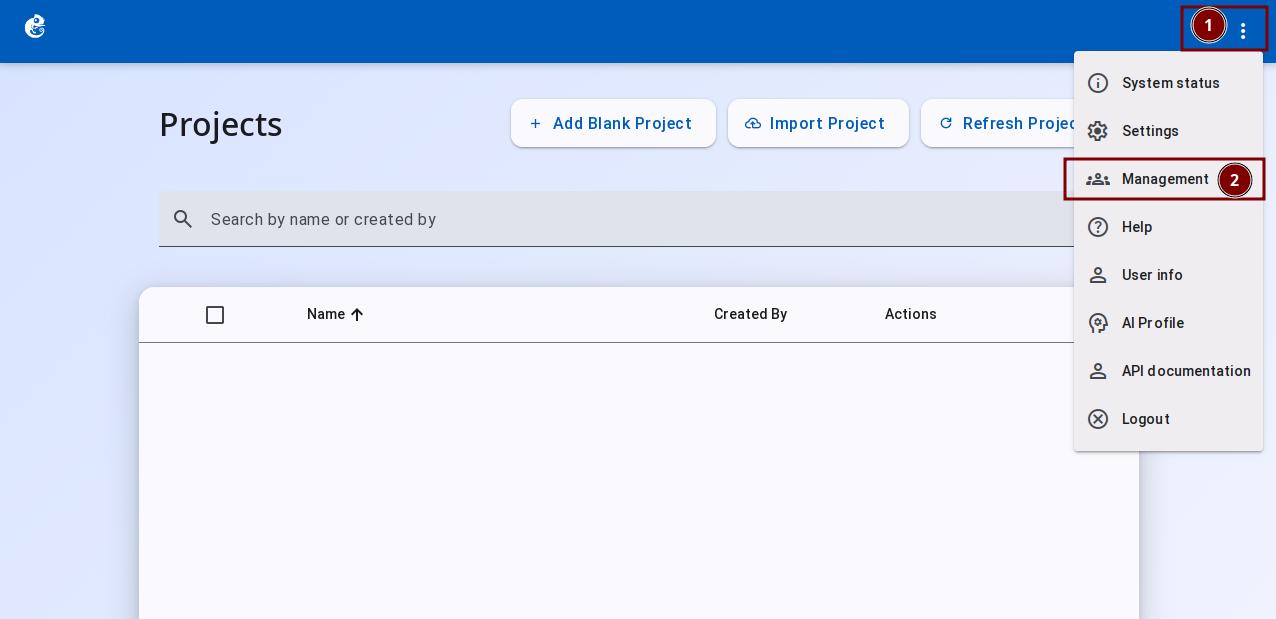
On the project home page, click the GNS3 Logo at the top left and select "Management".
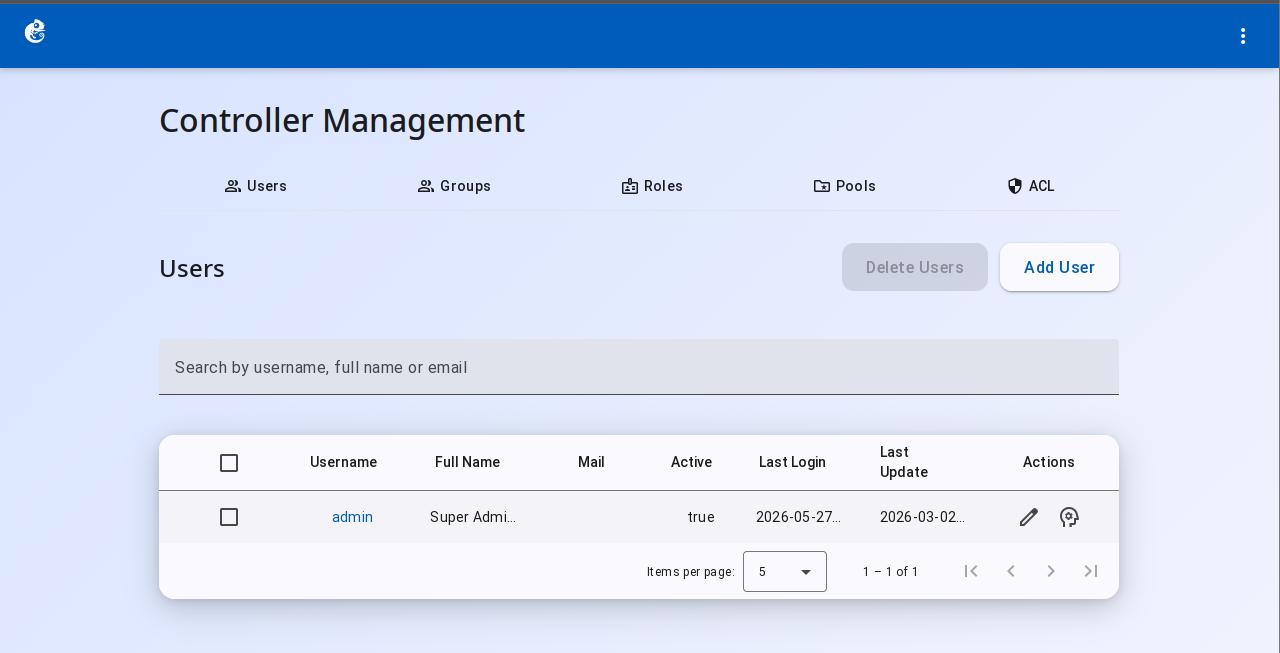
Users
Create and manage system user accounts. Supports authentication, personal information management, and organization relationship management.
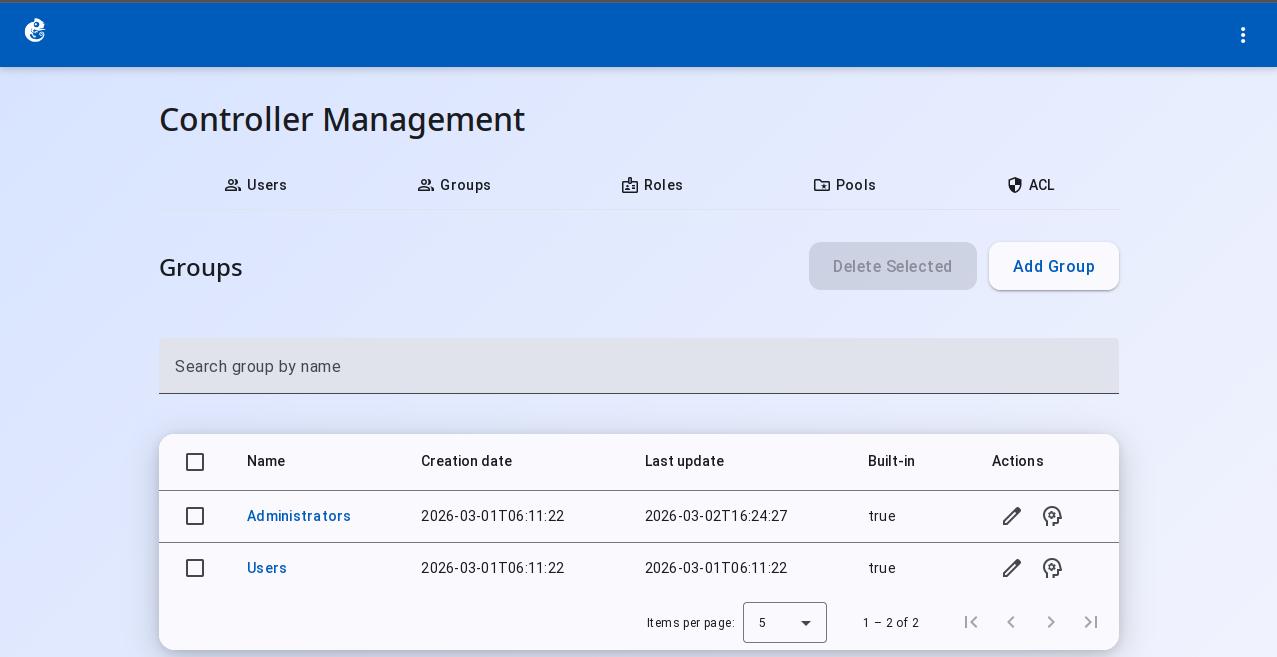
Groups
Groups let you organize users into logical units. With groups, administrators can give the same permissions to many users at once.
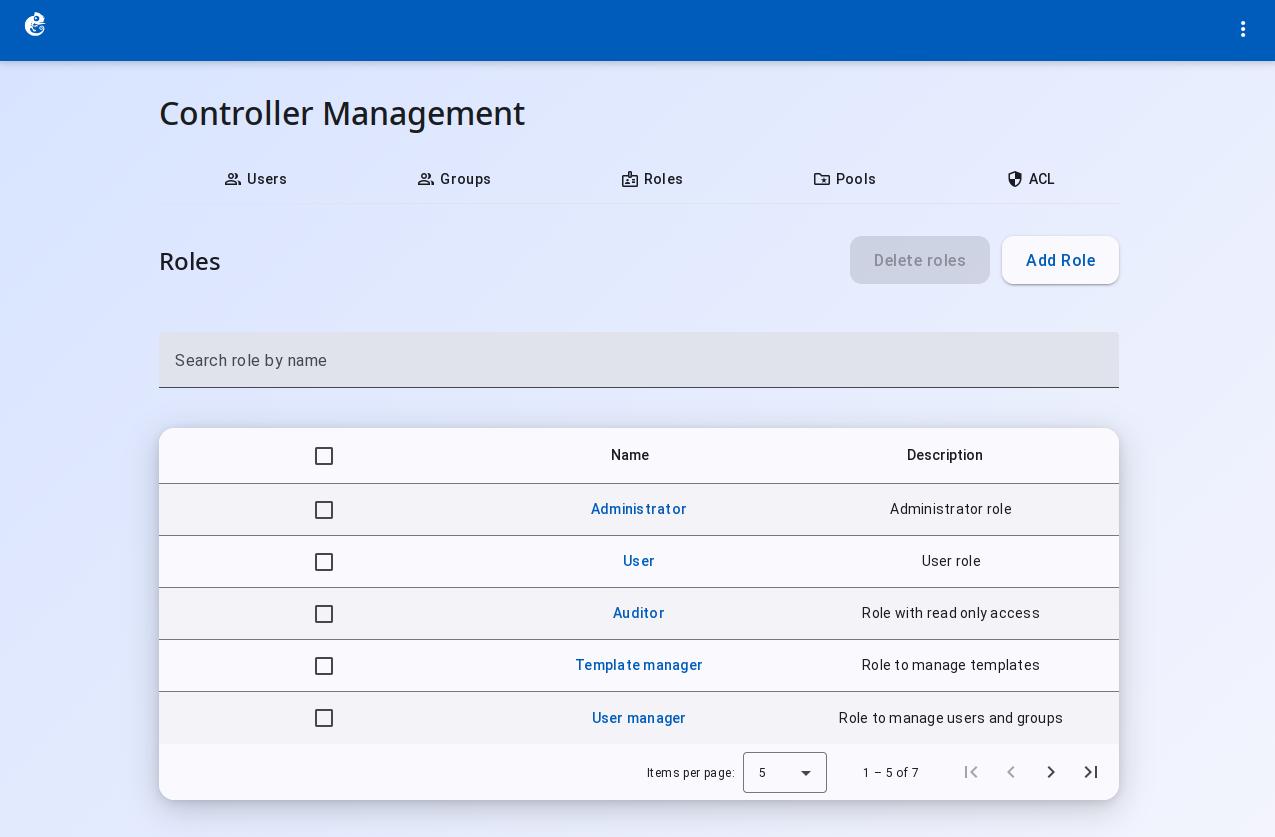
Roles
Roles define what actions a user can perform. A role is a collection of privileges, and users get permissions by being assigned a role. The default roles are sufficient for most scenarios.
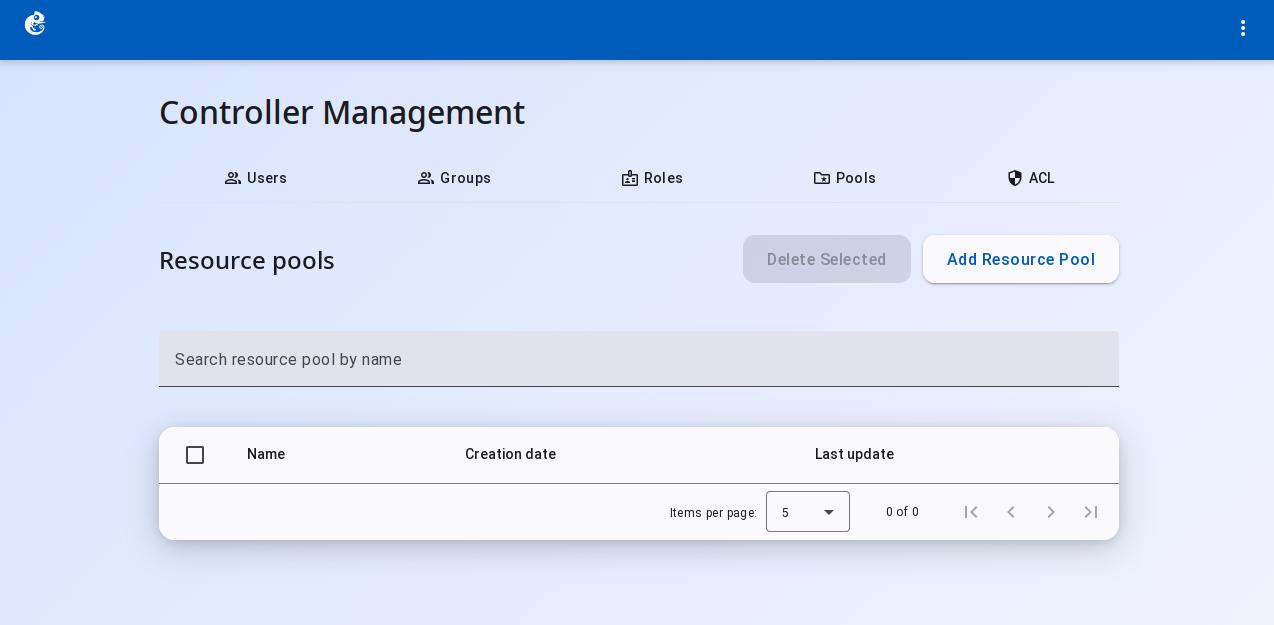
Pools
Pools are used to share projects with users or groups, enabling access control over projects.
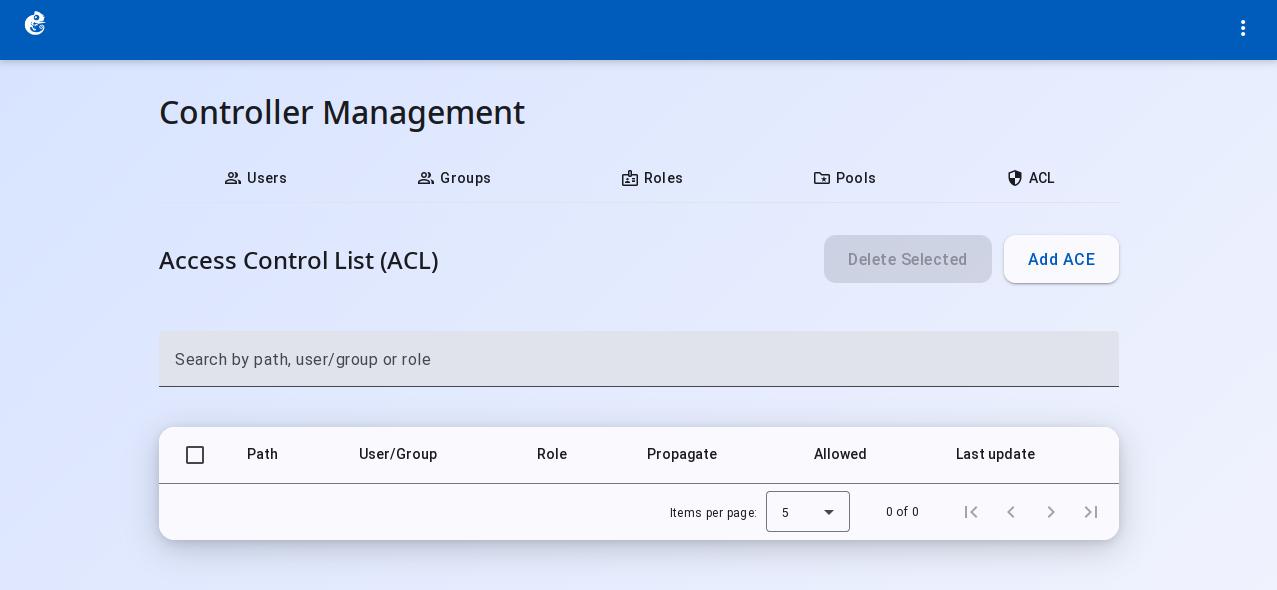
ACL (Access Control List)
ACL provides fine-grained access control based on API paths. It manages user and group access to different system resources.
Use Case: User Project Isolation
The admin creates two users, zhangsan and lisi, both in the users group. An ACE rule associates the users group with the users role and all endpoints. After configuration, zhangsan and lisi can each only see their own projects, while the admin can see all projects.
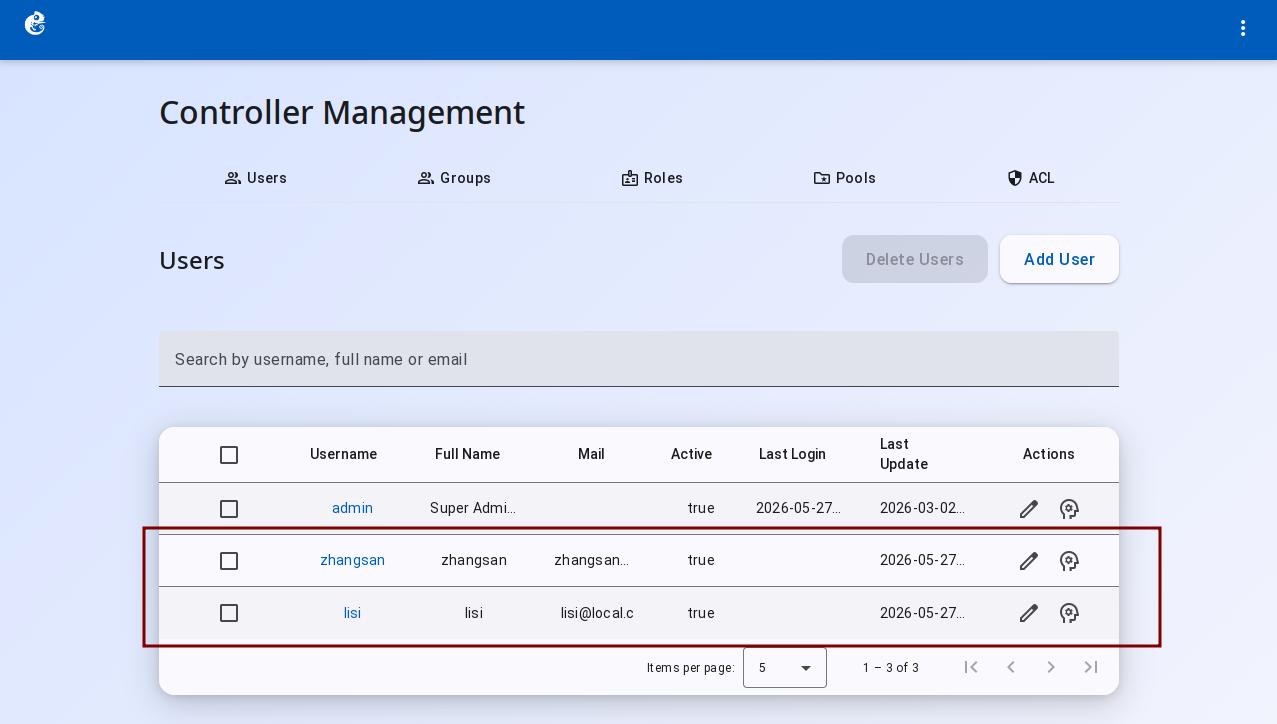
1. Create users
On the Controller Management page, click Users → Add Users, fill in the user details and select the Users group, then click Add user:
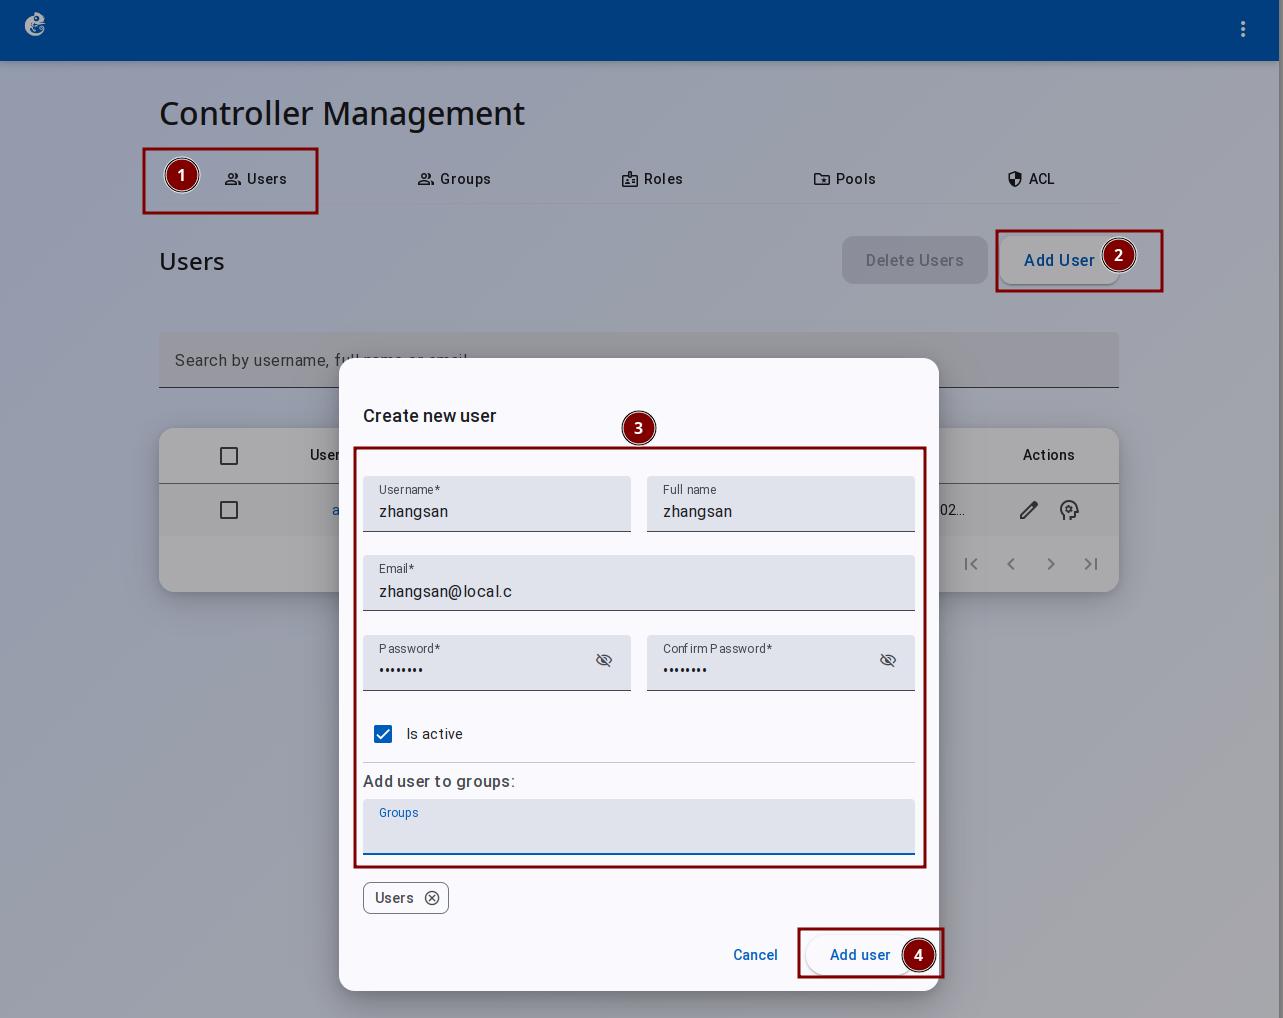
Create both zhangsan and lisi:
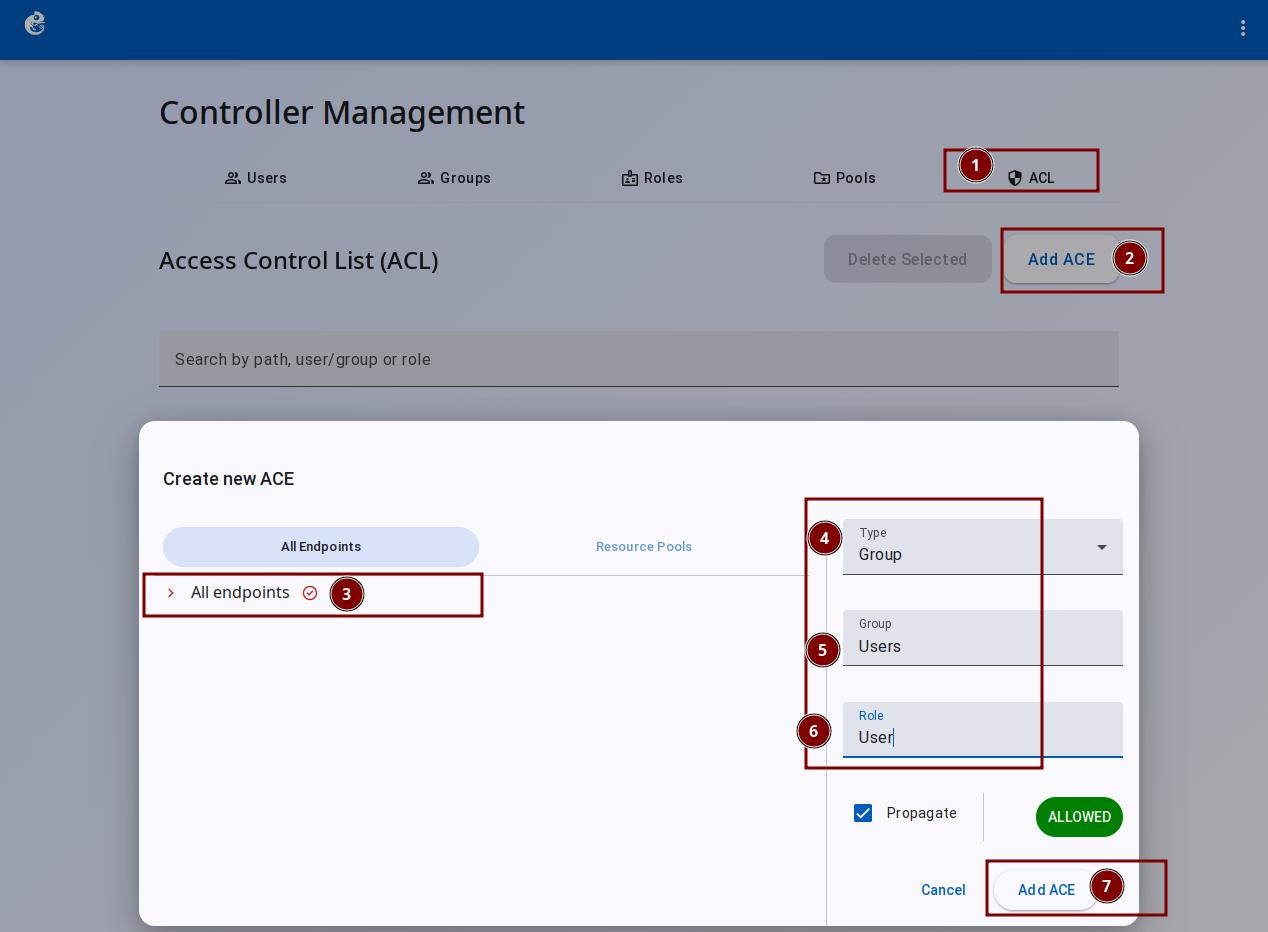
2. Create ACL rules
On the Controller Management page, click ACL → Add ACE, select All endpoints, the Users group, and the Users role, then click Add ACE:
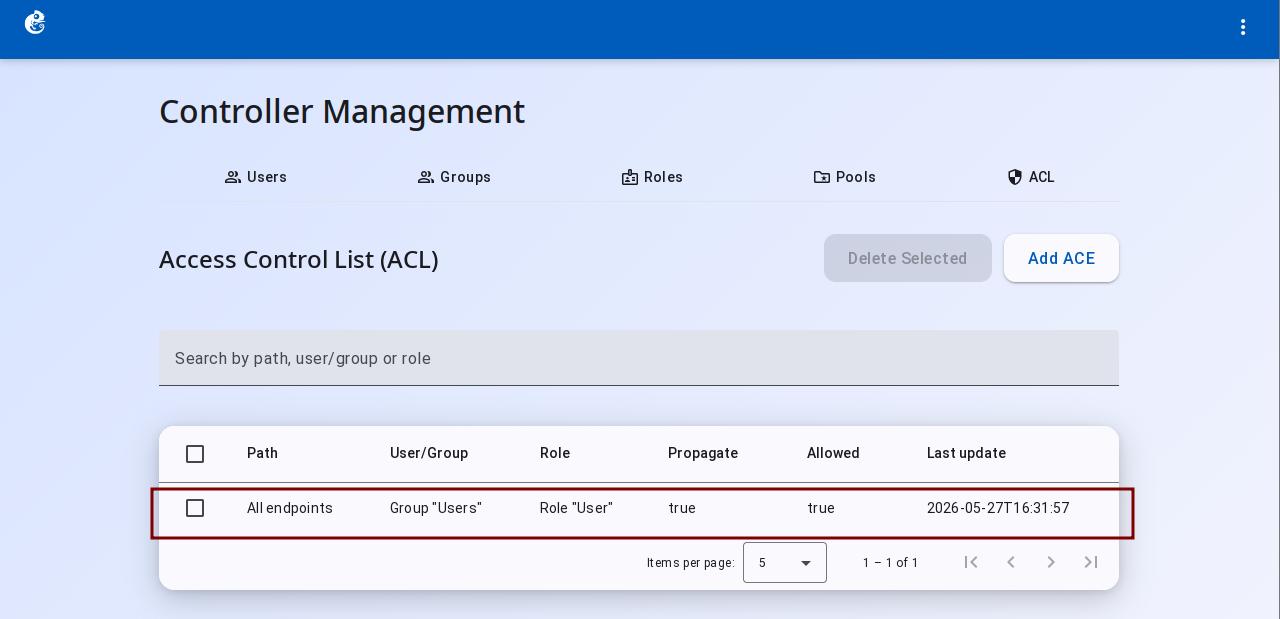
The ACE rule list after creation:
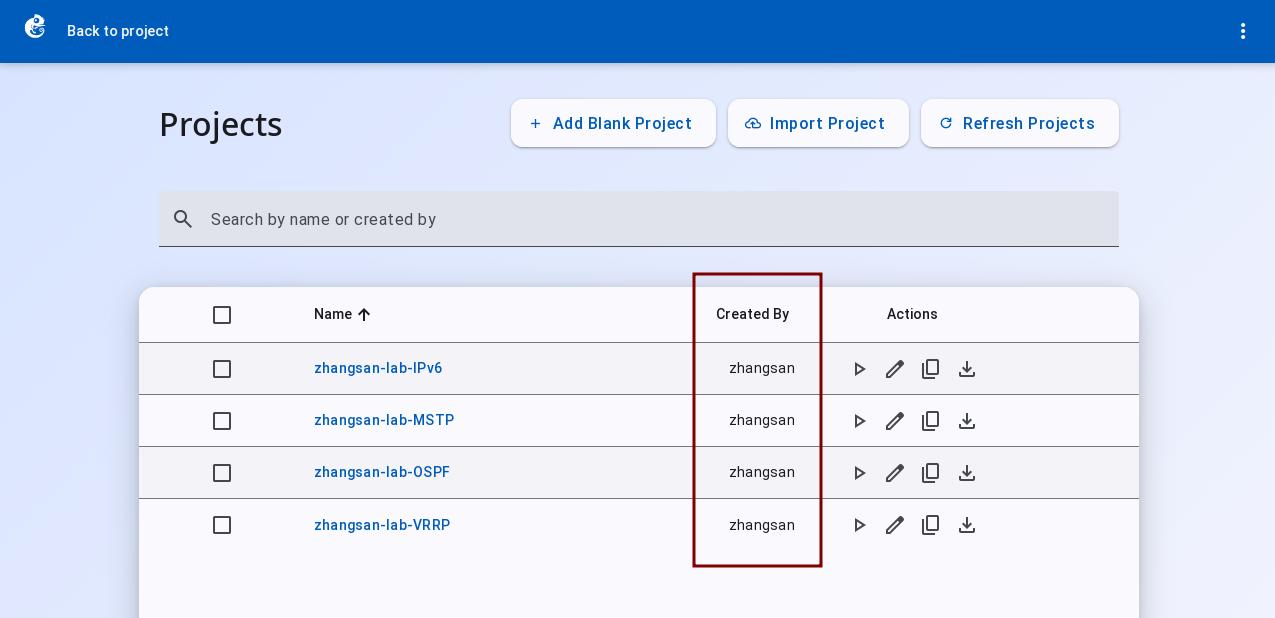
3. Verify isolation
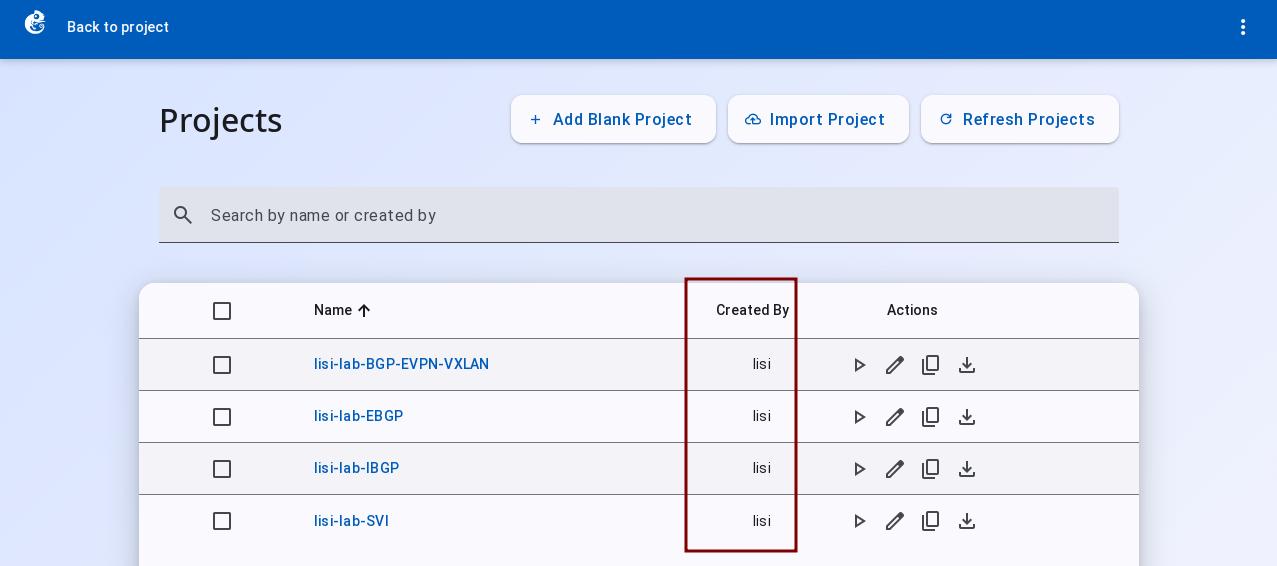
After logging in, zhangsan can only see their own projects, and the same applies to lisi:
Use Case: Project Sharing
If zhangsan wants to share a project with lisi, the admin can create a pool in Pools, add zhangsan's project to it, then create an ACE rule in ACL to grant lisi access to the pool with the users role. This way, zhangsan and lisi can both work on the same project.
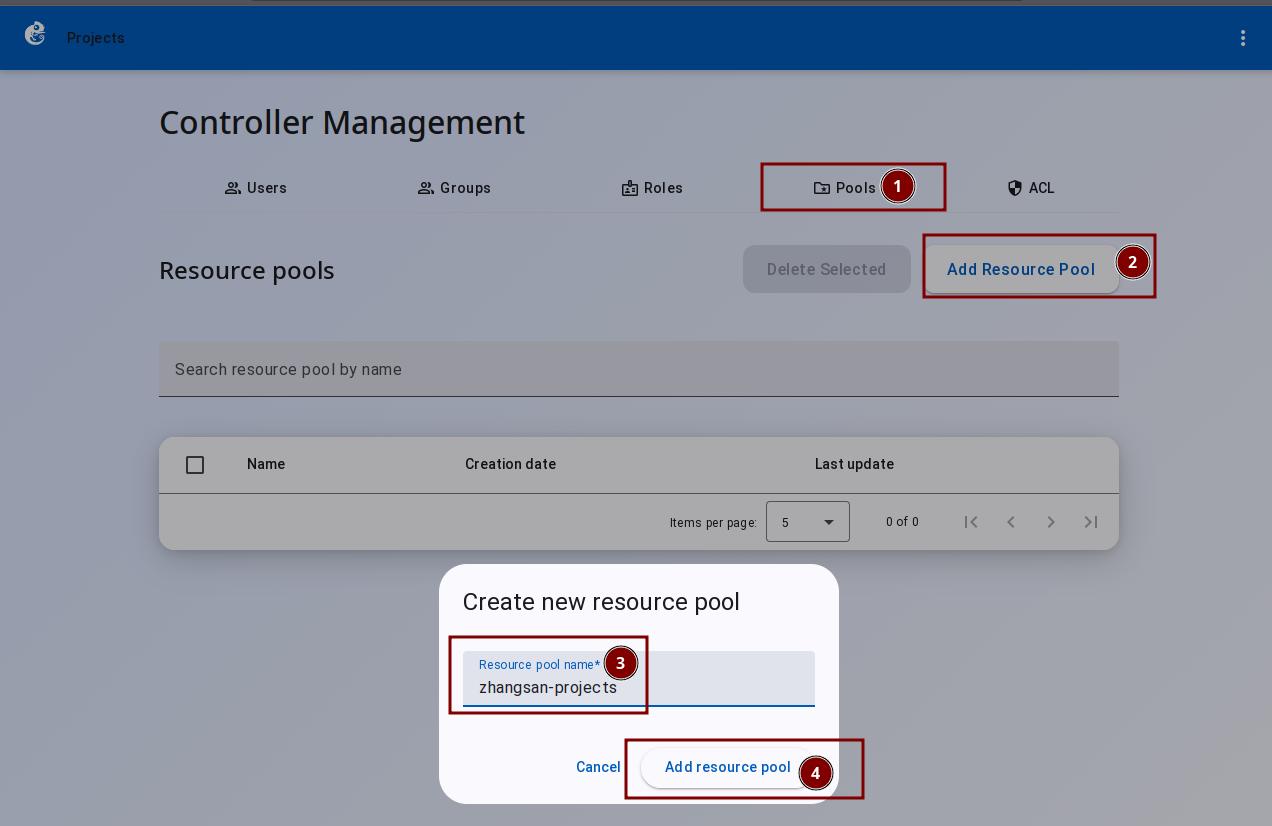
1. Create a pool
On the Controller Management page, click Pools → Add Resource Pool, enter a pool name (e.g. zhangsan-projects), then click Add Resource Pool:
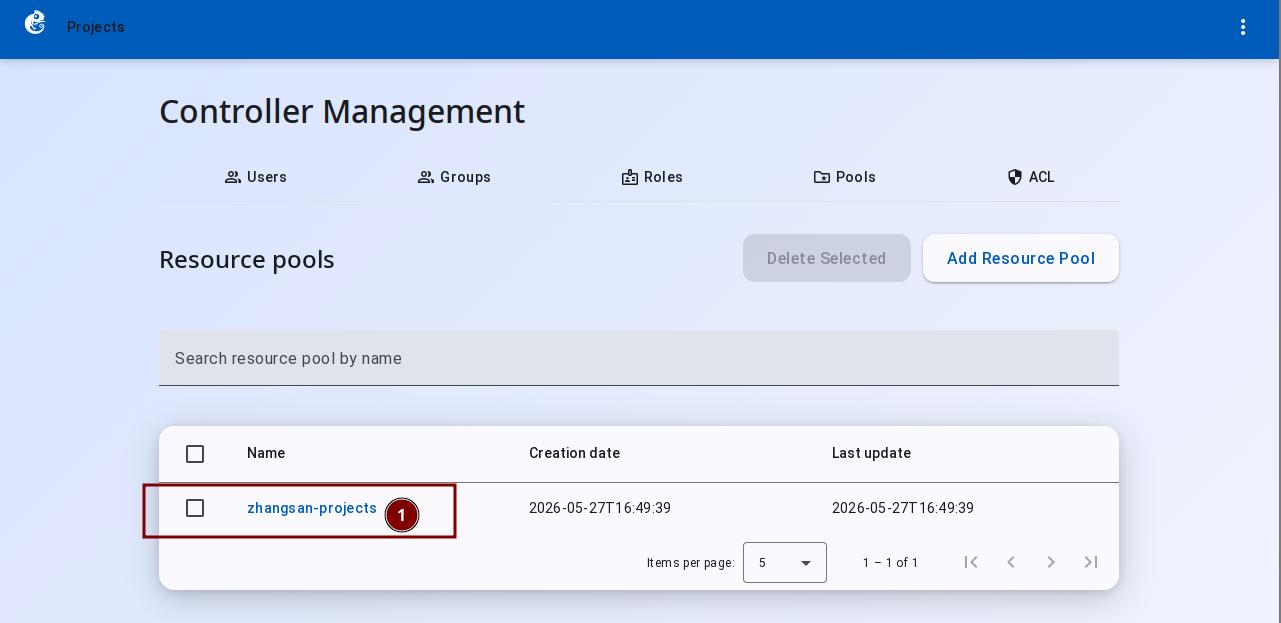
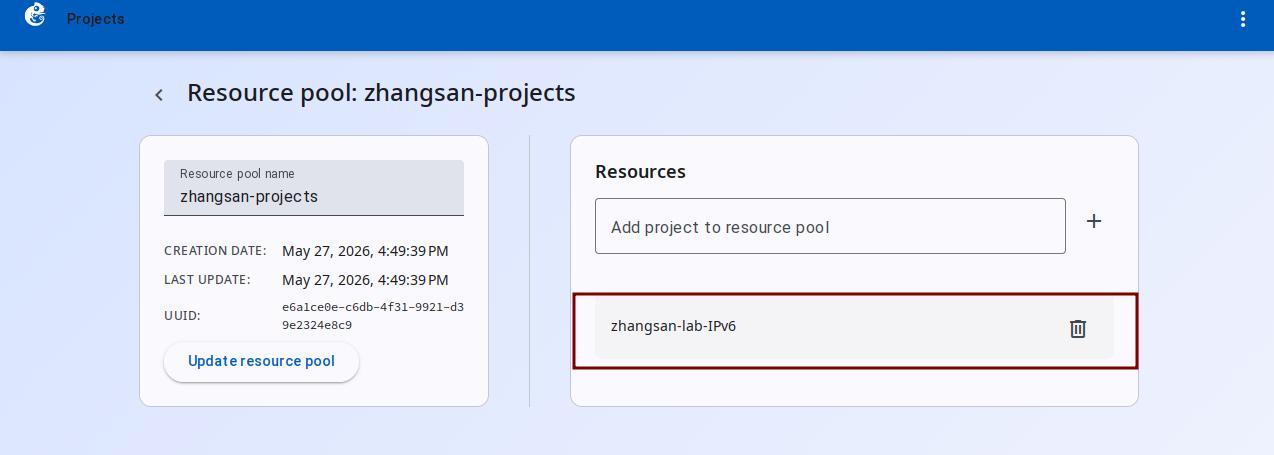
Click the pool name to enter its configuration page:
Select the project to share and click the add button:
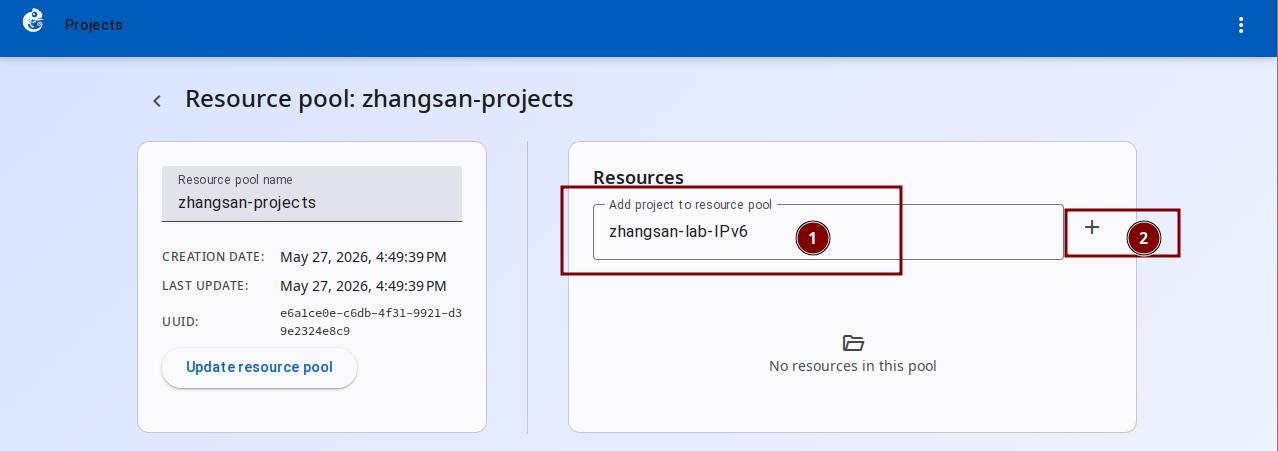
The project appears in the pool after being added:
2. Create an ACE rule
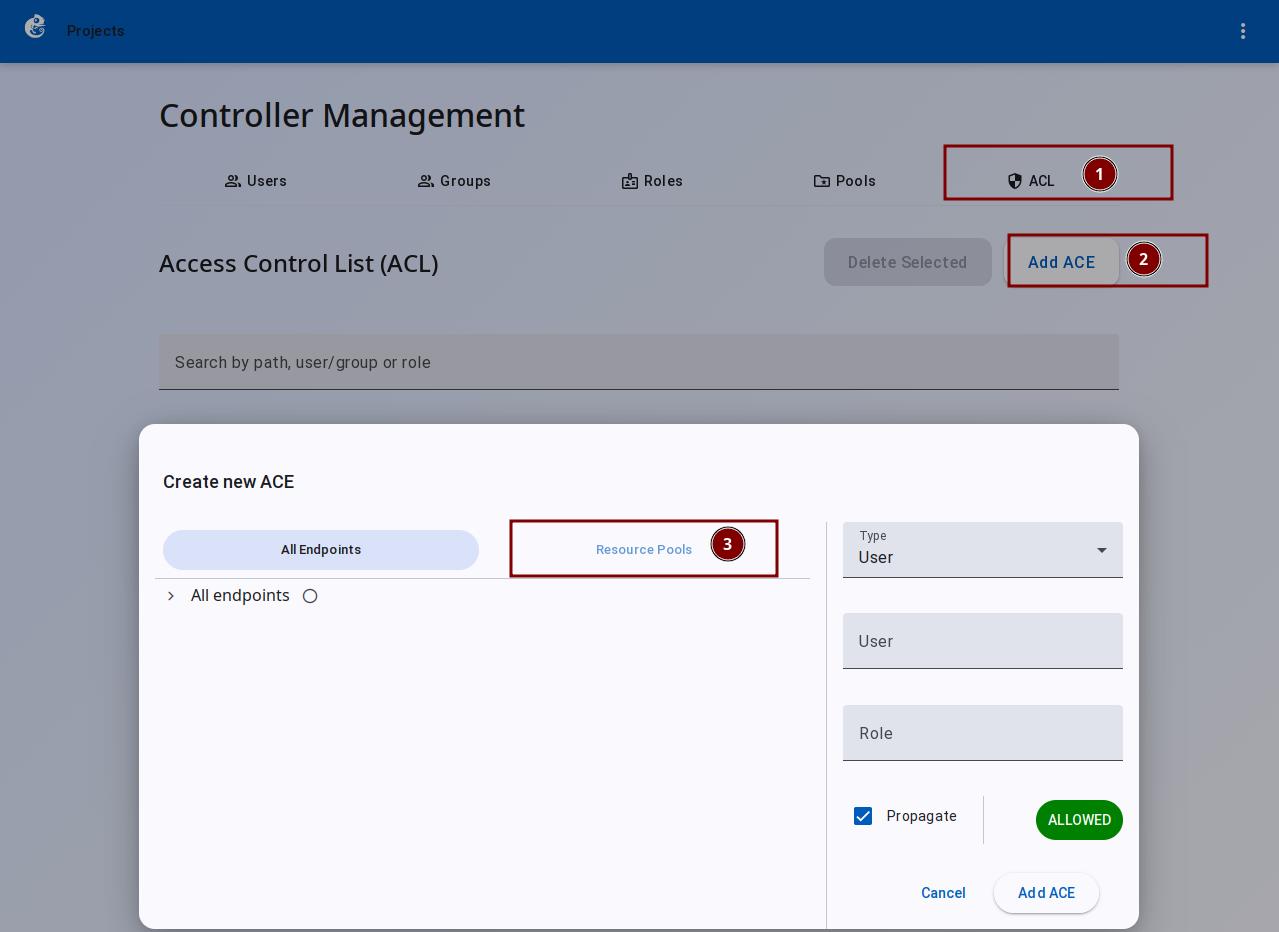
On the Controller Management page, click ACL → Add ACE, select the Resource pool option:
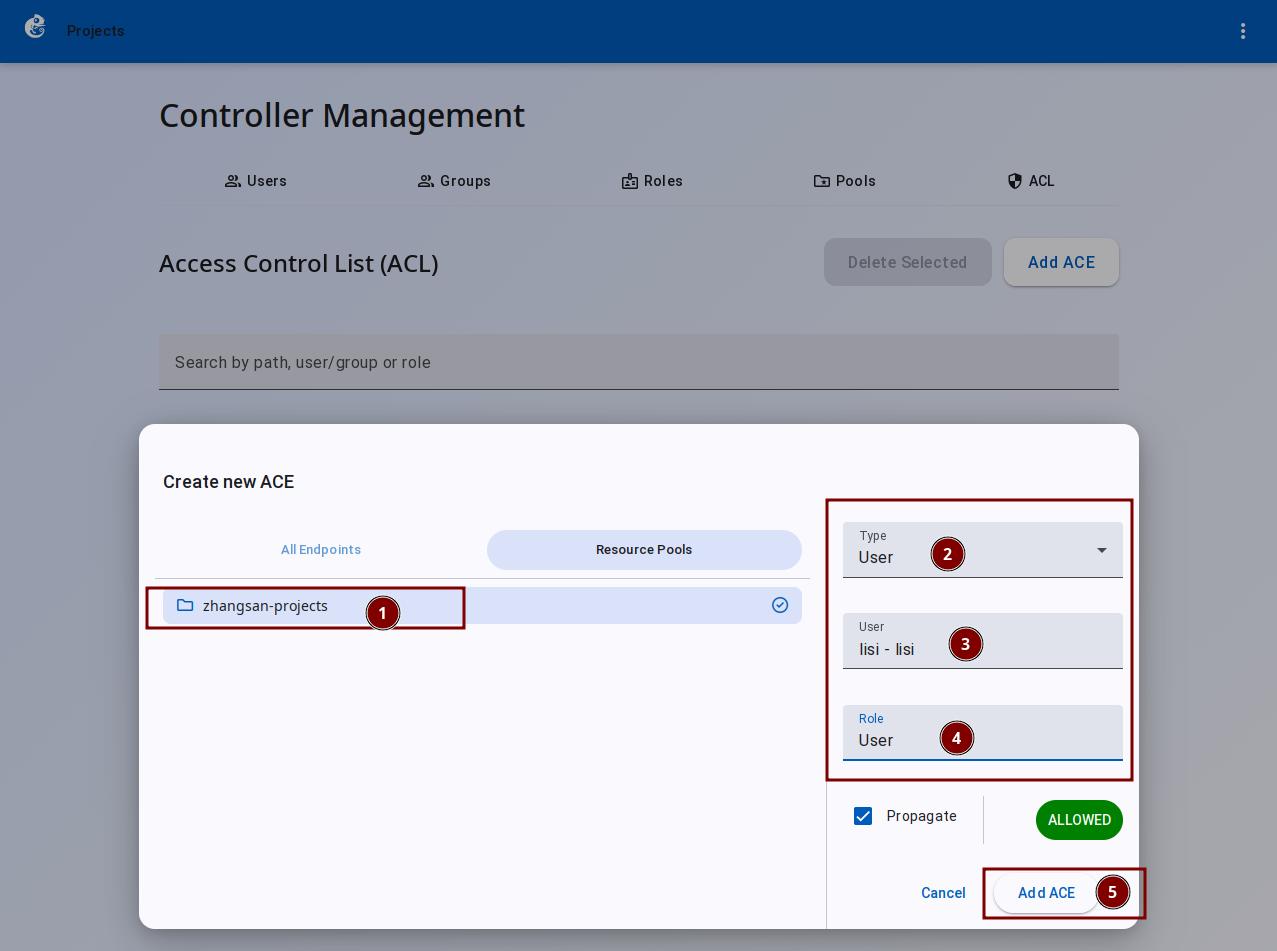
Select the pool zhangsan-projects, then set the sharing type to users, user to lisi, and role to User, then click Add ACE:
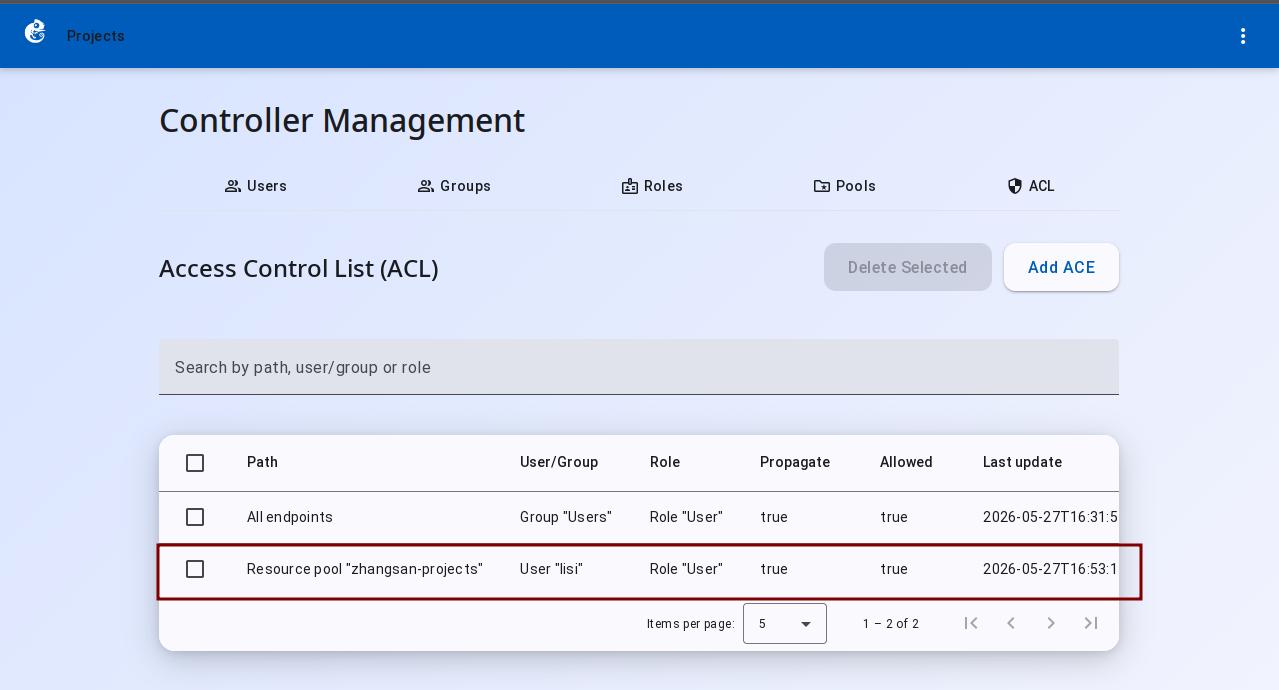
The ACE rule list after creation:
3. Verify sharing
Log in as lisi. The shared project from zhangsan is now visible in the project list: