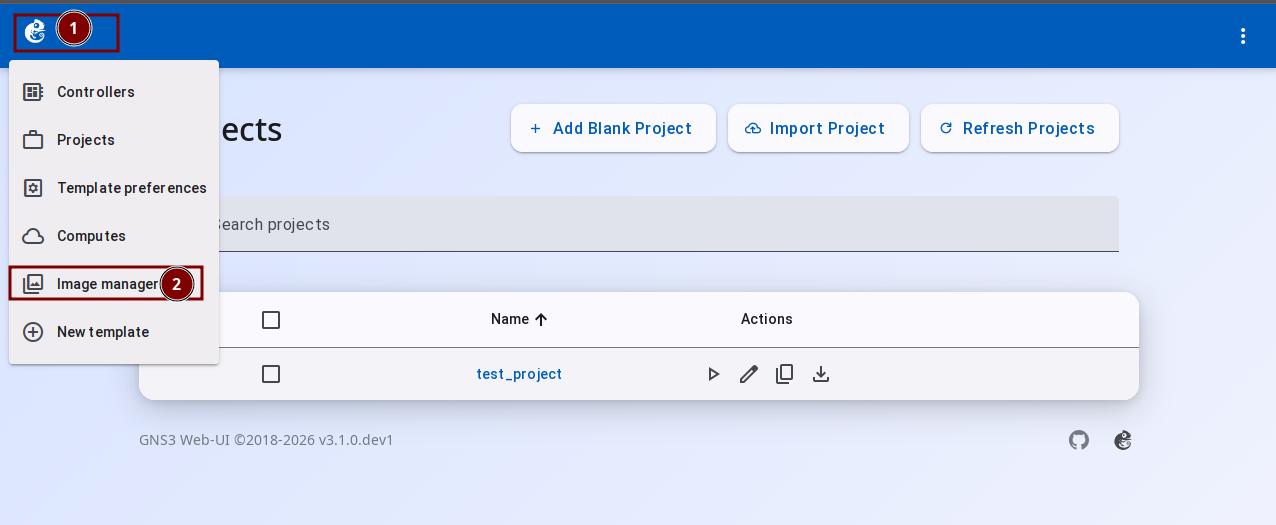
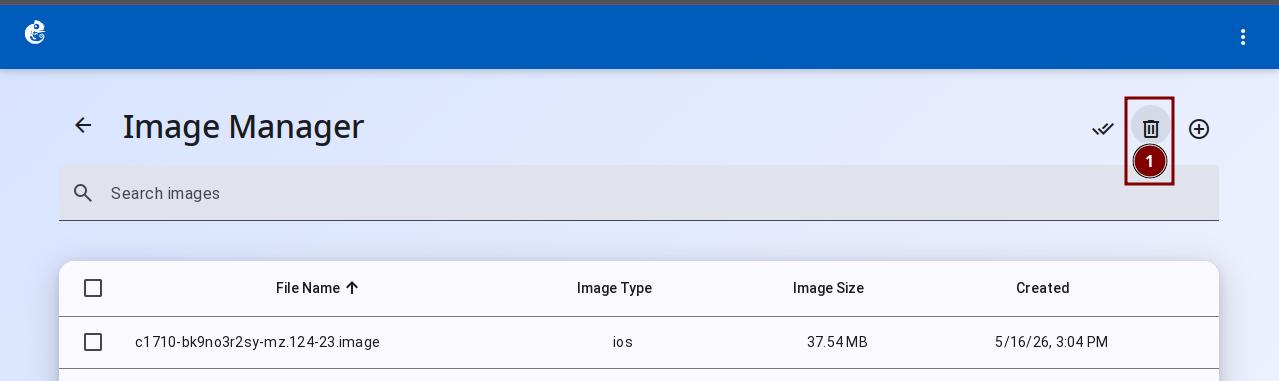
How to manage images
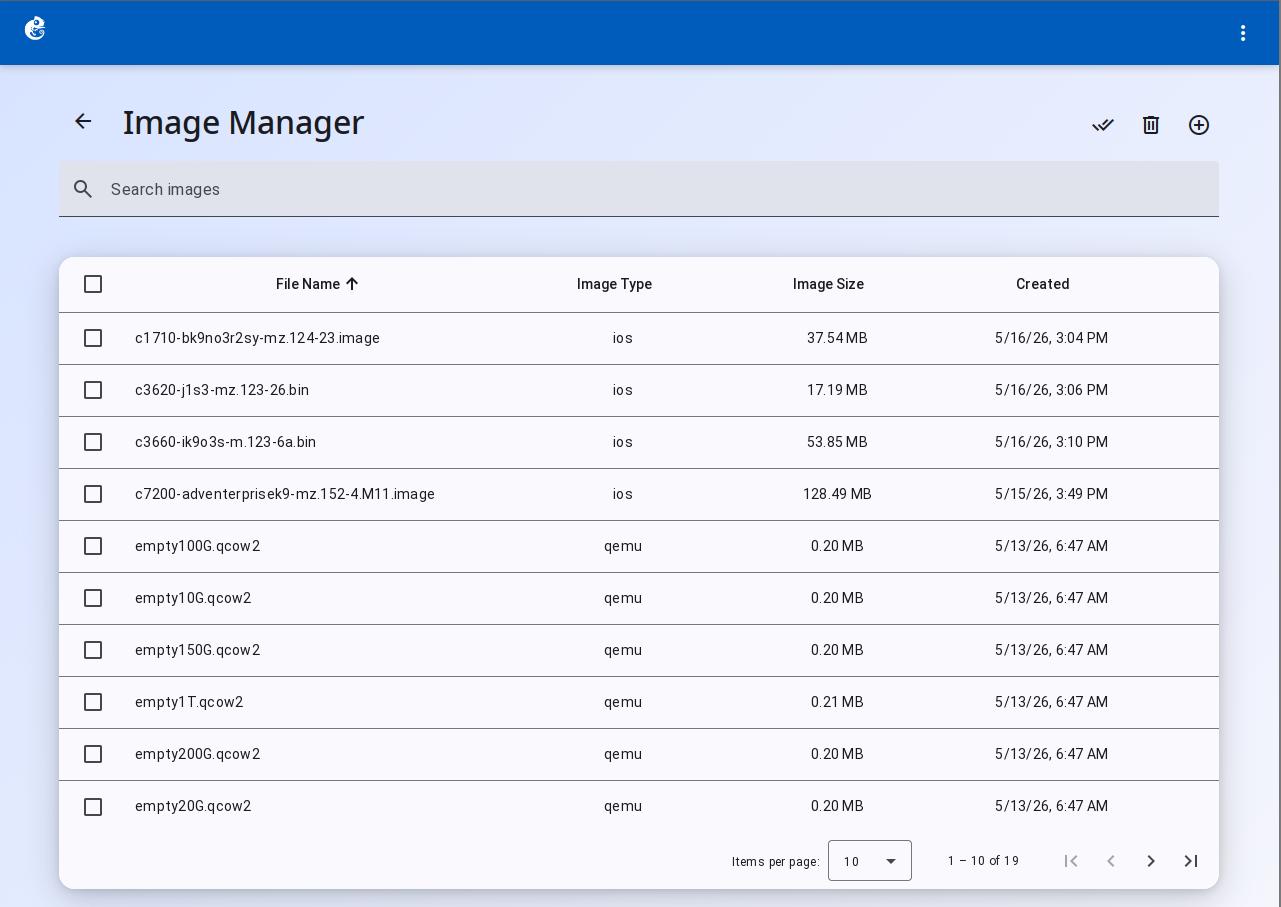
On the project home page, click the GNS3 Logo at the top left and select "Image Manager". Here you can see and manage all uploaded image files.
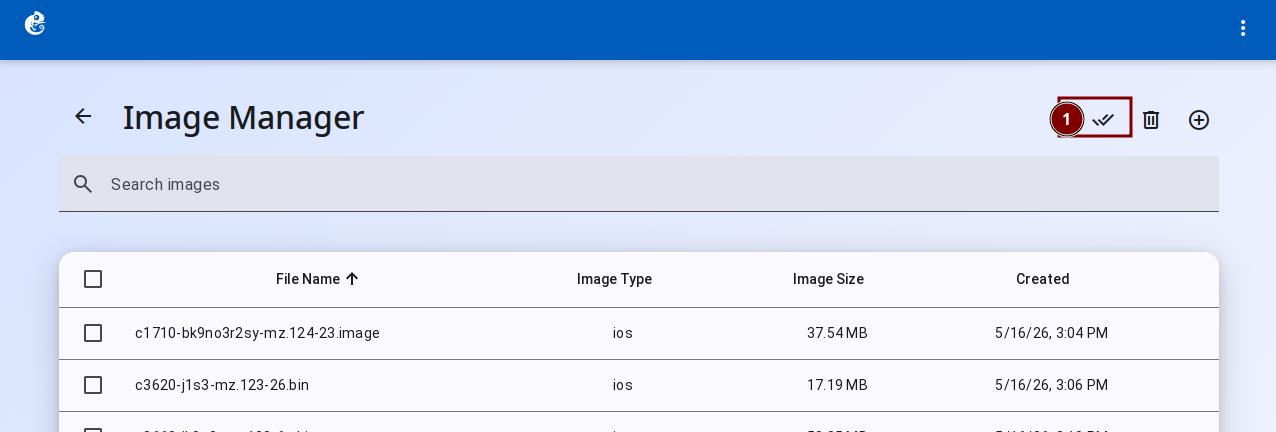
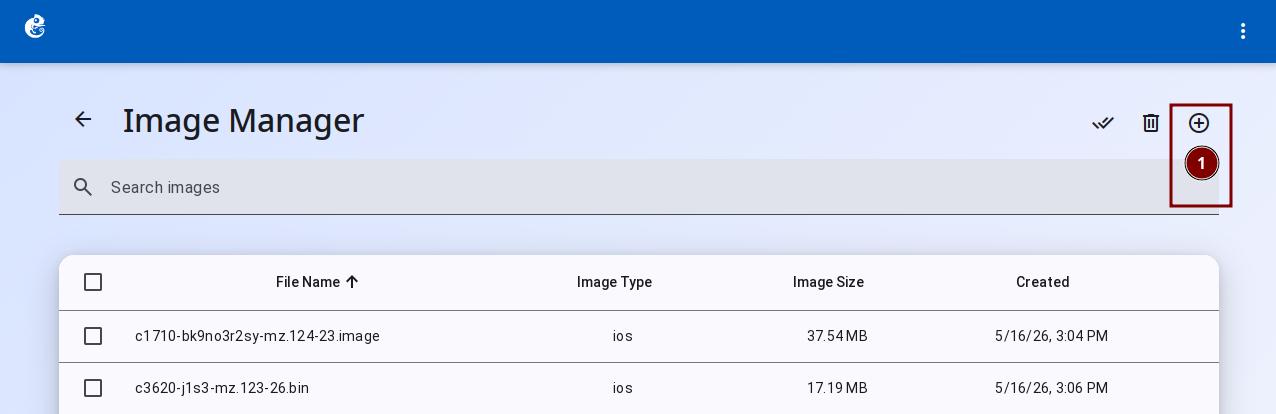
There are three buttons at the top right of the Image Manager page:
- Install All Images
- Prune Images
- Add Image
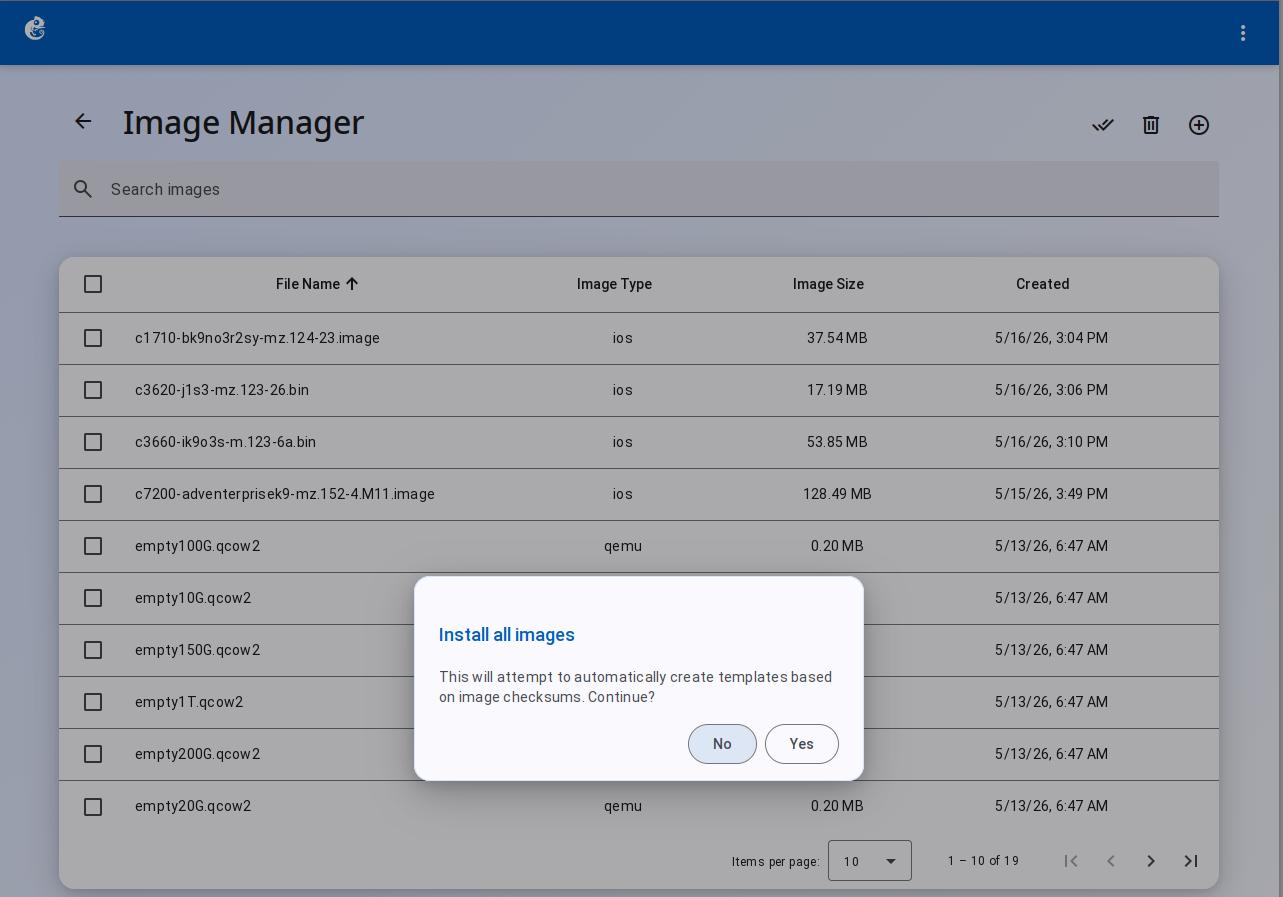
Install All Images
This feature matches the MD5 checksum of uploaded images with GNS3 appliance definitions and creates templates automatically. Use it when:
- You uploaded many IOS/QEMU images and want to create templates quickly
- You do not want to set up templates one by one
Click the "Install All Images" button. A confirmation dialog will appear.
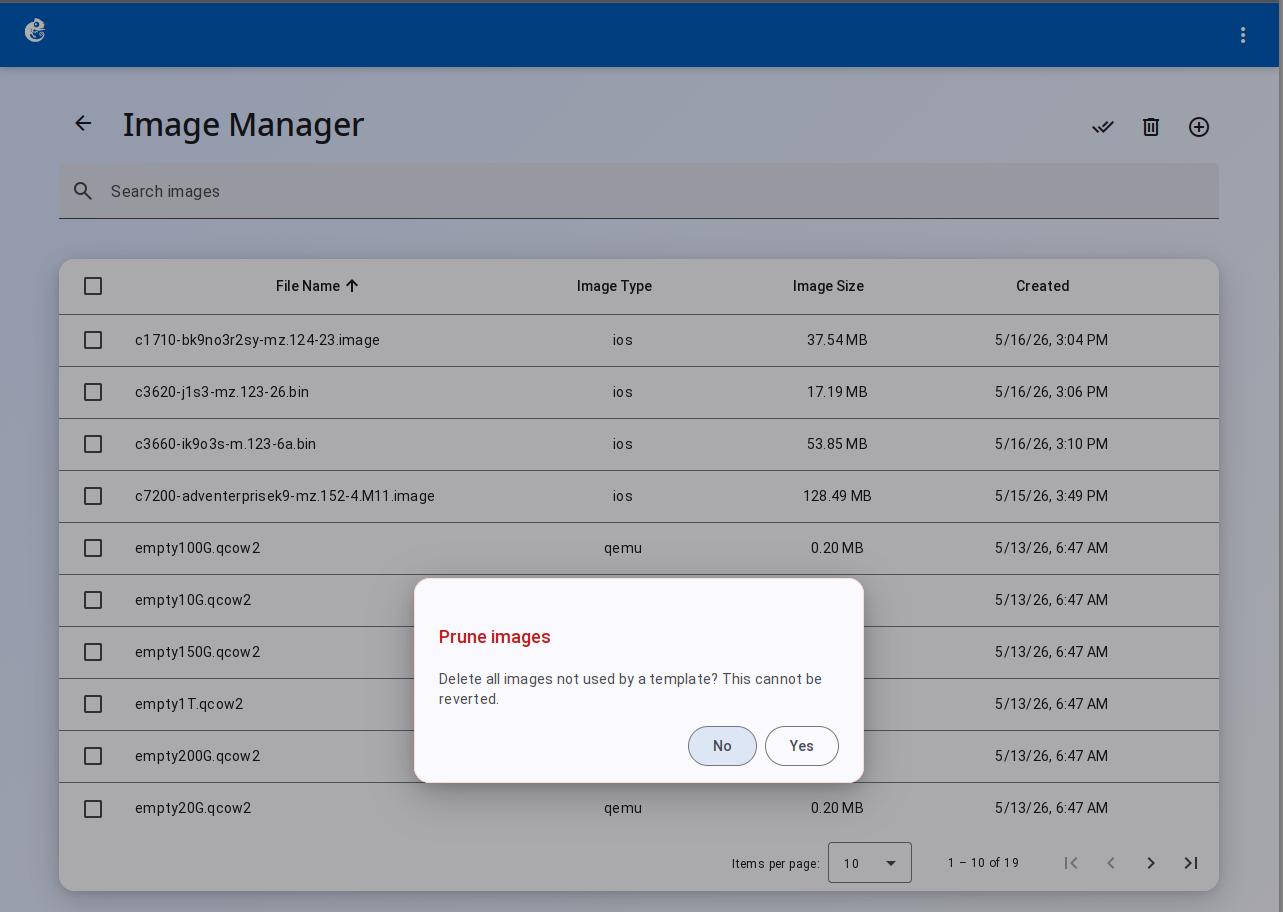
Prune Images
This feature scans all templates, finds images that no template uses, and deletes them.
Safety rules:
- It only deletes images that no template uses
- Images in use will not be deleted
- This action cannot be undone. You cannot get the images back (unless you upload them again)
When to use:
- Clean up old image files to free up disk space
- Delete temporary images from testing
Click the "Prune Images" button. A confirmation dialog will appear. Click Yes to start.
Add Image
The Add Image dialog has two steps.
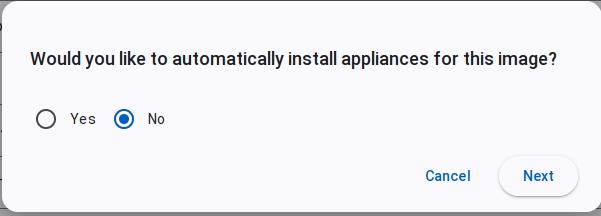
Step 1: Choose whether to install appliances automatically
Select Yes or No, then click Next.
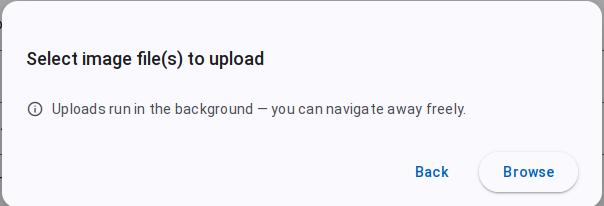
Step 2: Select a file to upload
Choose the image file you want to upload. The upload runs in the background.
Features:
- Background upload: The file upload runs in the background. You can leave the page.
- Multiple file upload: You can select more than one file at the same time.
- Auto-detect type: The system detects the image type from the file extension. You do not need to choose it.
- Progress display: The upload progress shows in the table on the Image Manager main page (progress bar, percentage, and status).
Supported file formats:
| Format | Use |
|---|---|
| .bin | IOS/IOU images |
| .image | IOS/IOU images |
| .iol | IOU images |
| .qcow2 | QEMU disk images |
| .vmdk | QEMU/VirtualBox disk images |