3.1 New Features Overview
GNS3 3.1 is all about moving everything to the web. You can now do all operations (console, VNC, Wireshark) directly in your browser. It also adds AI help and fault injection. These changes make the user experience much better and improve network simulation.
The Web UI project was upgraded from Angular 14 to Angular 21. AI helped a lot with moving the code.
🌐 Web Features
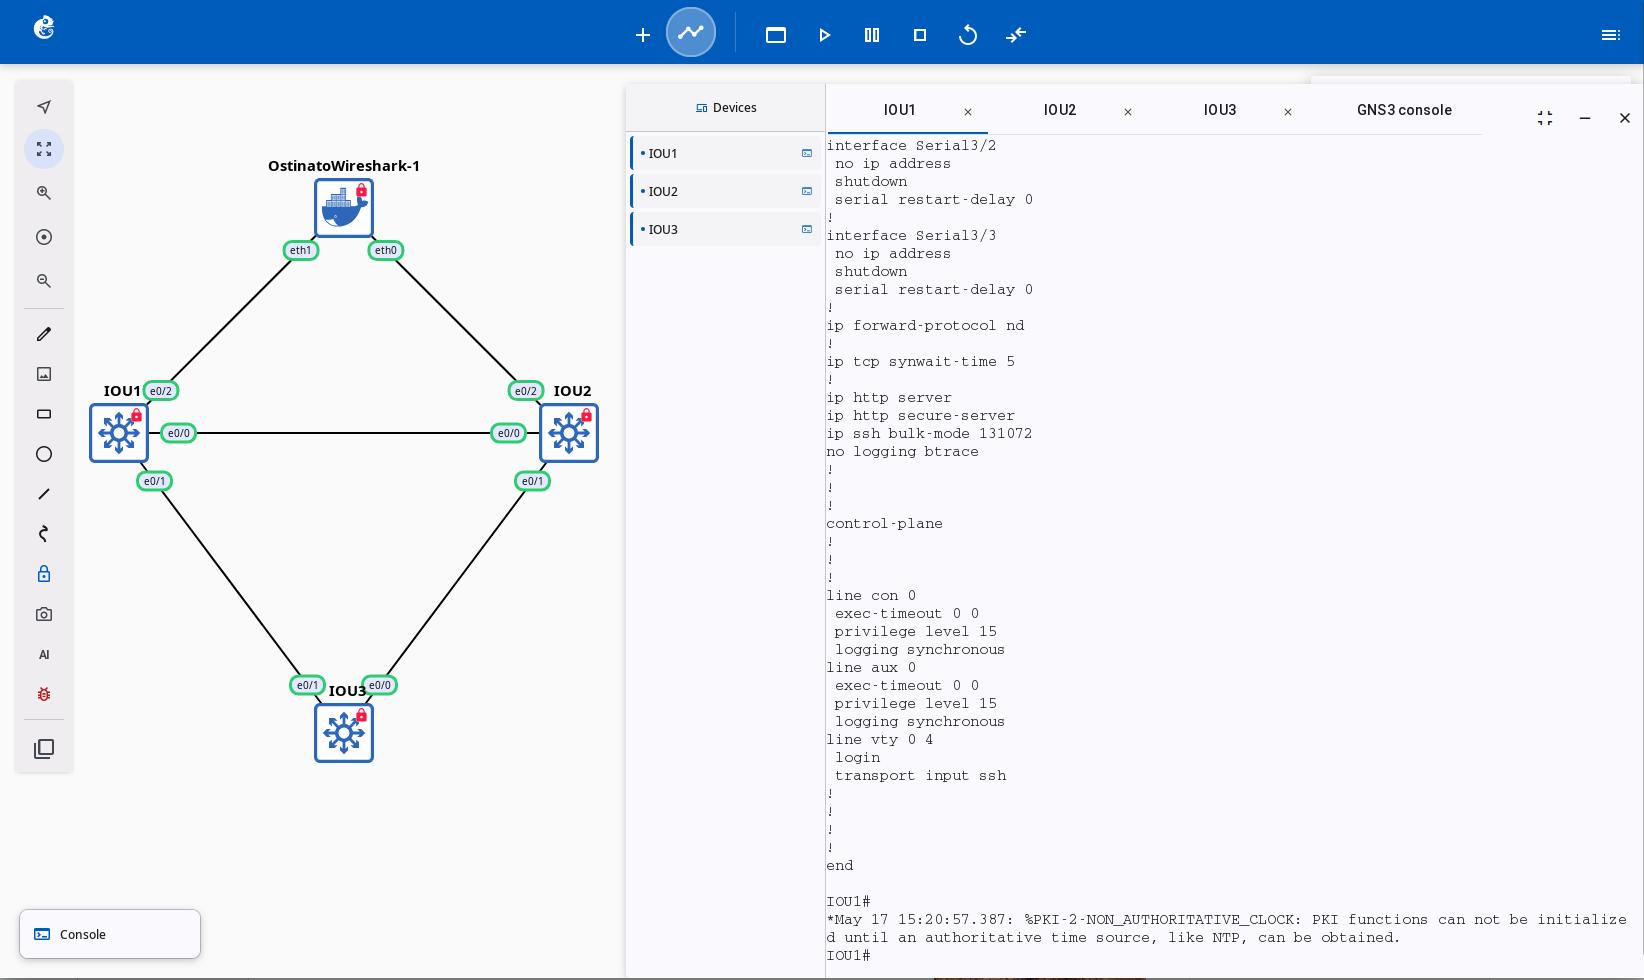
How to use Web Console 🆕
Access the node console directly in your browser. No need for external terminal software. Uses xterm.js for an embedded terminal. Supports multiple tabs and drag-and-drop.
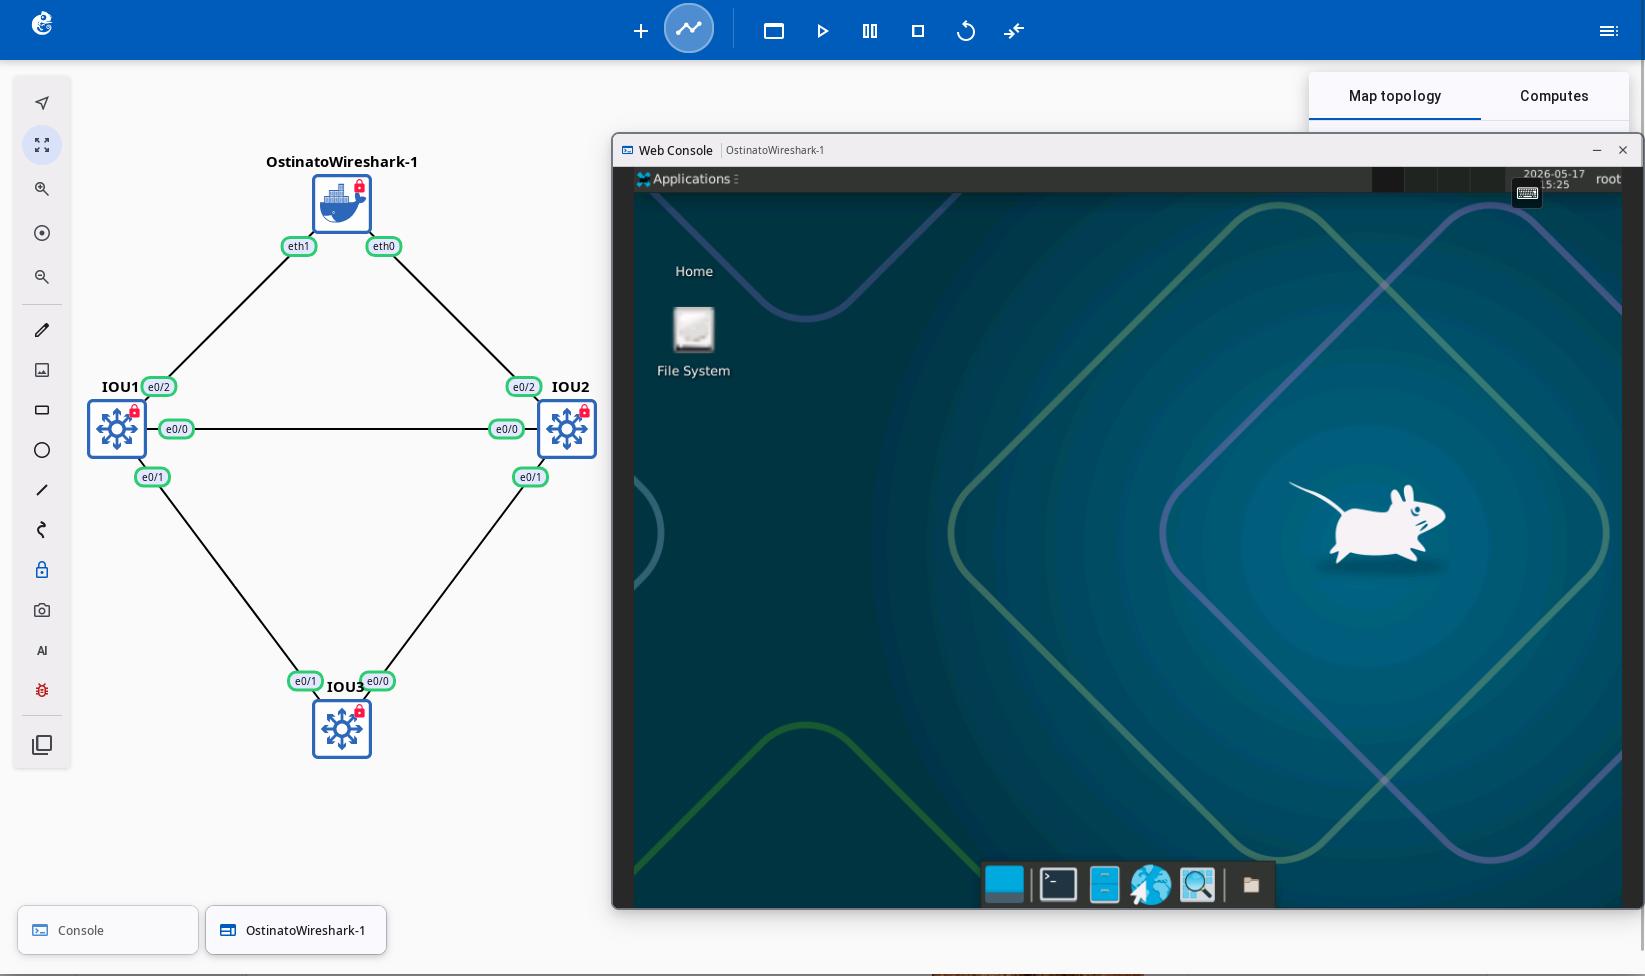
How to use Web VNC 🆕
Access graphical interface nodes through VNC in your browser. The frontend uses noVNC. Used for accessing virtual machines with a graphical interface (like Linux Desktop).
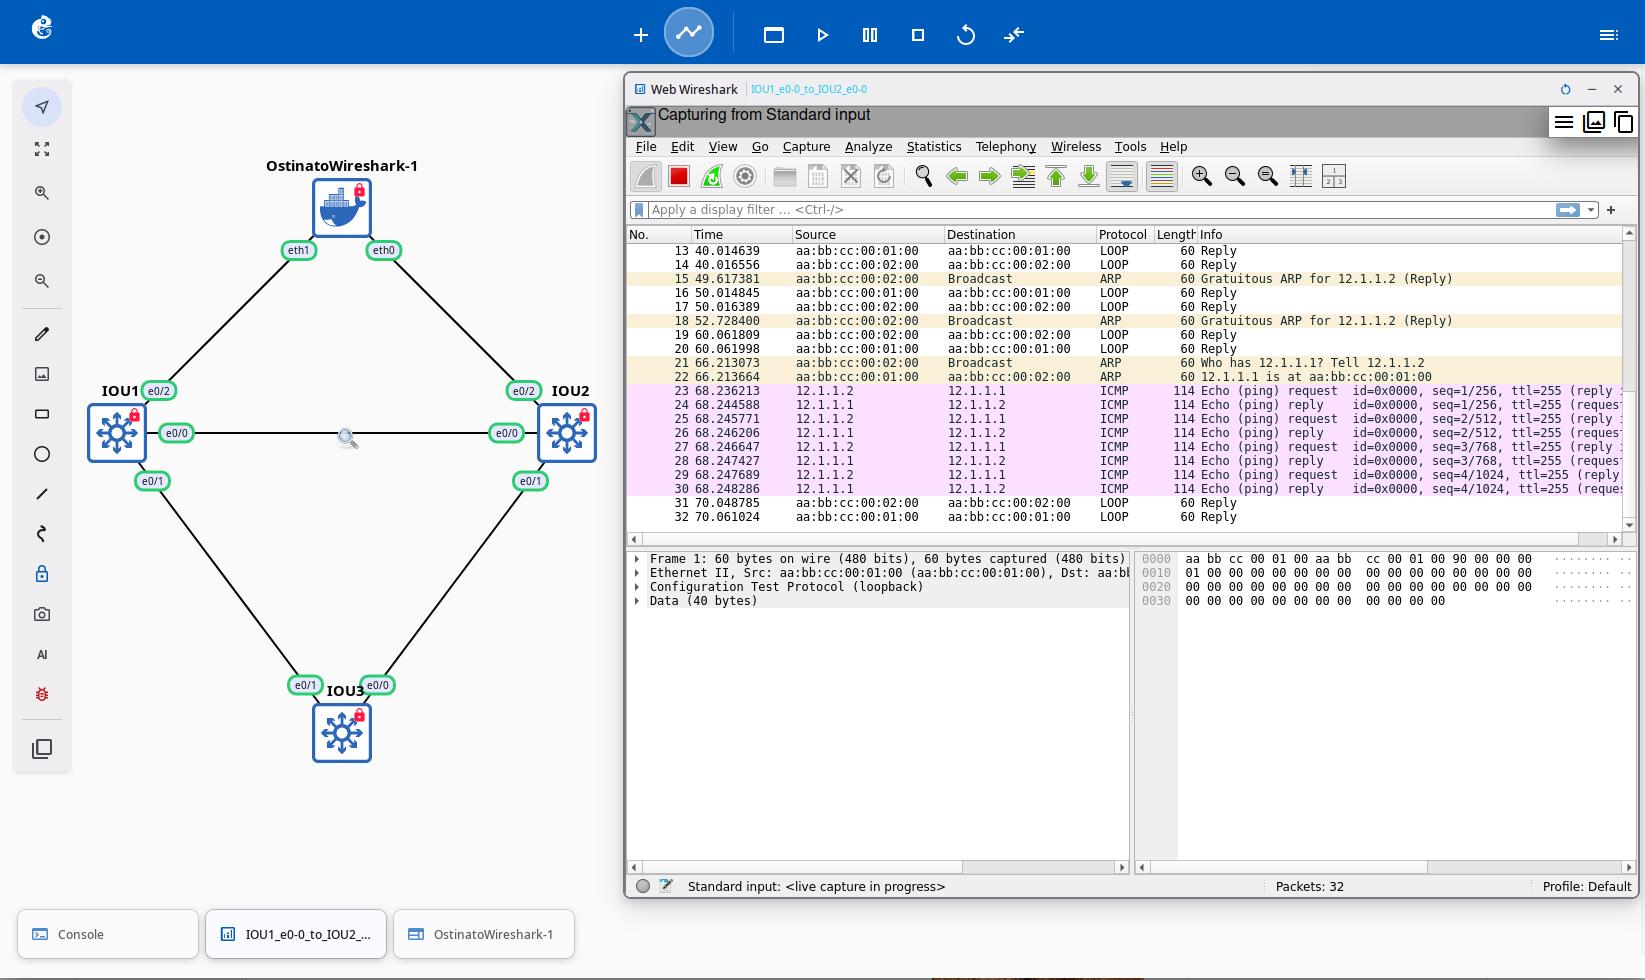
How to use Web Wireshark 🆕
Capture and analyze network packets directly in your browser. The frontend uses xpra-html5 client. Supports inline window display and multi-link packet capture at the same time.
🤖 AI Tools
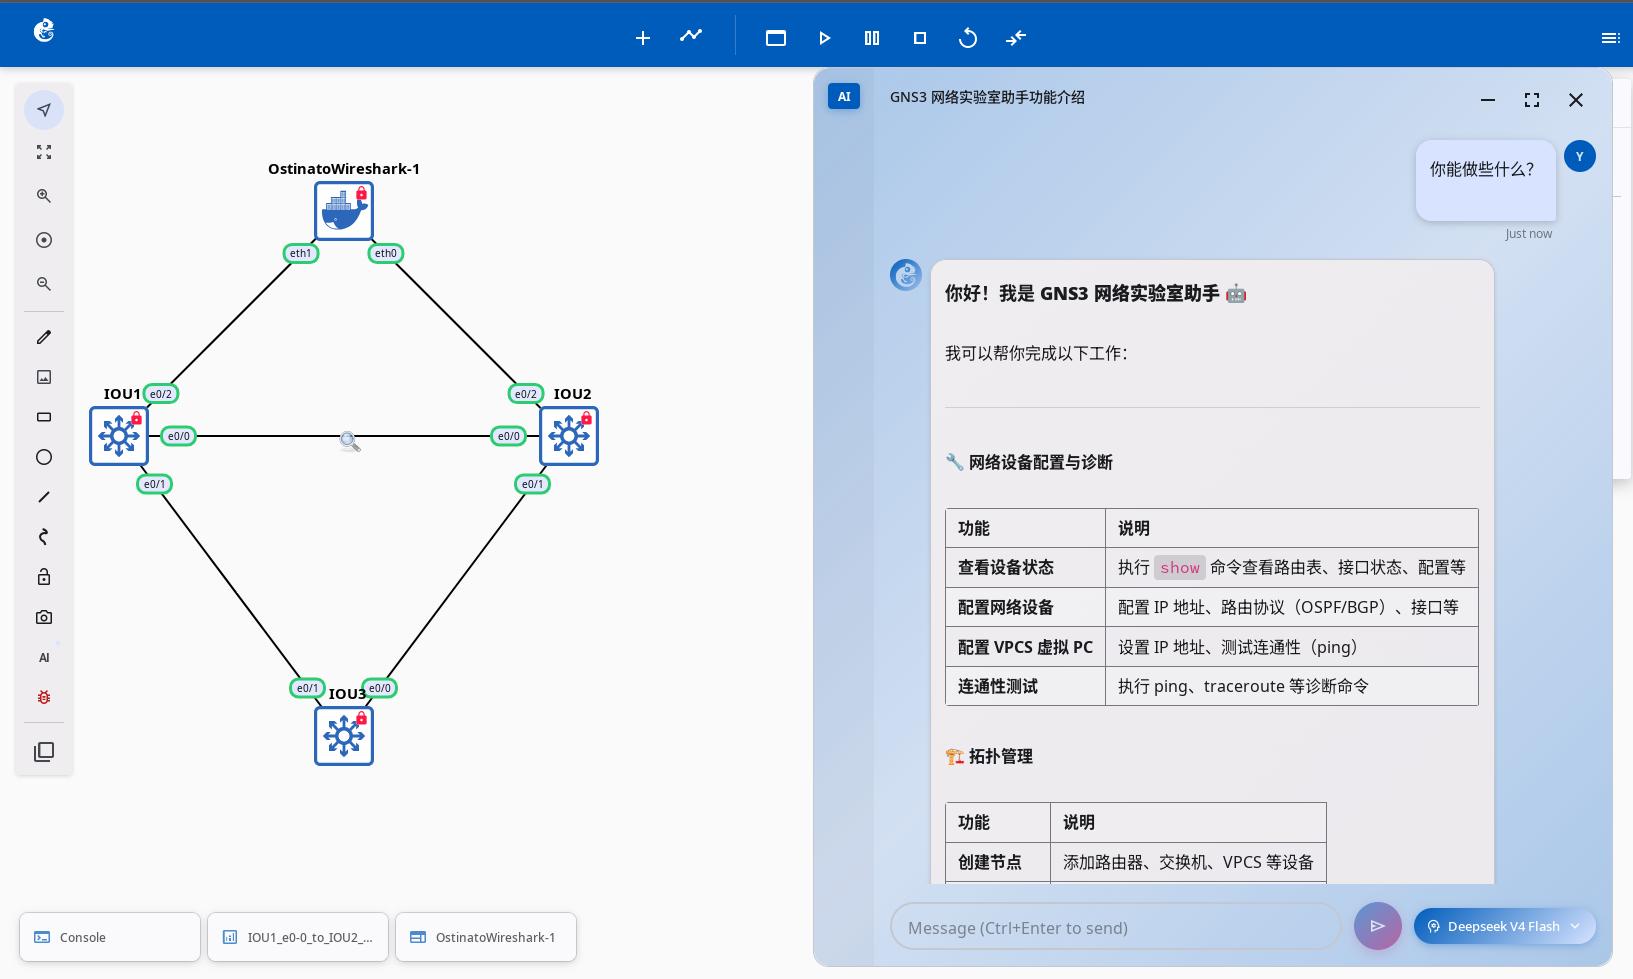
How to use AI Assistant 🆕
A smart assistant powered by large language models. Built with LangChain/LangGraph. Uses Nornir/Netmiko to configure devices. Capabilities include designing topologies with natural language, getting configuration advice, diagnosing faults, automating tasks, and analyzing packet capture data.
How to use the MCP service 🆕
Provides a standard MCP (Model Context Protocol) interface, allowing external AI clients like Claude Code and Claude Desktop to directly manage GNS3 projects, nodes, links, templates, and compute nodes via SSE transport.
How to use AI Skills 🆕
An online AI skills package repository that is easy to update. Located on GitHub at gns3-skills. Used to expand the AI Assistant's capabilities.
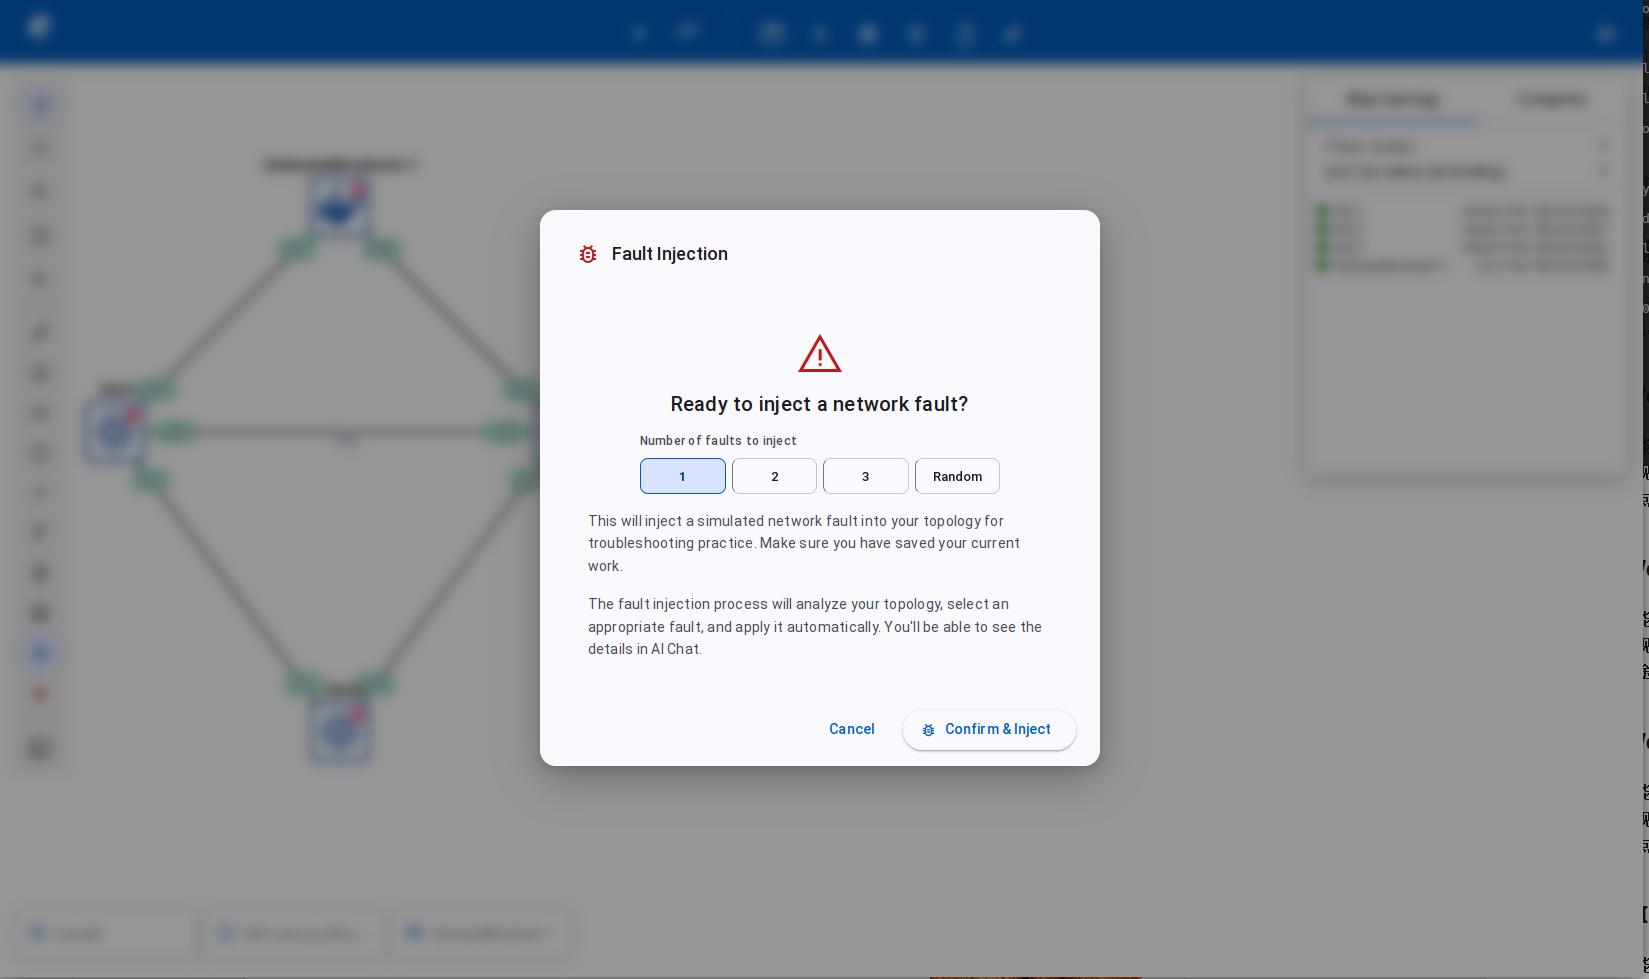
How to use Fault Injection 🆕
Uses AI together with the real device settings in your topology. It calls predefined faults from the GNS3-Skills repository to simulate network problems. Injects faults by running configuration commands. Used for practicing fault recovery, learning protocols, and more.
For detailed configuration and usage steps, please click on the links above to view the complete documentation.