How to take a screenshot
Take a Screenshot captures the current state of the GNS3 network topology map and saves it as an image file (SVG or PNG format) for documentation, presentations, or backup.
Quick Start
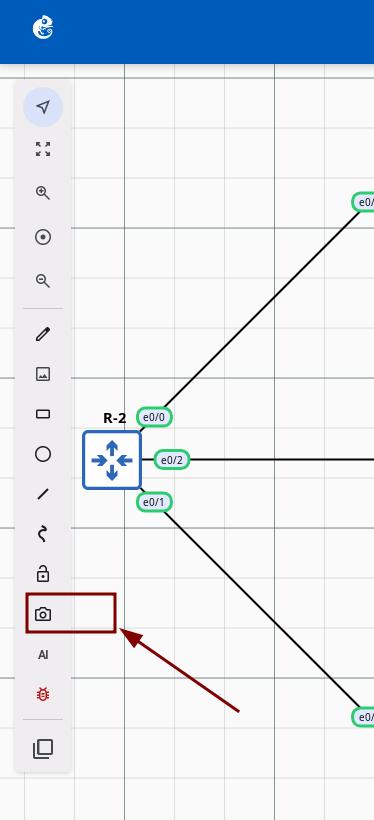
Click the Screenshot Button
Click the camera icon on the toolbar (tooltip: "Take a screenshot"). The screenshot configuration dialog will open.
Configure Screenshot Options
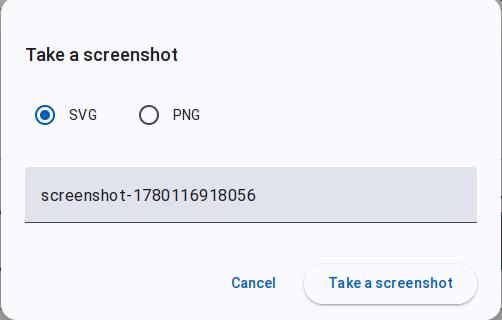
The dialog includes the following settings:
- File type — SVG (default) or PNG
- Screenshot name — Text input, default:
screenshot-{timestamp}, required - Buttons — Cancel / Take a screenshot
Save the File
Click Take a screenshot to generate and download the file. File name format: {name}.{extension}.
note
Exported SVG screenshots are recommended to be opened in a browser.
File Format Comparison
| Feature | SVG | PNG |
|---|---|---|
| Type | Vector graphic | Bitmap image |
| File size | Small (text format) | Large (compressed image) |
| Scaling | Lossless (any scale) | Lossy (fixed resolution) |
| Editability | Text/vector editor | Image editor required |
| Compatibility | Browser/SVG viewer | All image viewers |
| Best for | Documentation, printing, editing | Sharing, presentations, quick view |